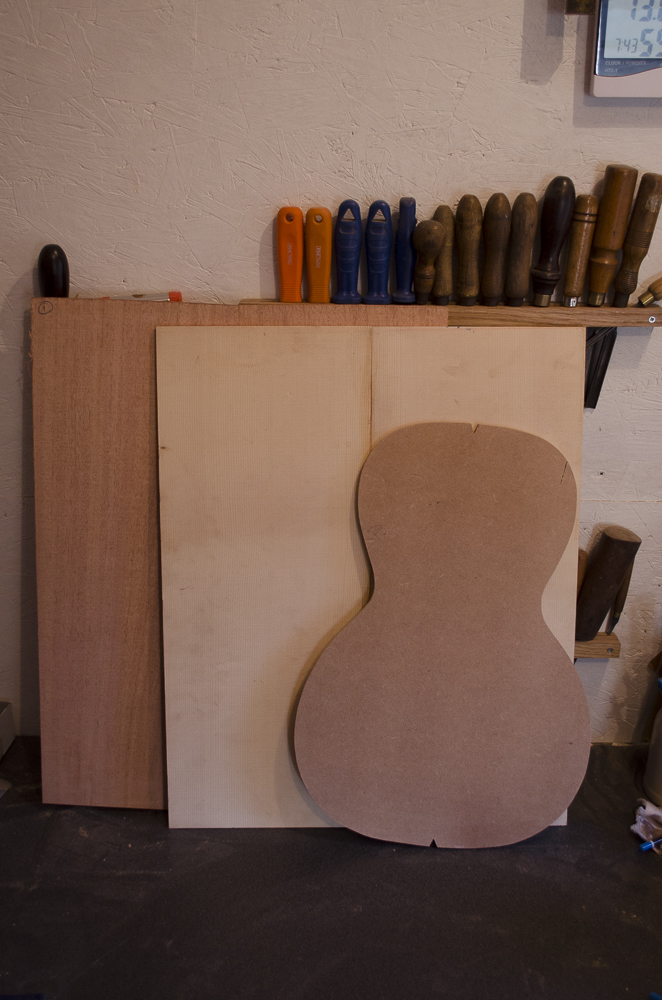
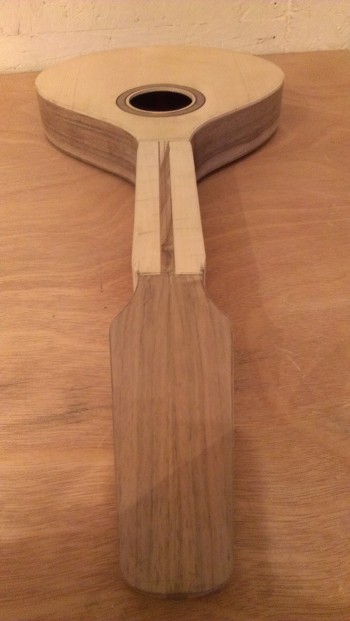
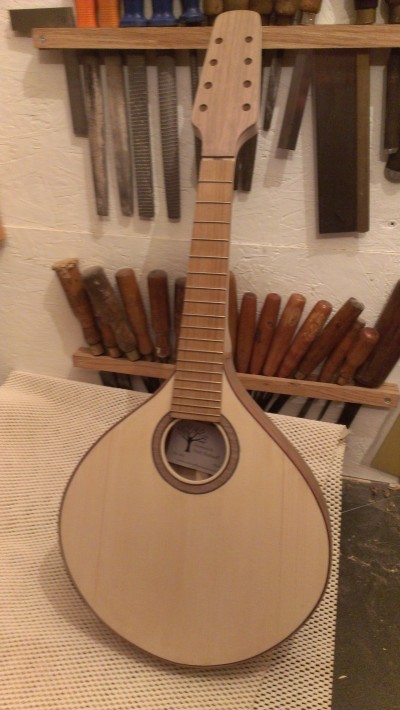
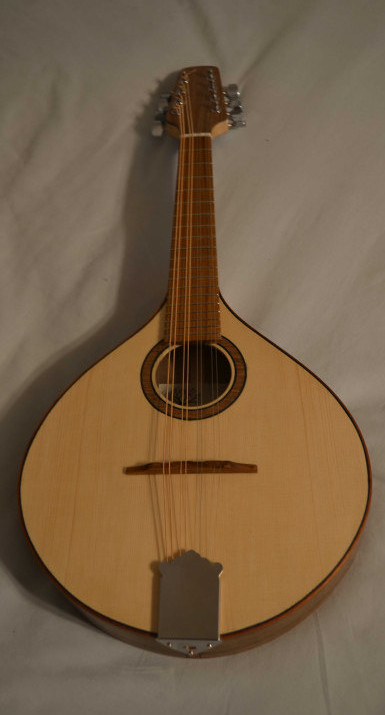
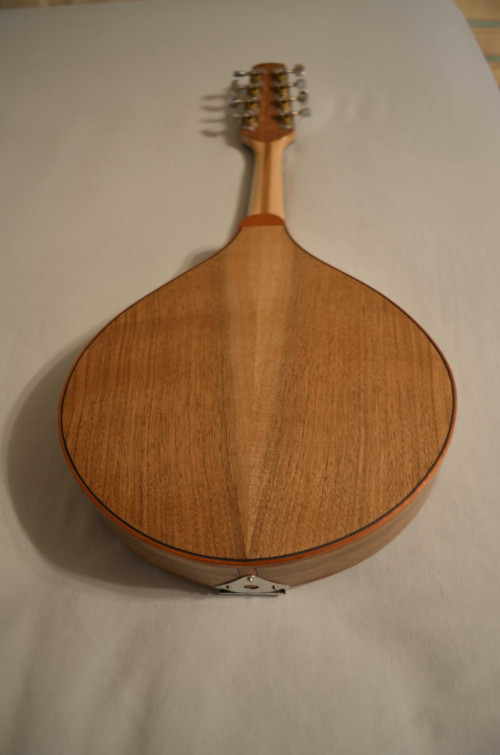
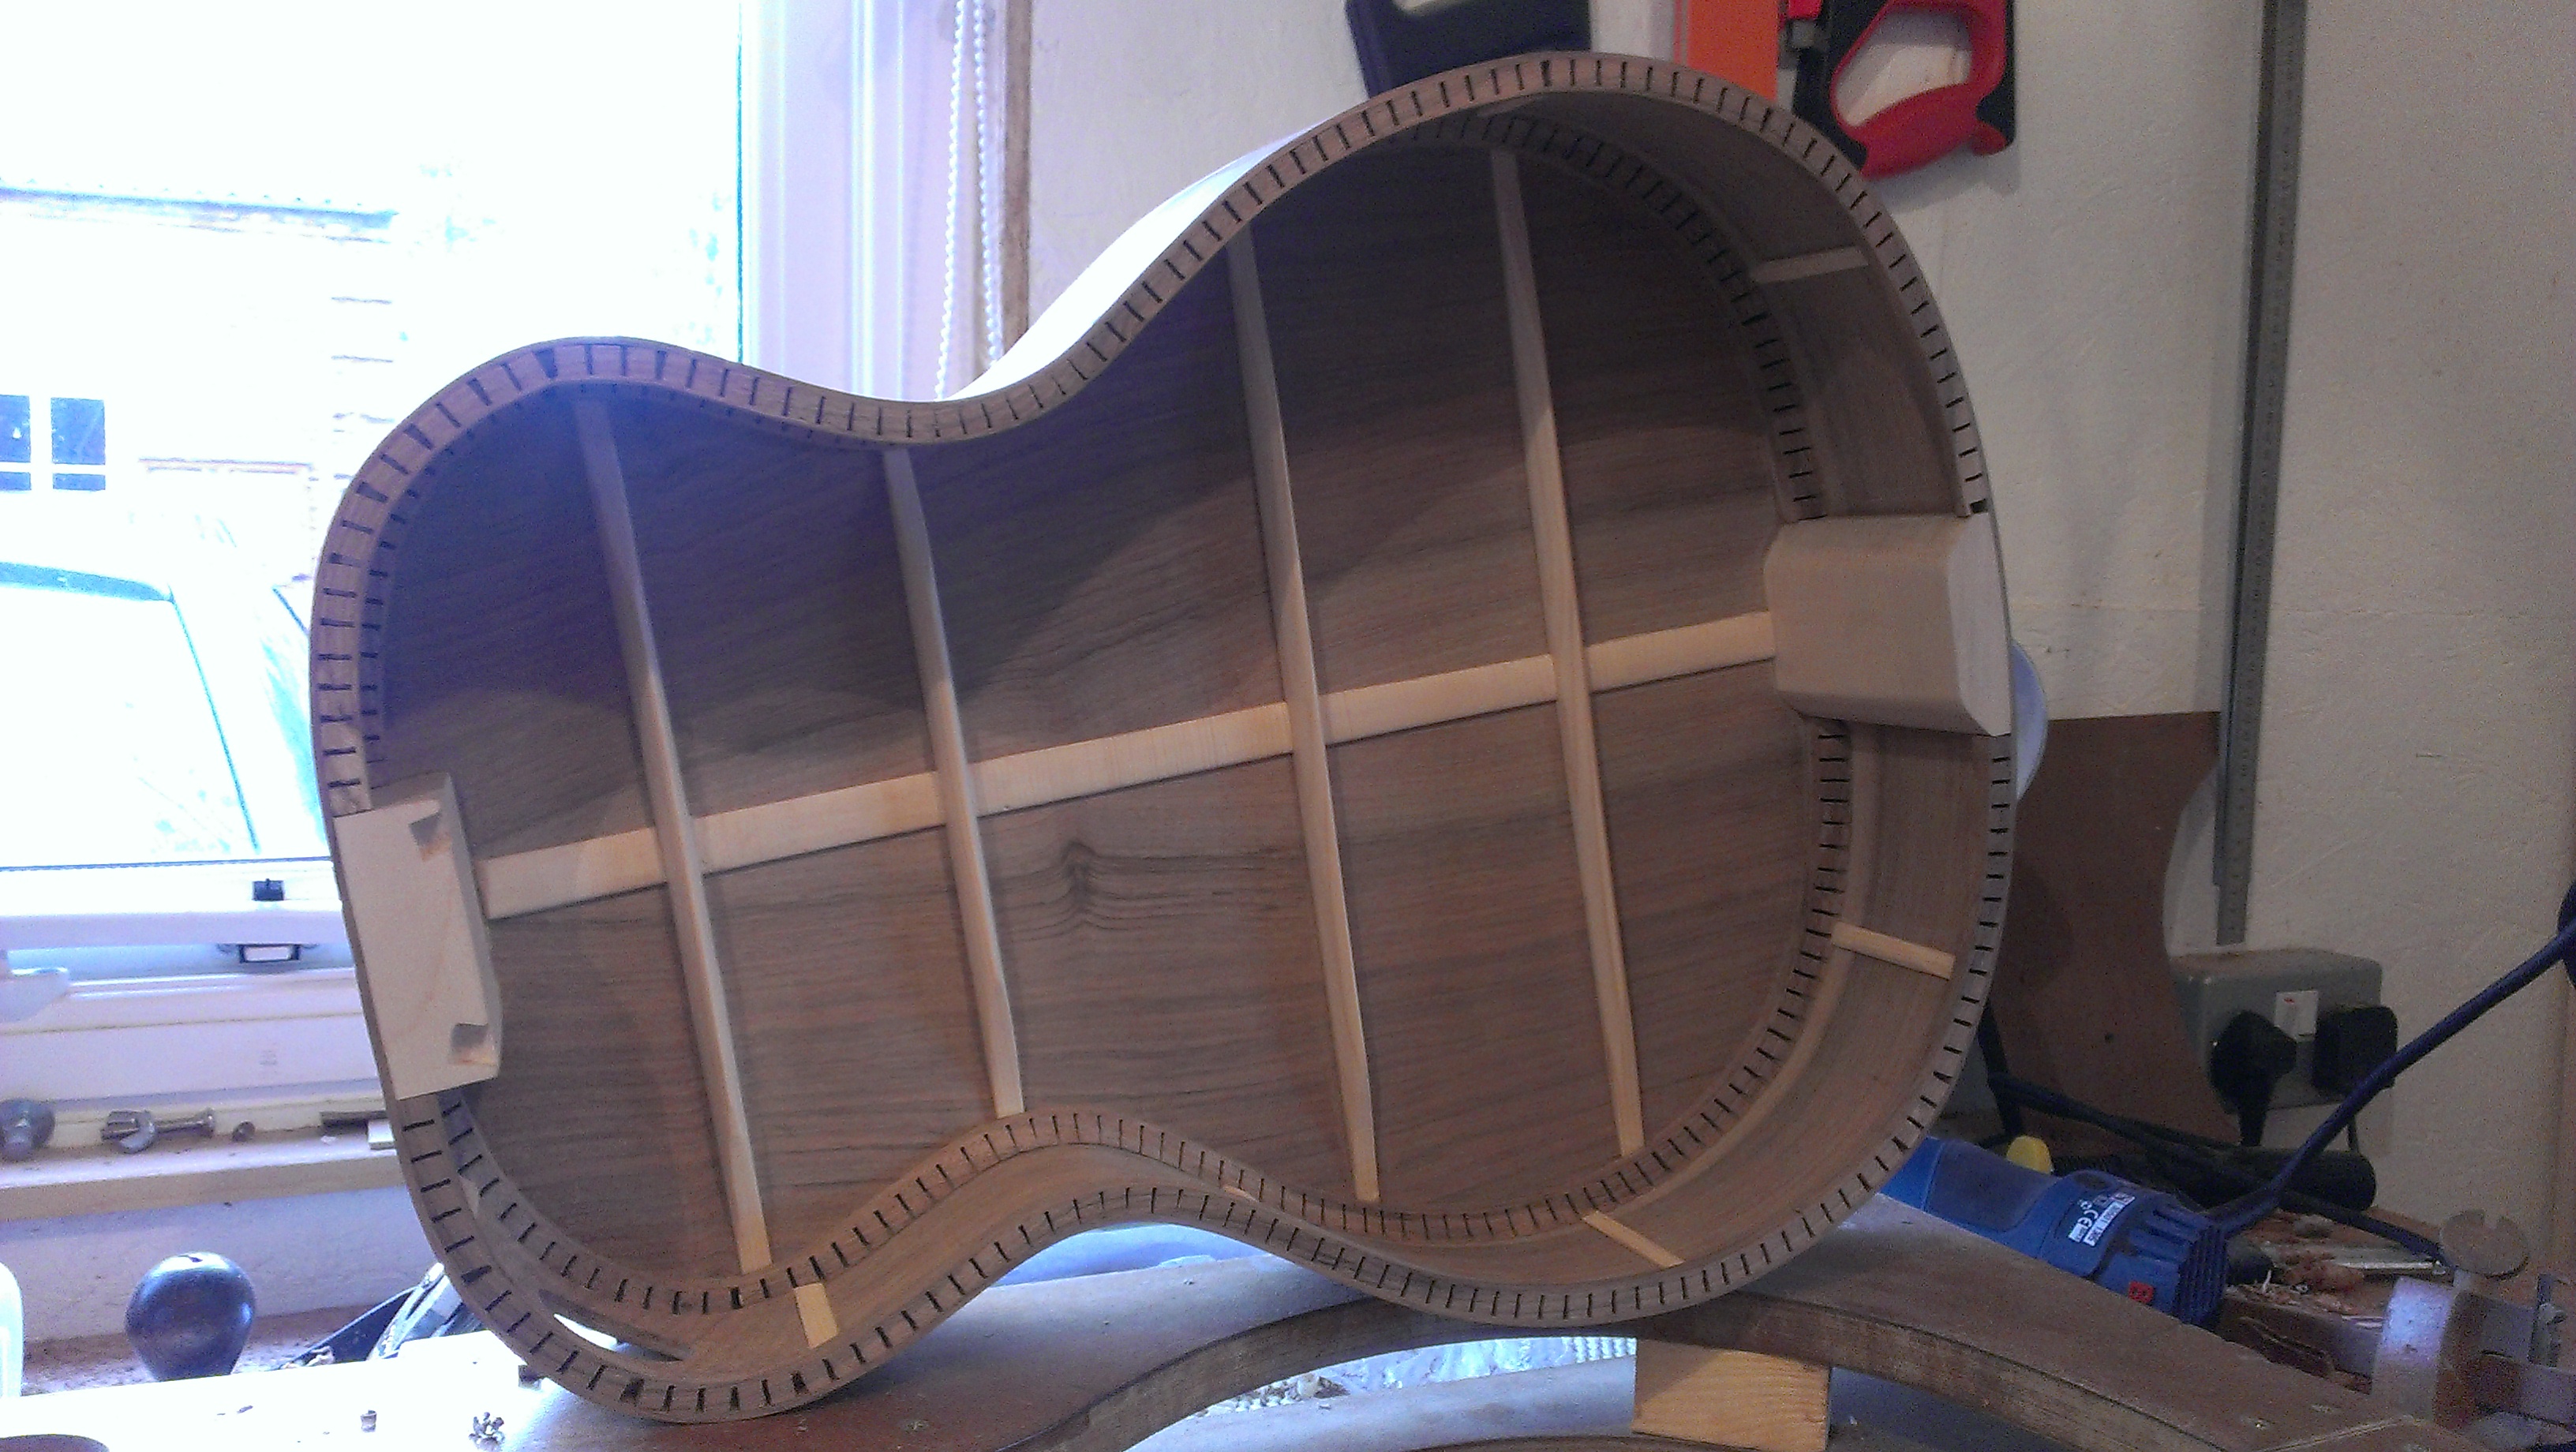
I have been wanting to build a mahogany parlour guitar for a while now and have been working on my own design for one on and off for a while. I plan to incorporate a new design feature for me which will be a completely removable neck utilising a continuation of the neck to support the underside of the fretboard as used by a number of other builders. This type of construction makes much more sense to my thinking rather than the traditional method of gluing the fretboard extension to the soundboard and will allow for the neck to be removed very easily at a future date if ever required.
I have been working on this build for the last week, so I will bring things up to date quickly.
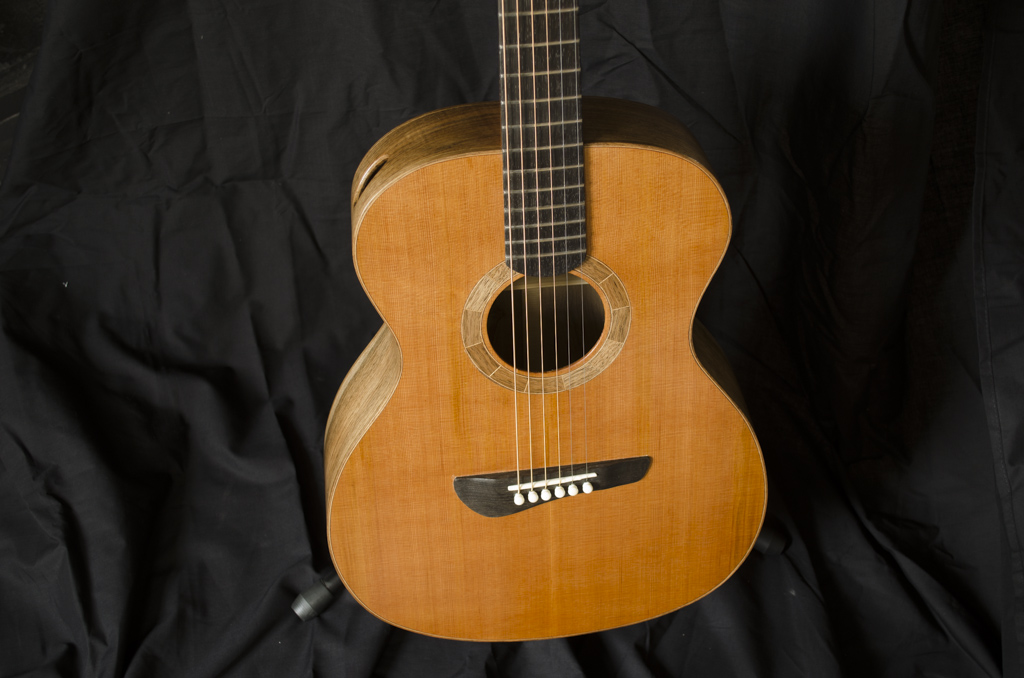
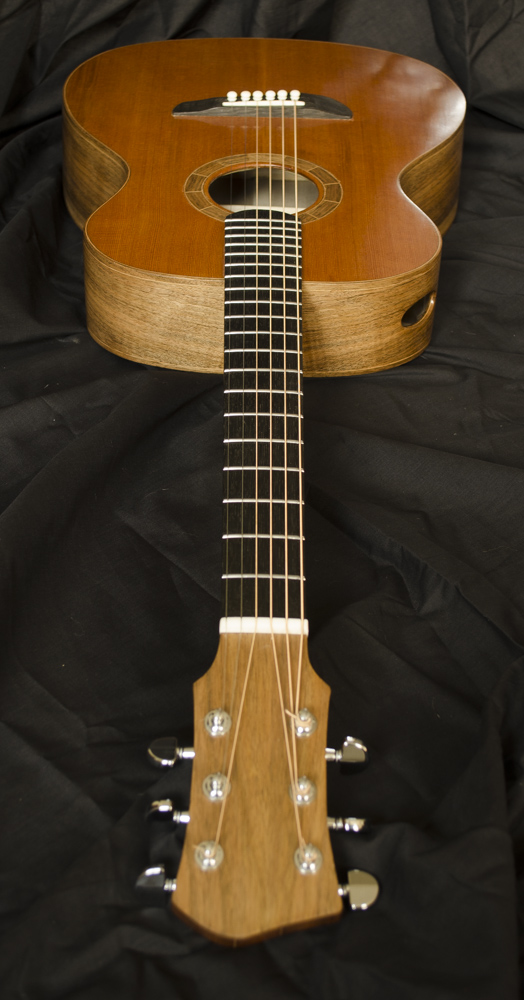
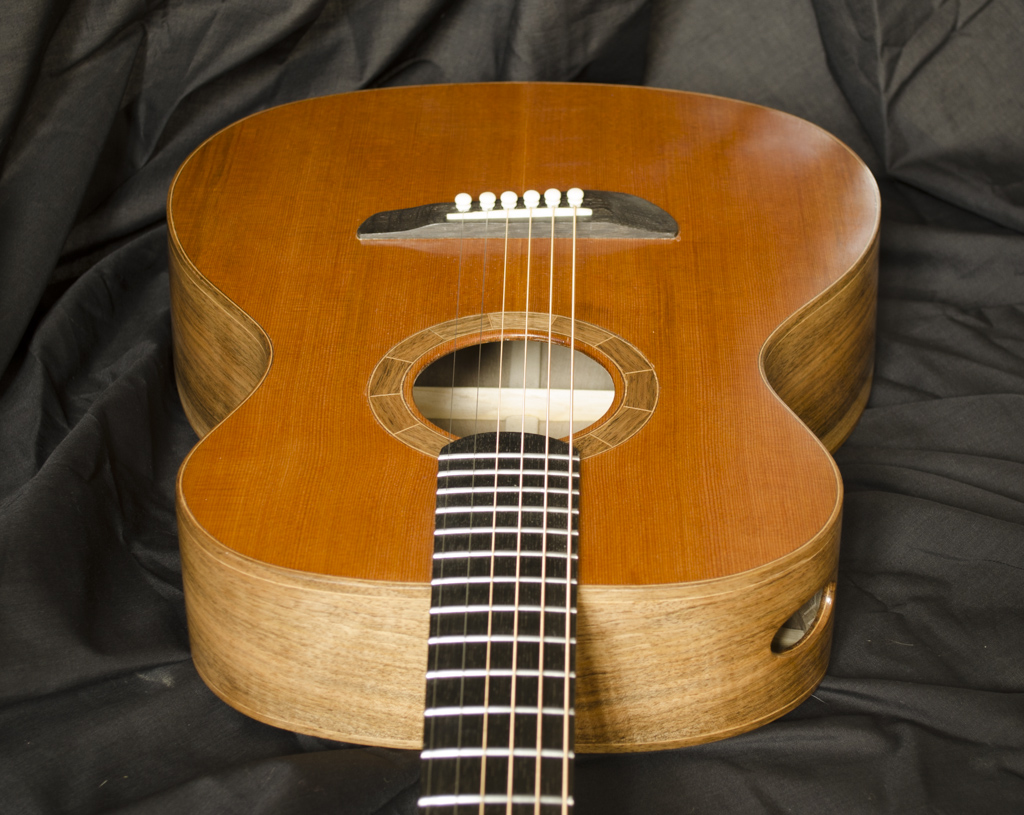
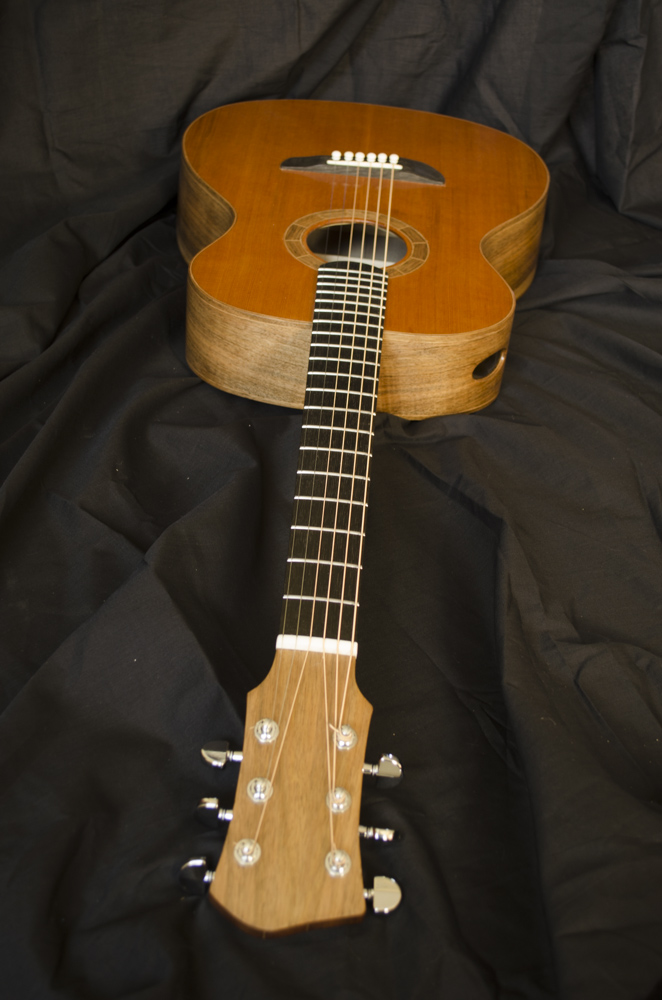
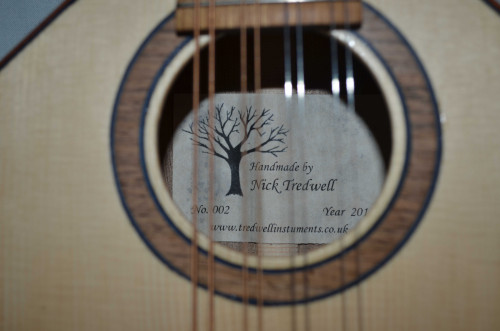
Spec
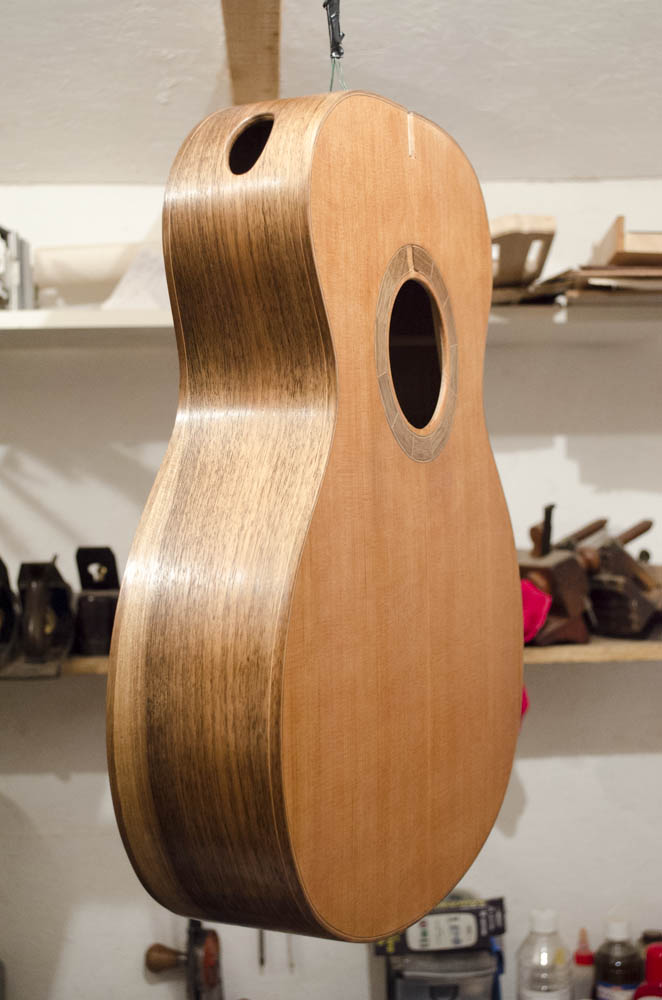
Lower Bout – 324
Waist – 180
Upper Bout – 232
Body Legth – 466
Scale length – 615mm 12 fret
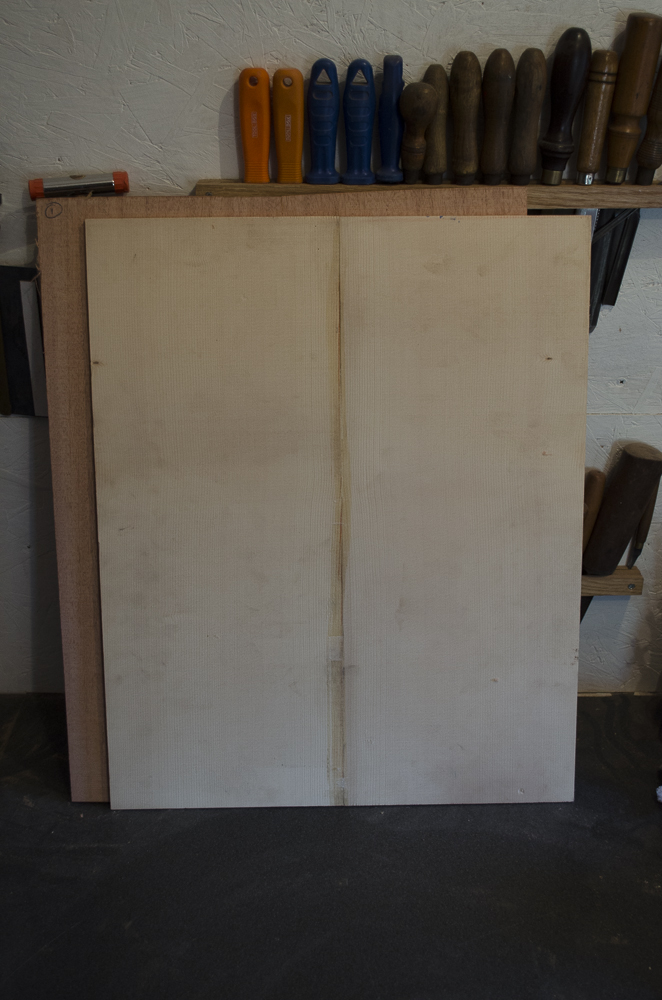
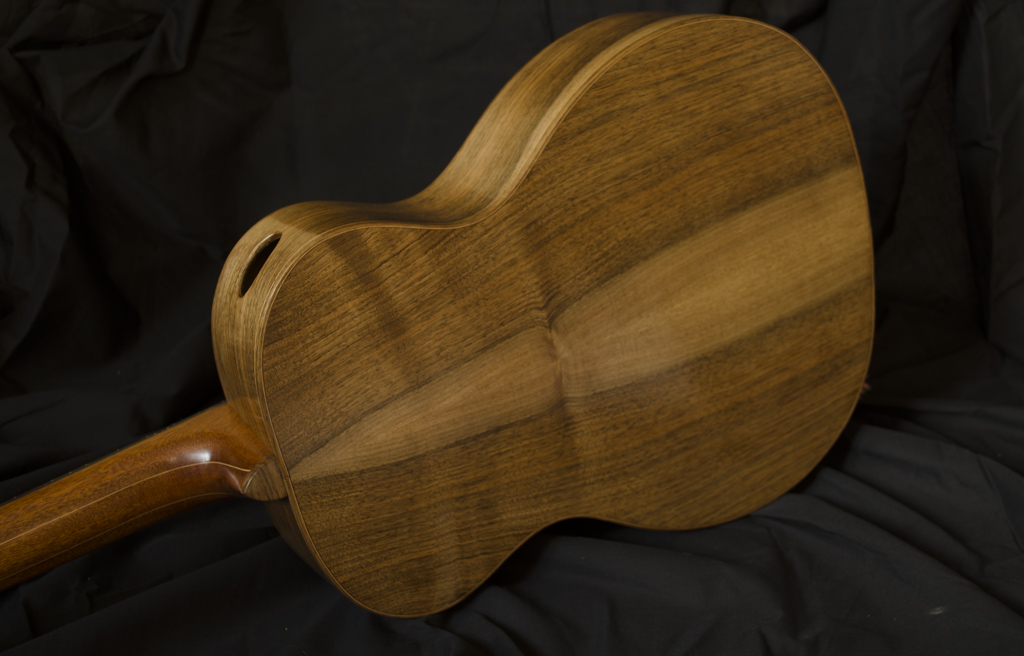
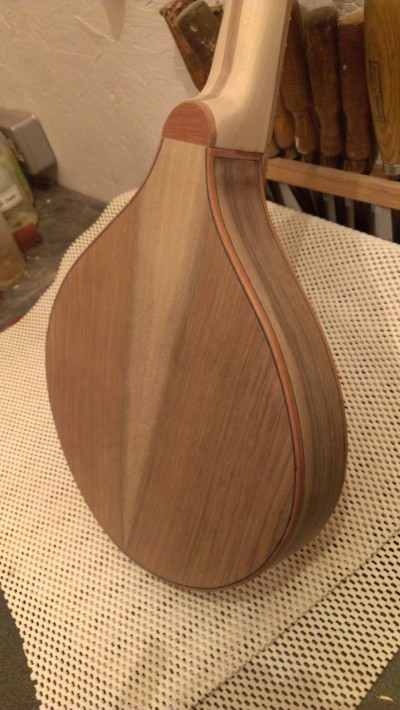
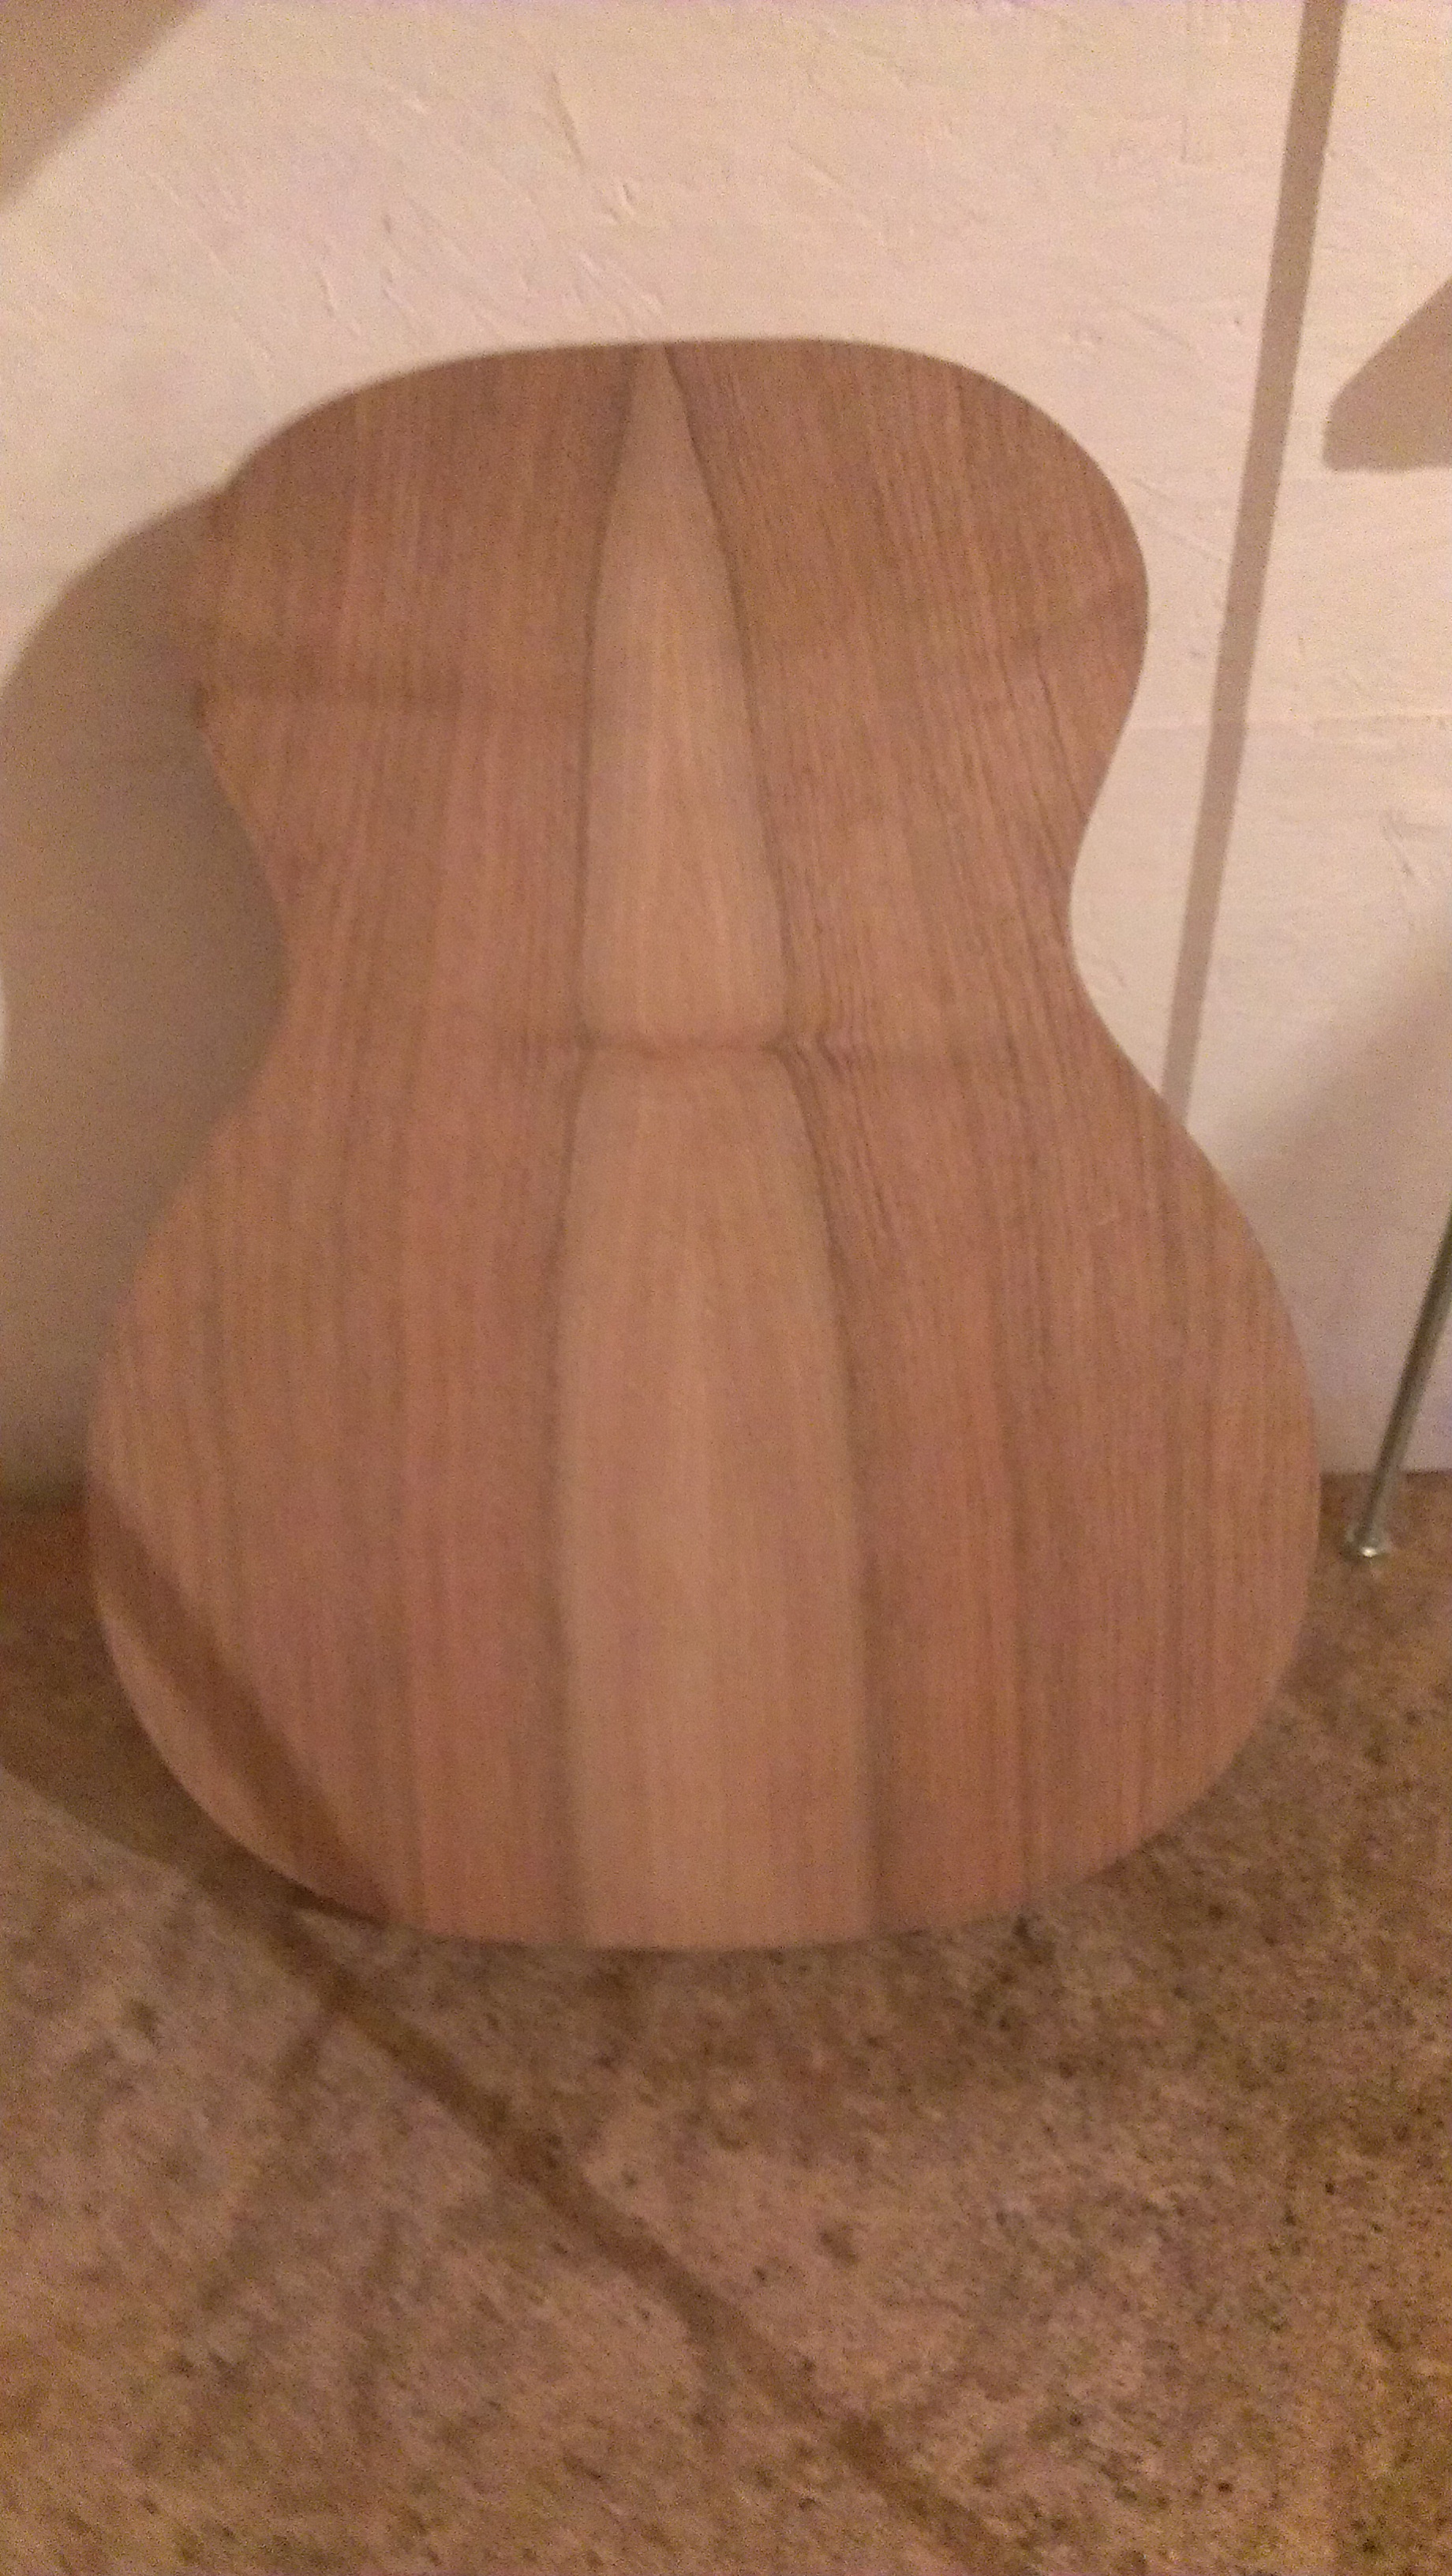
Back and sided – African Mahogany
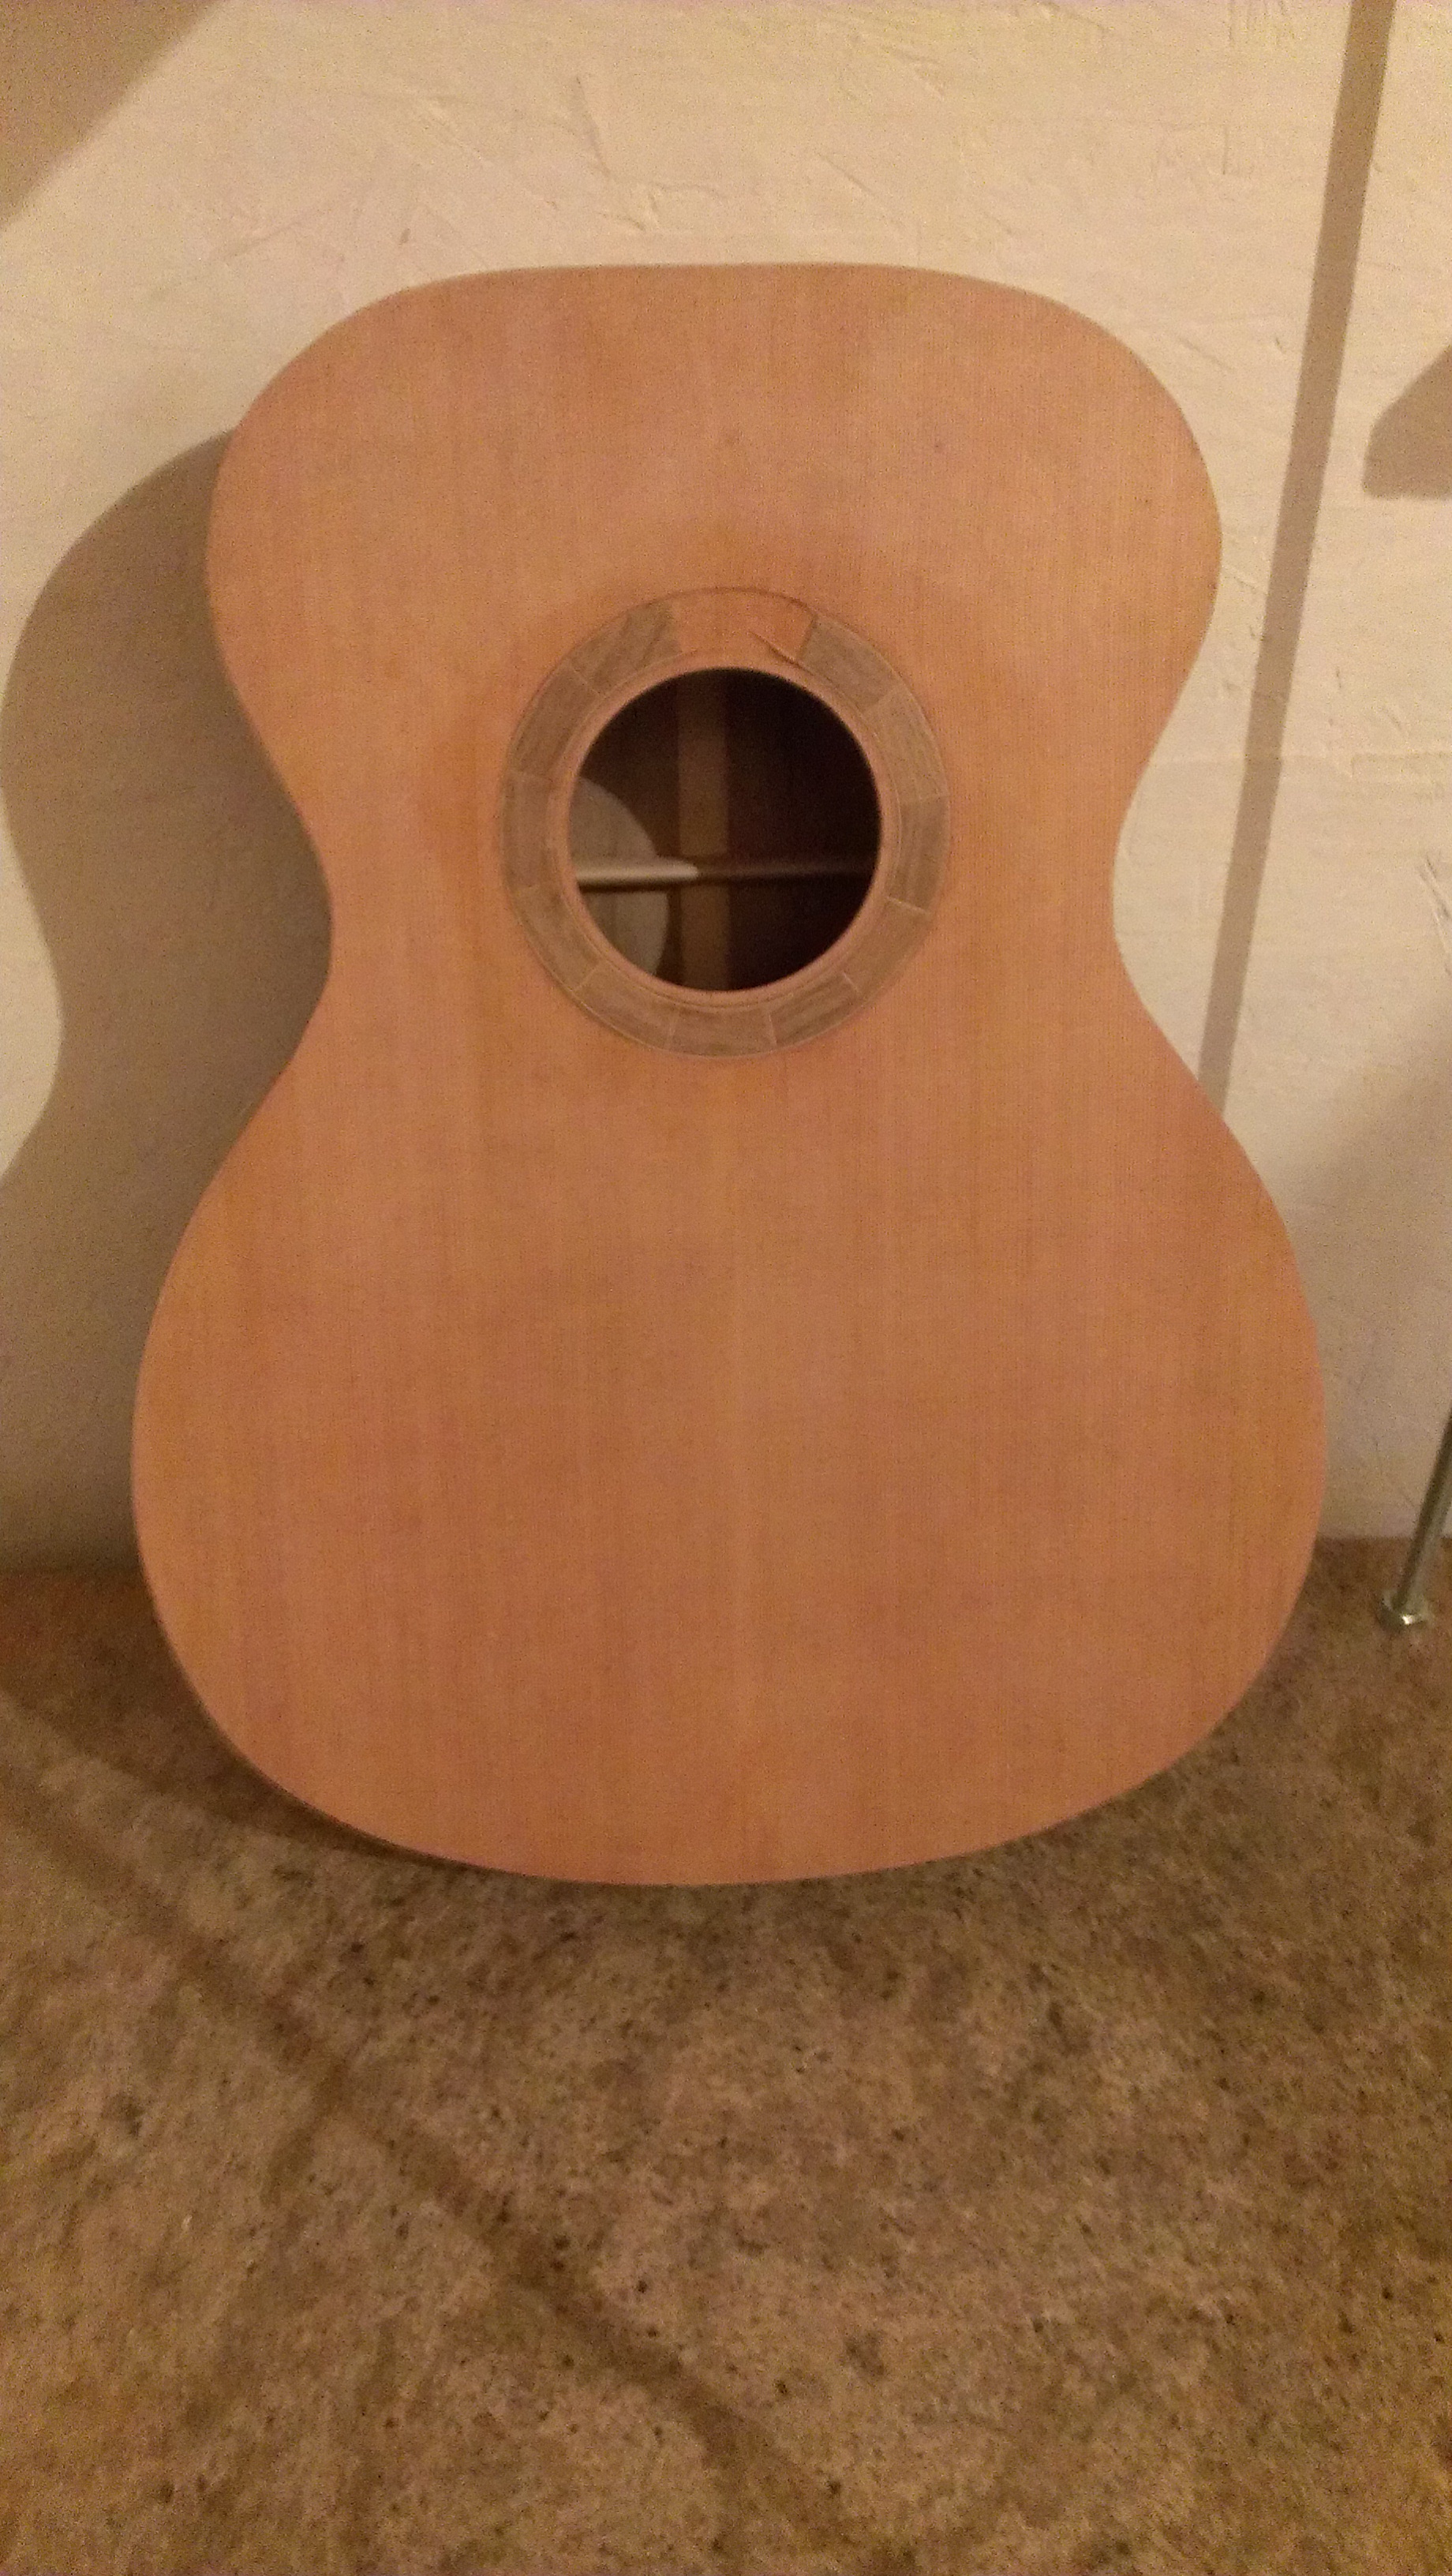
Soundboard – European Spruce
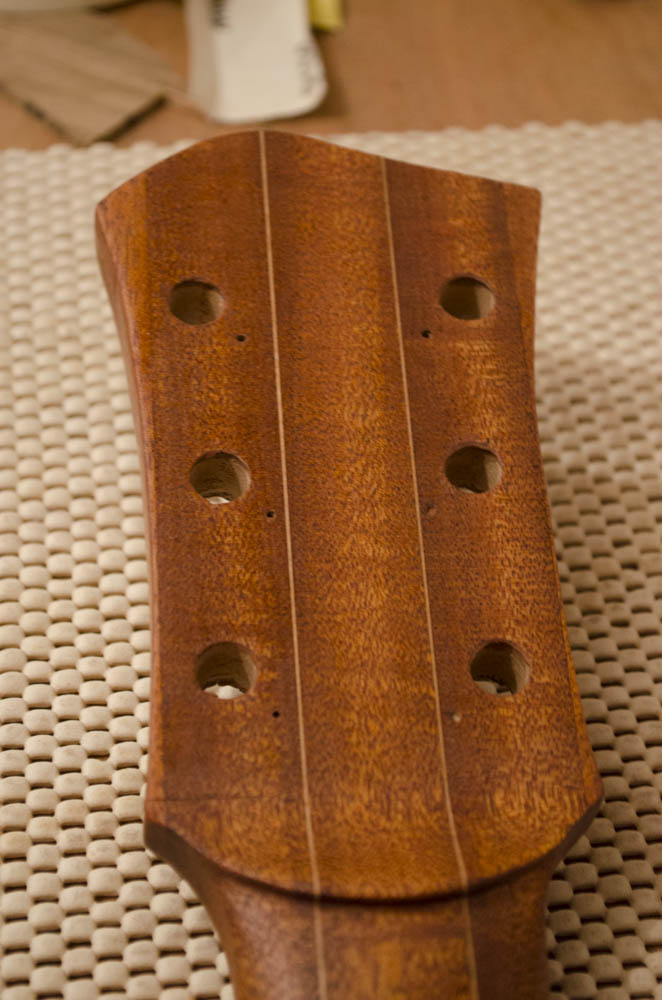
Neck – African Mahogany with slot head
Binding – English Walnut
Fretboard / Bridge – Indian Rosewood
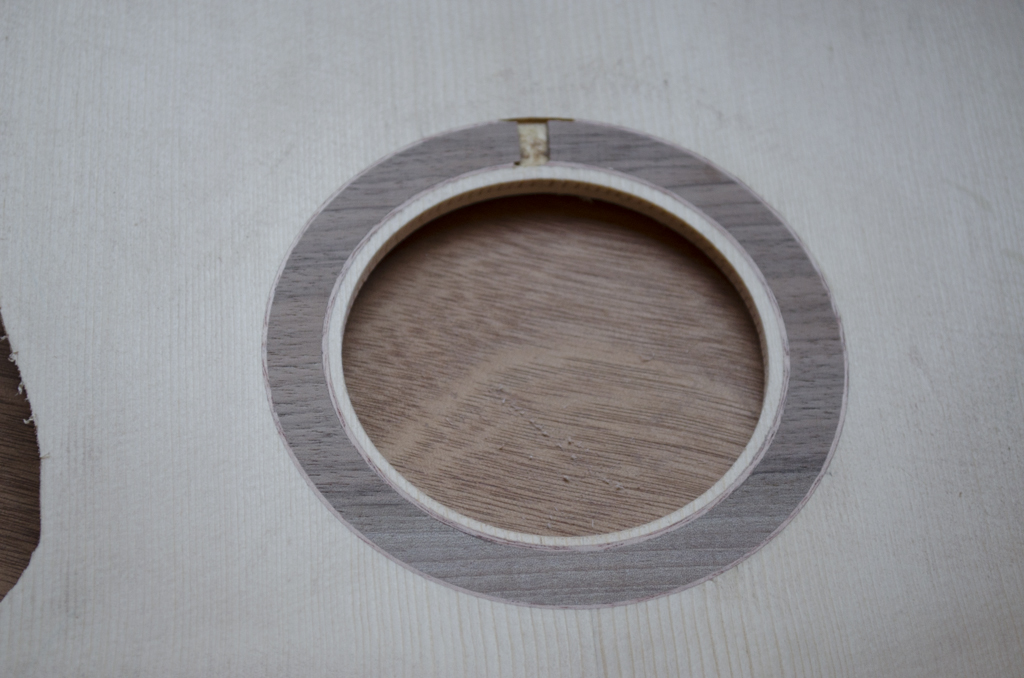
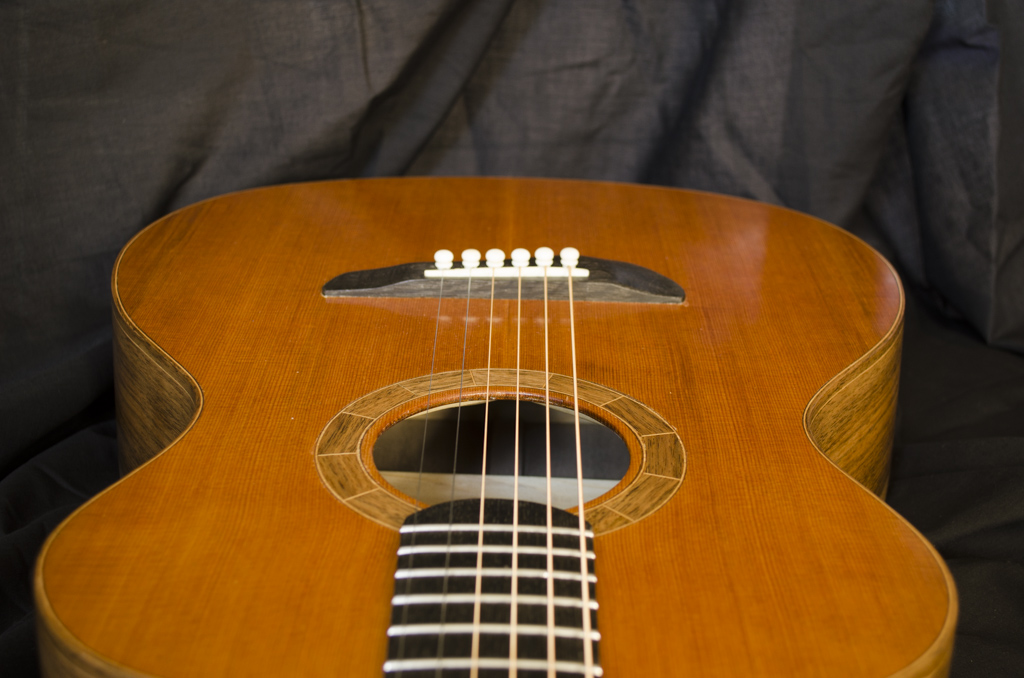
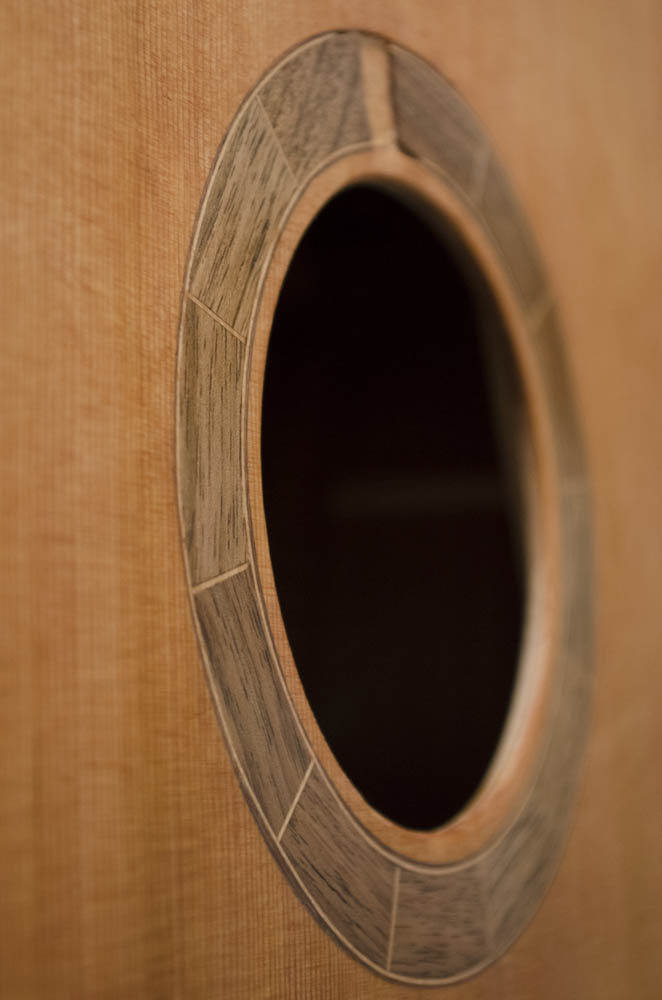
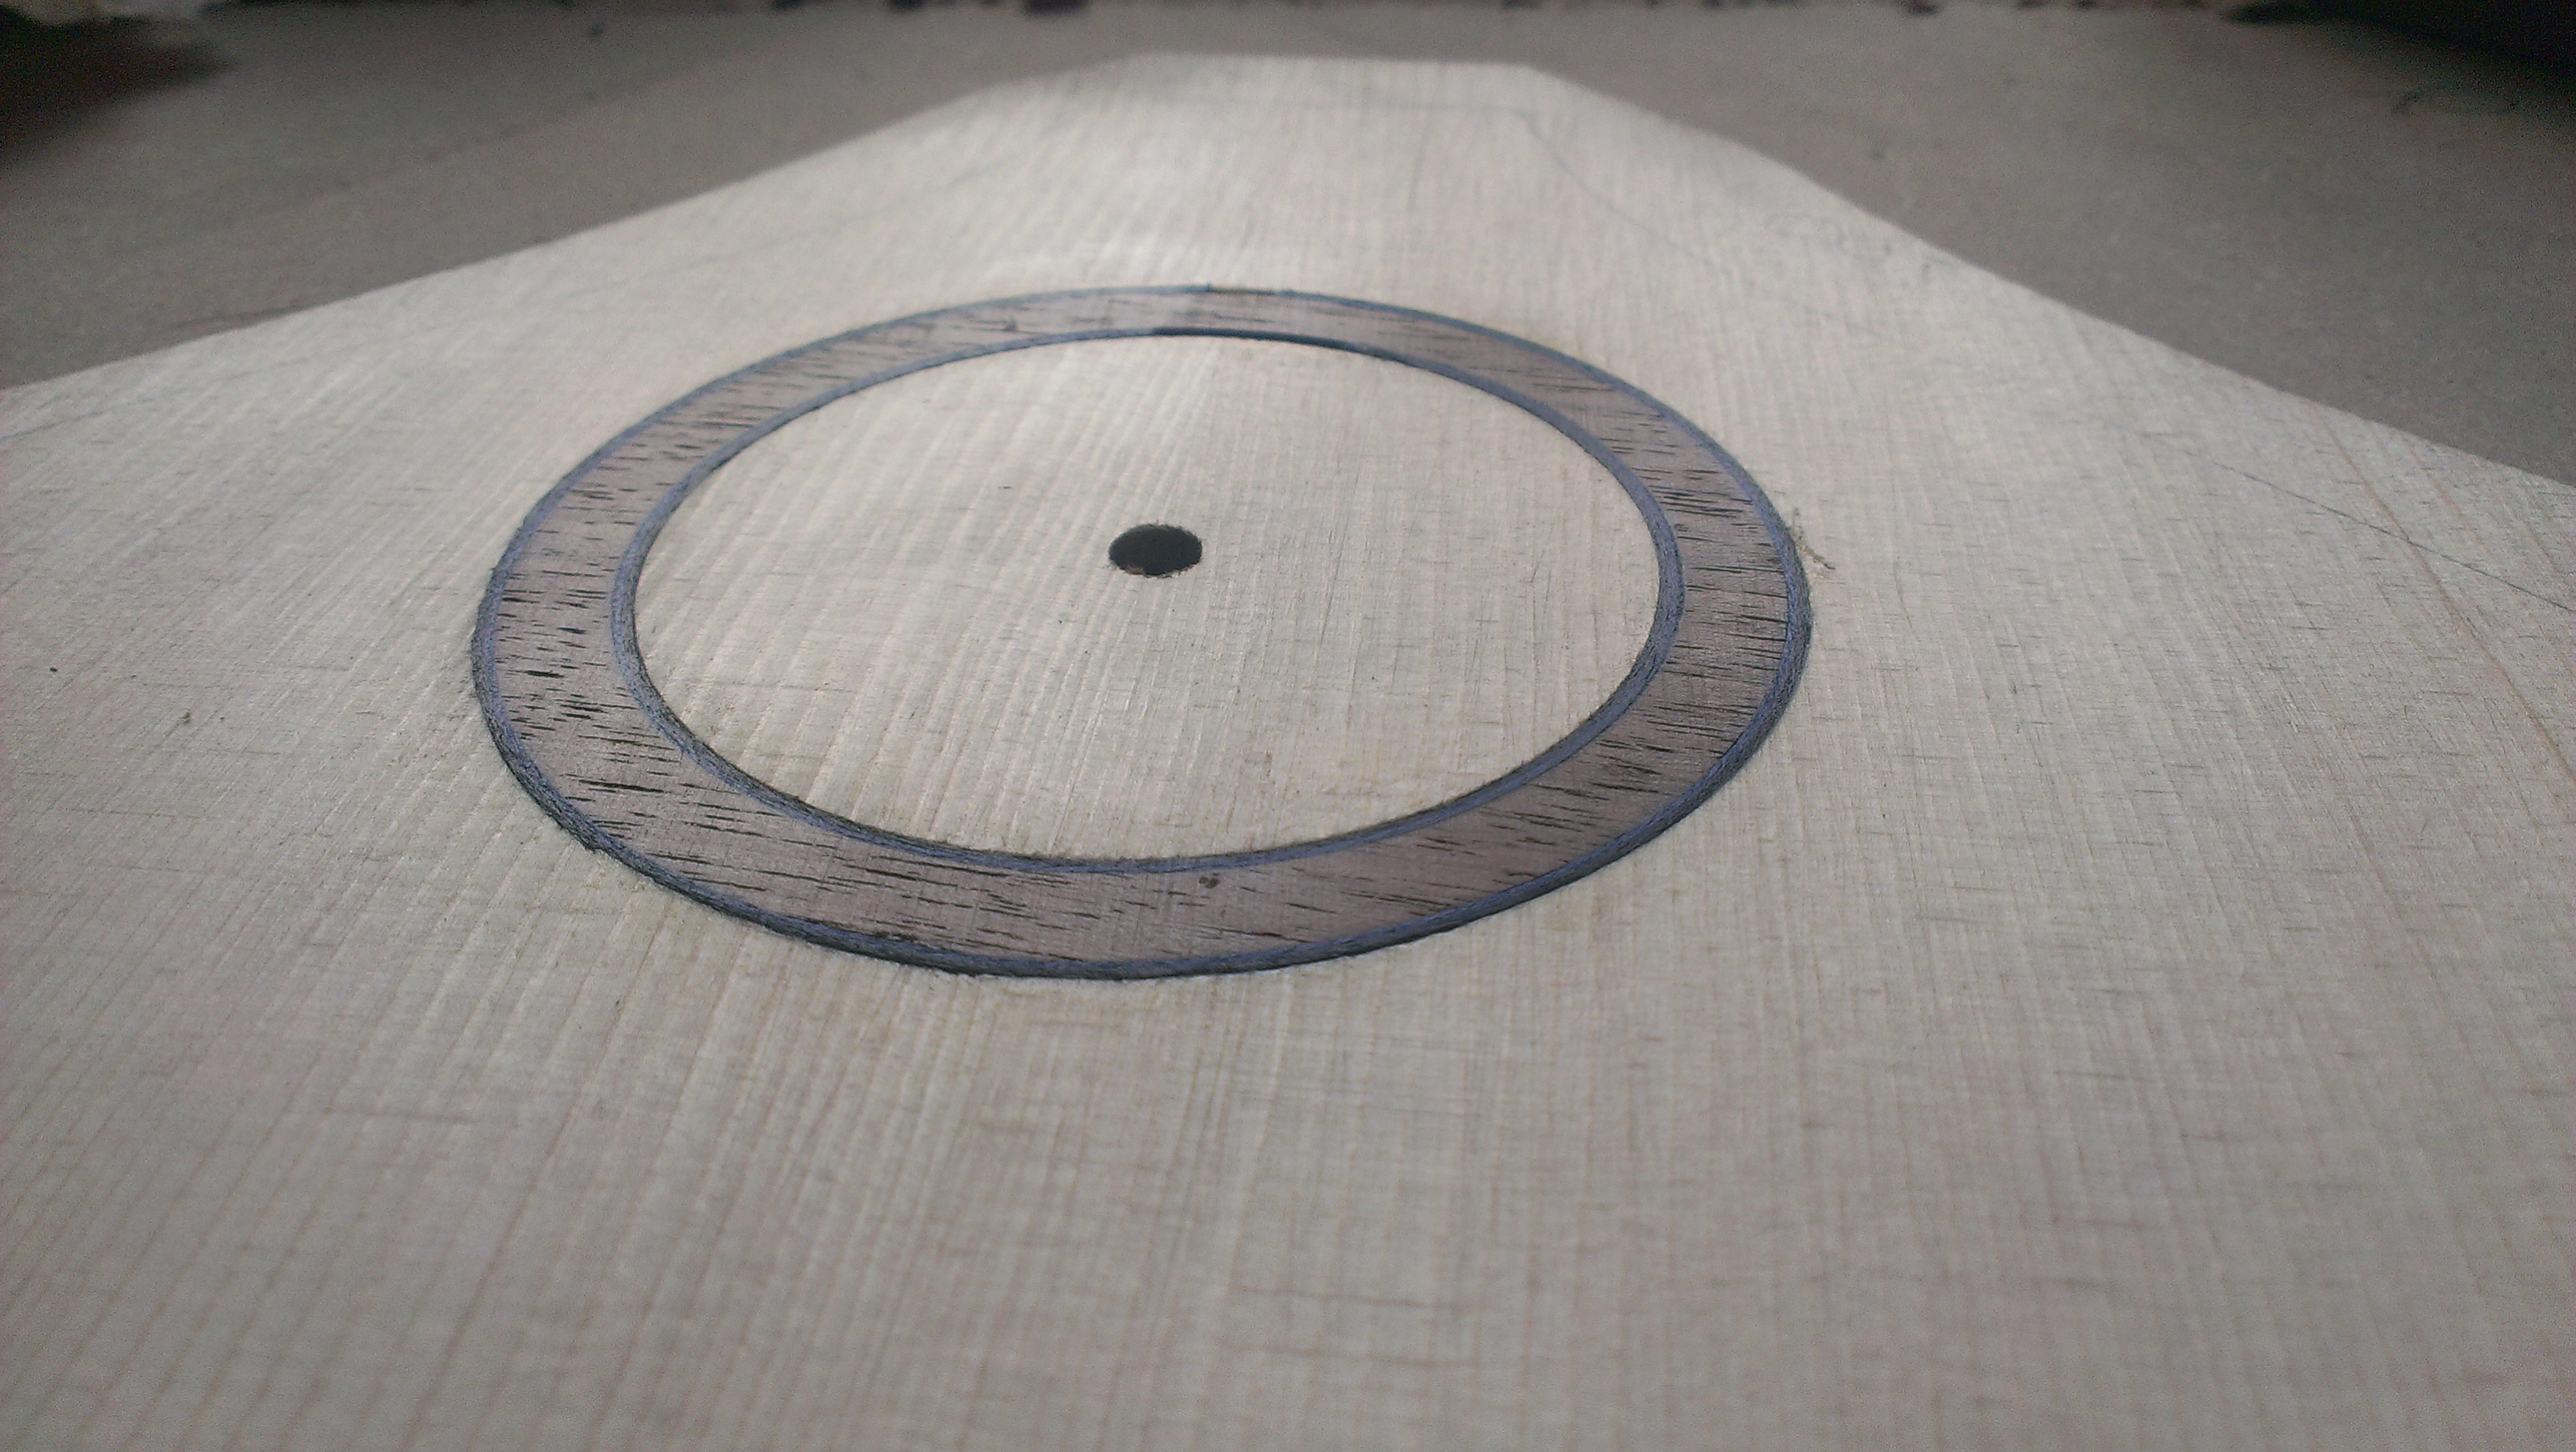
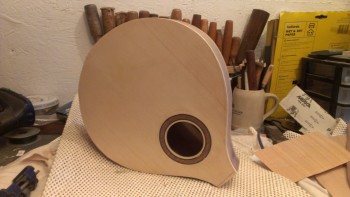
Rosette – English Walnut with Mahogany purflings
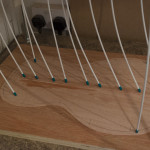
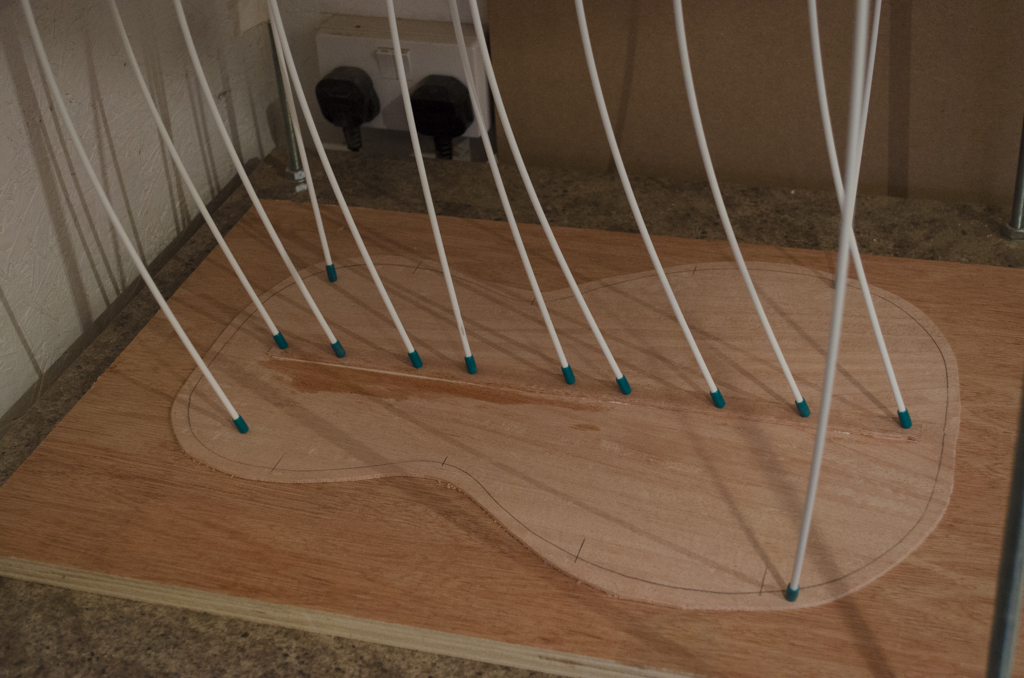
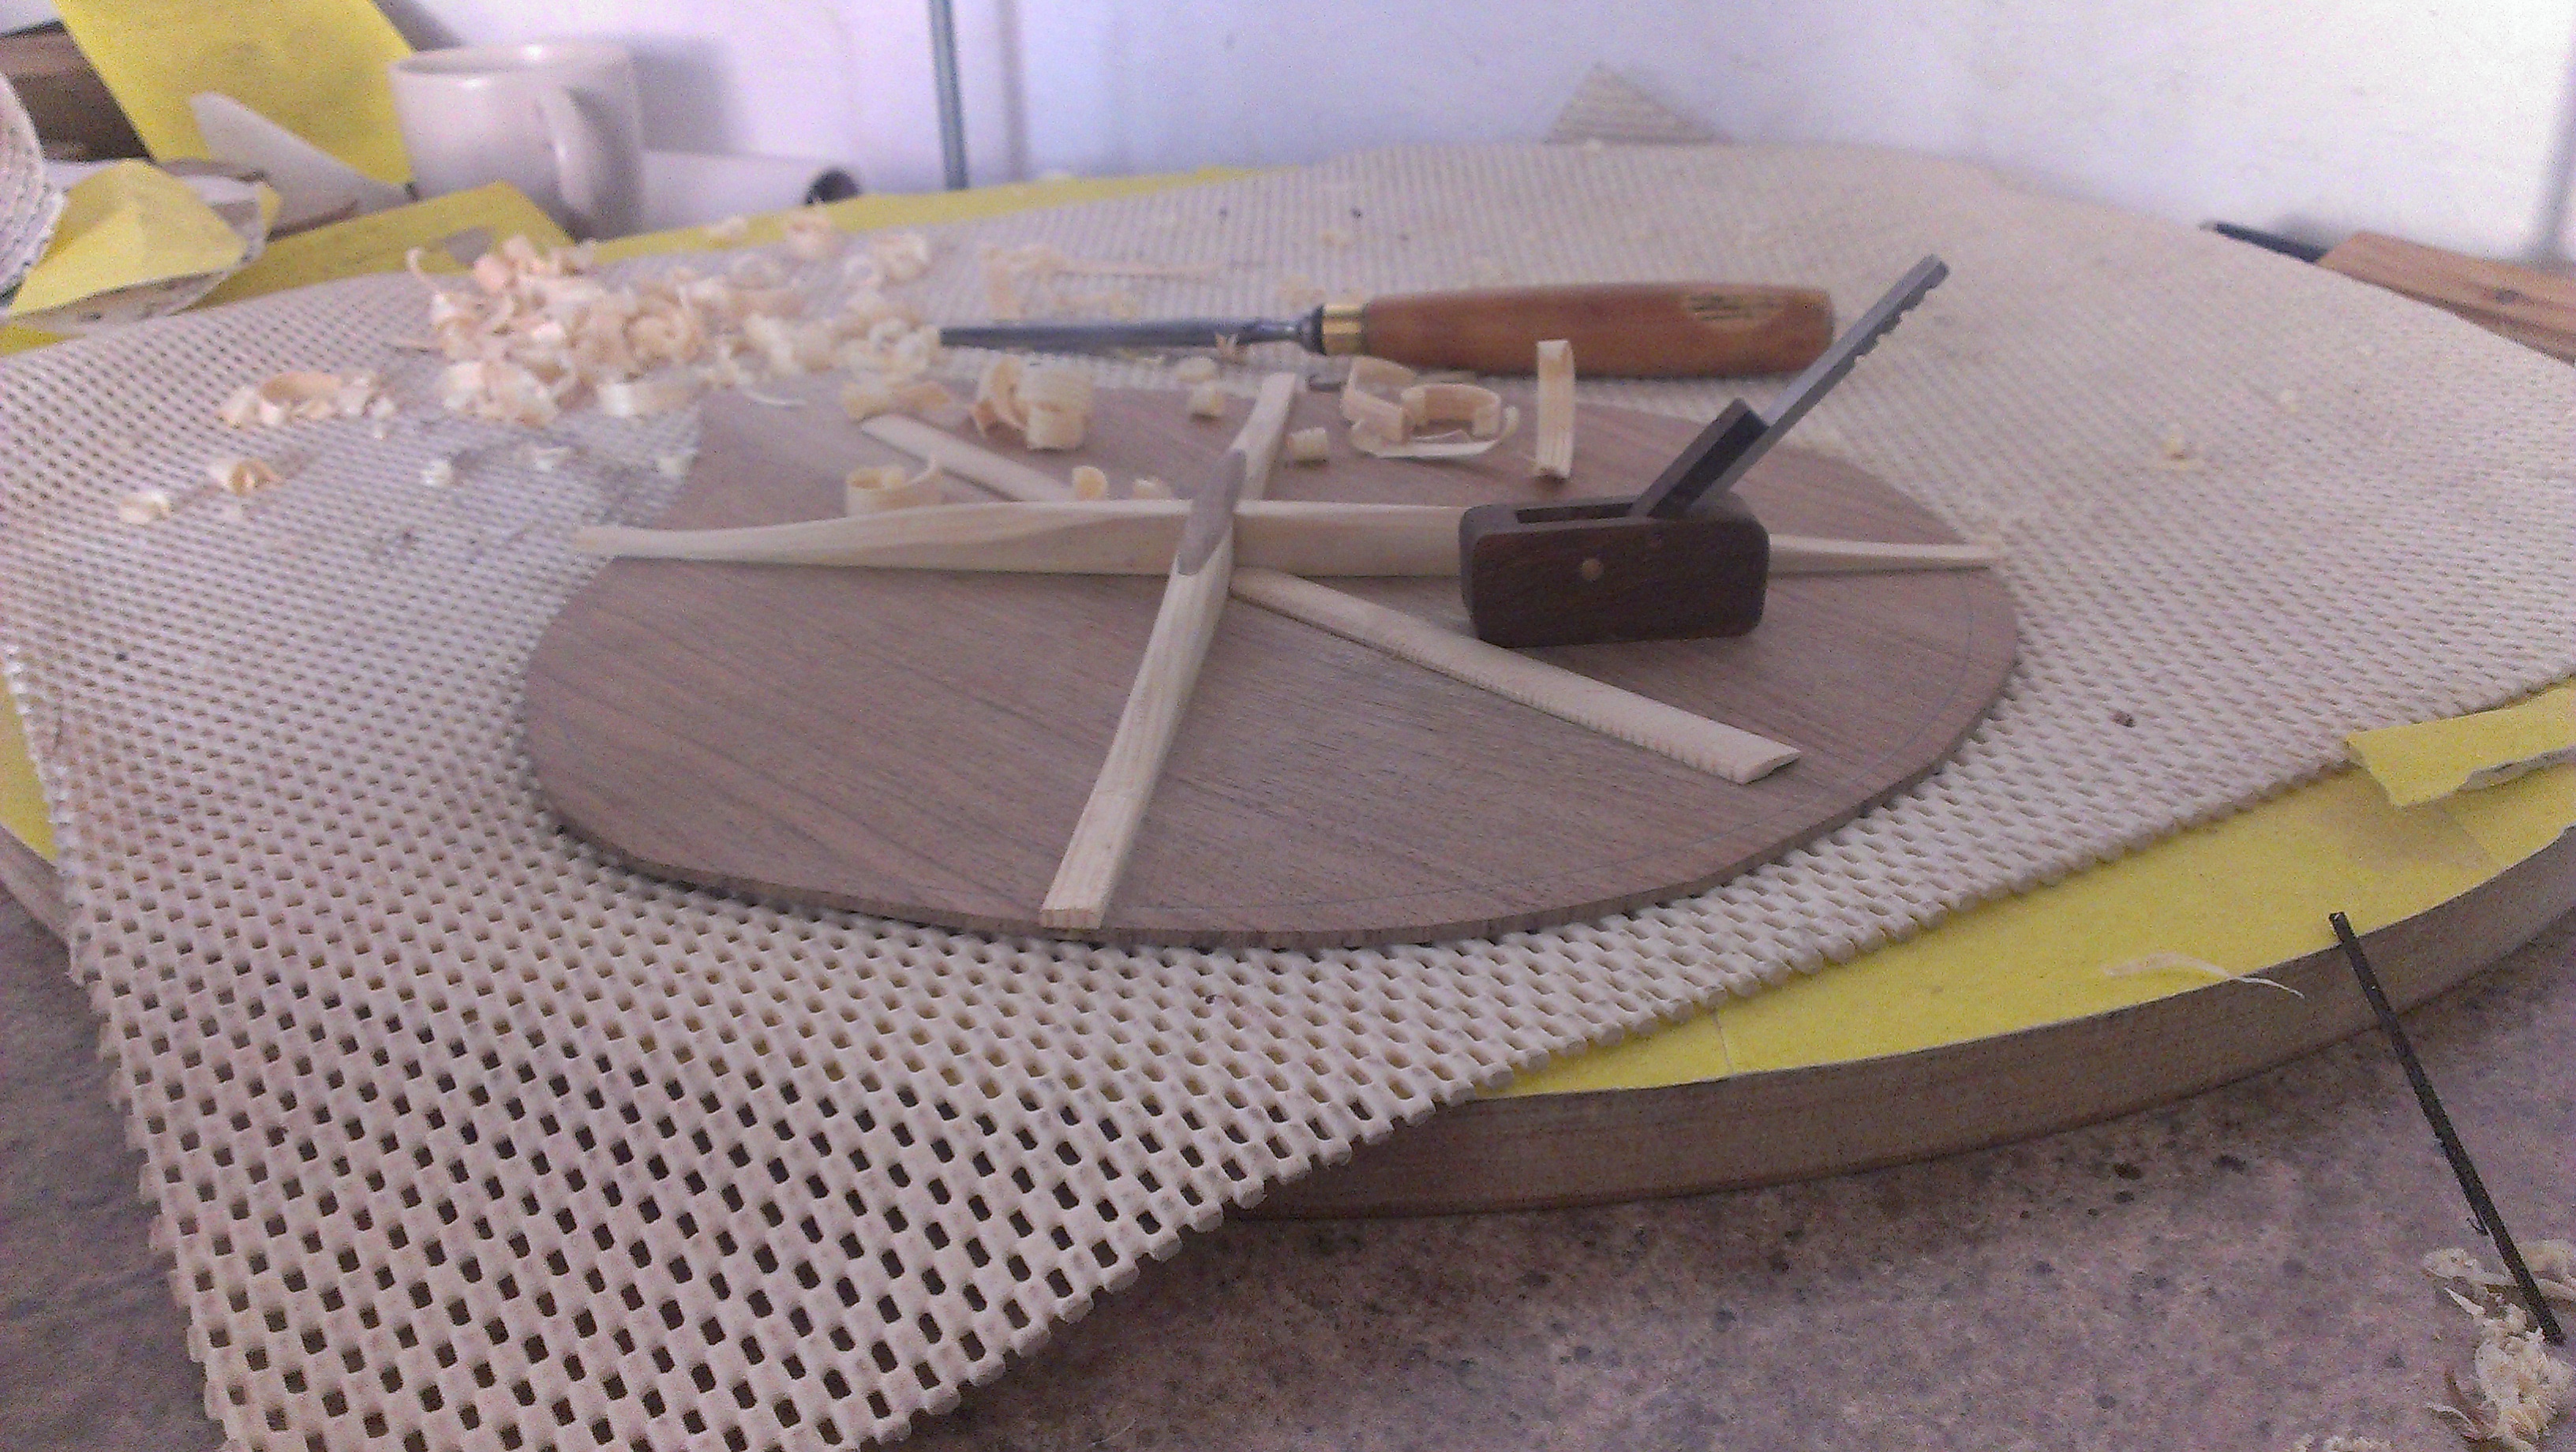
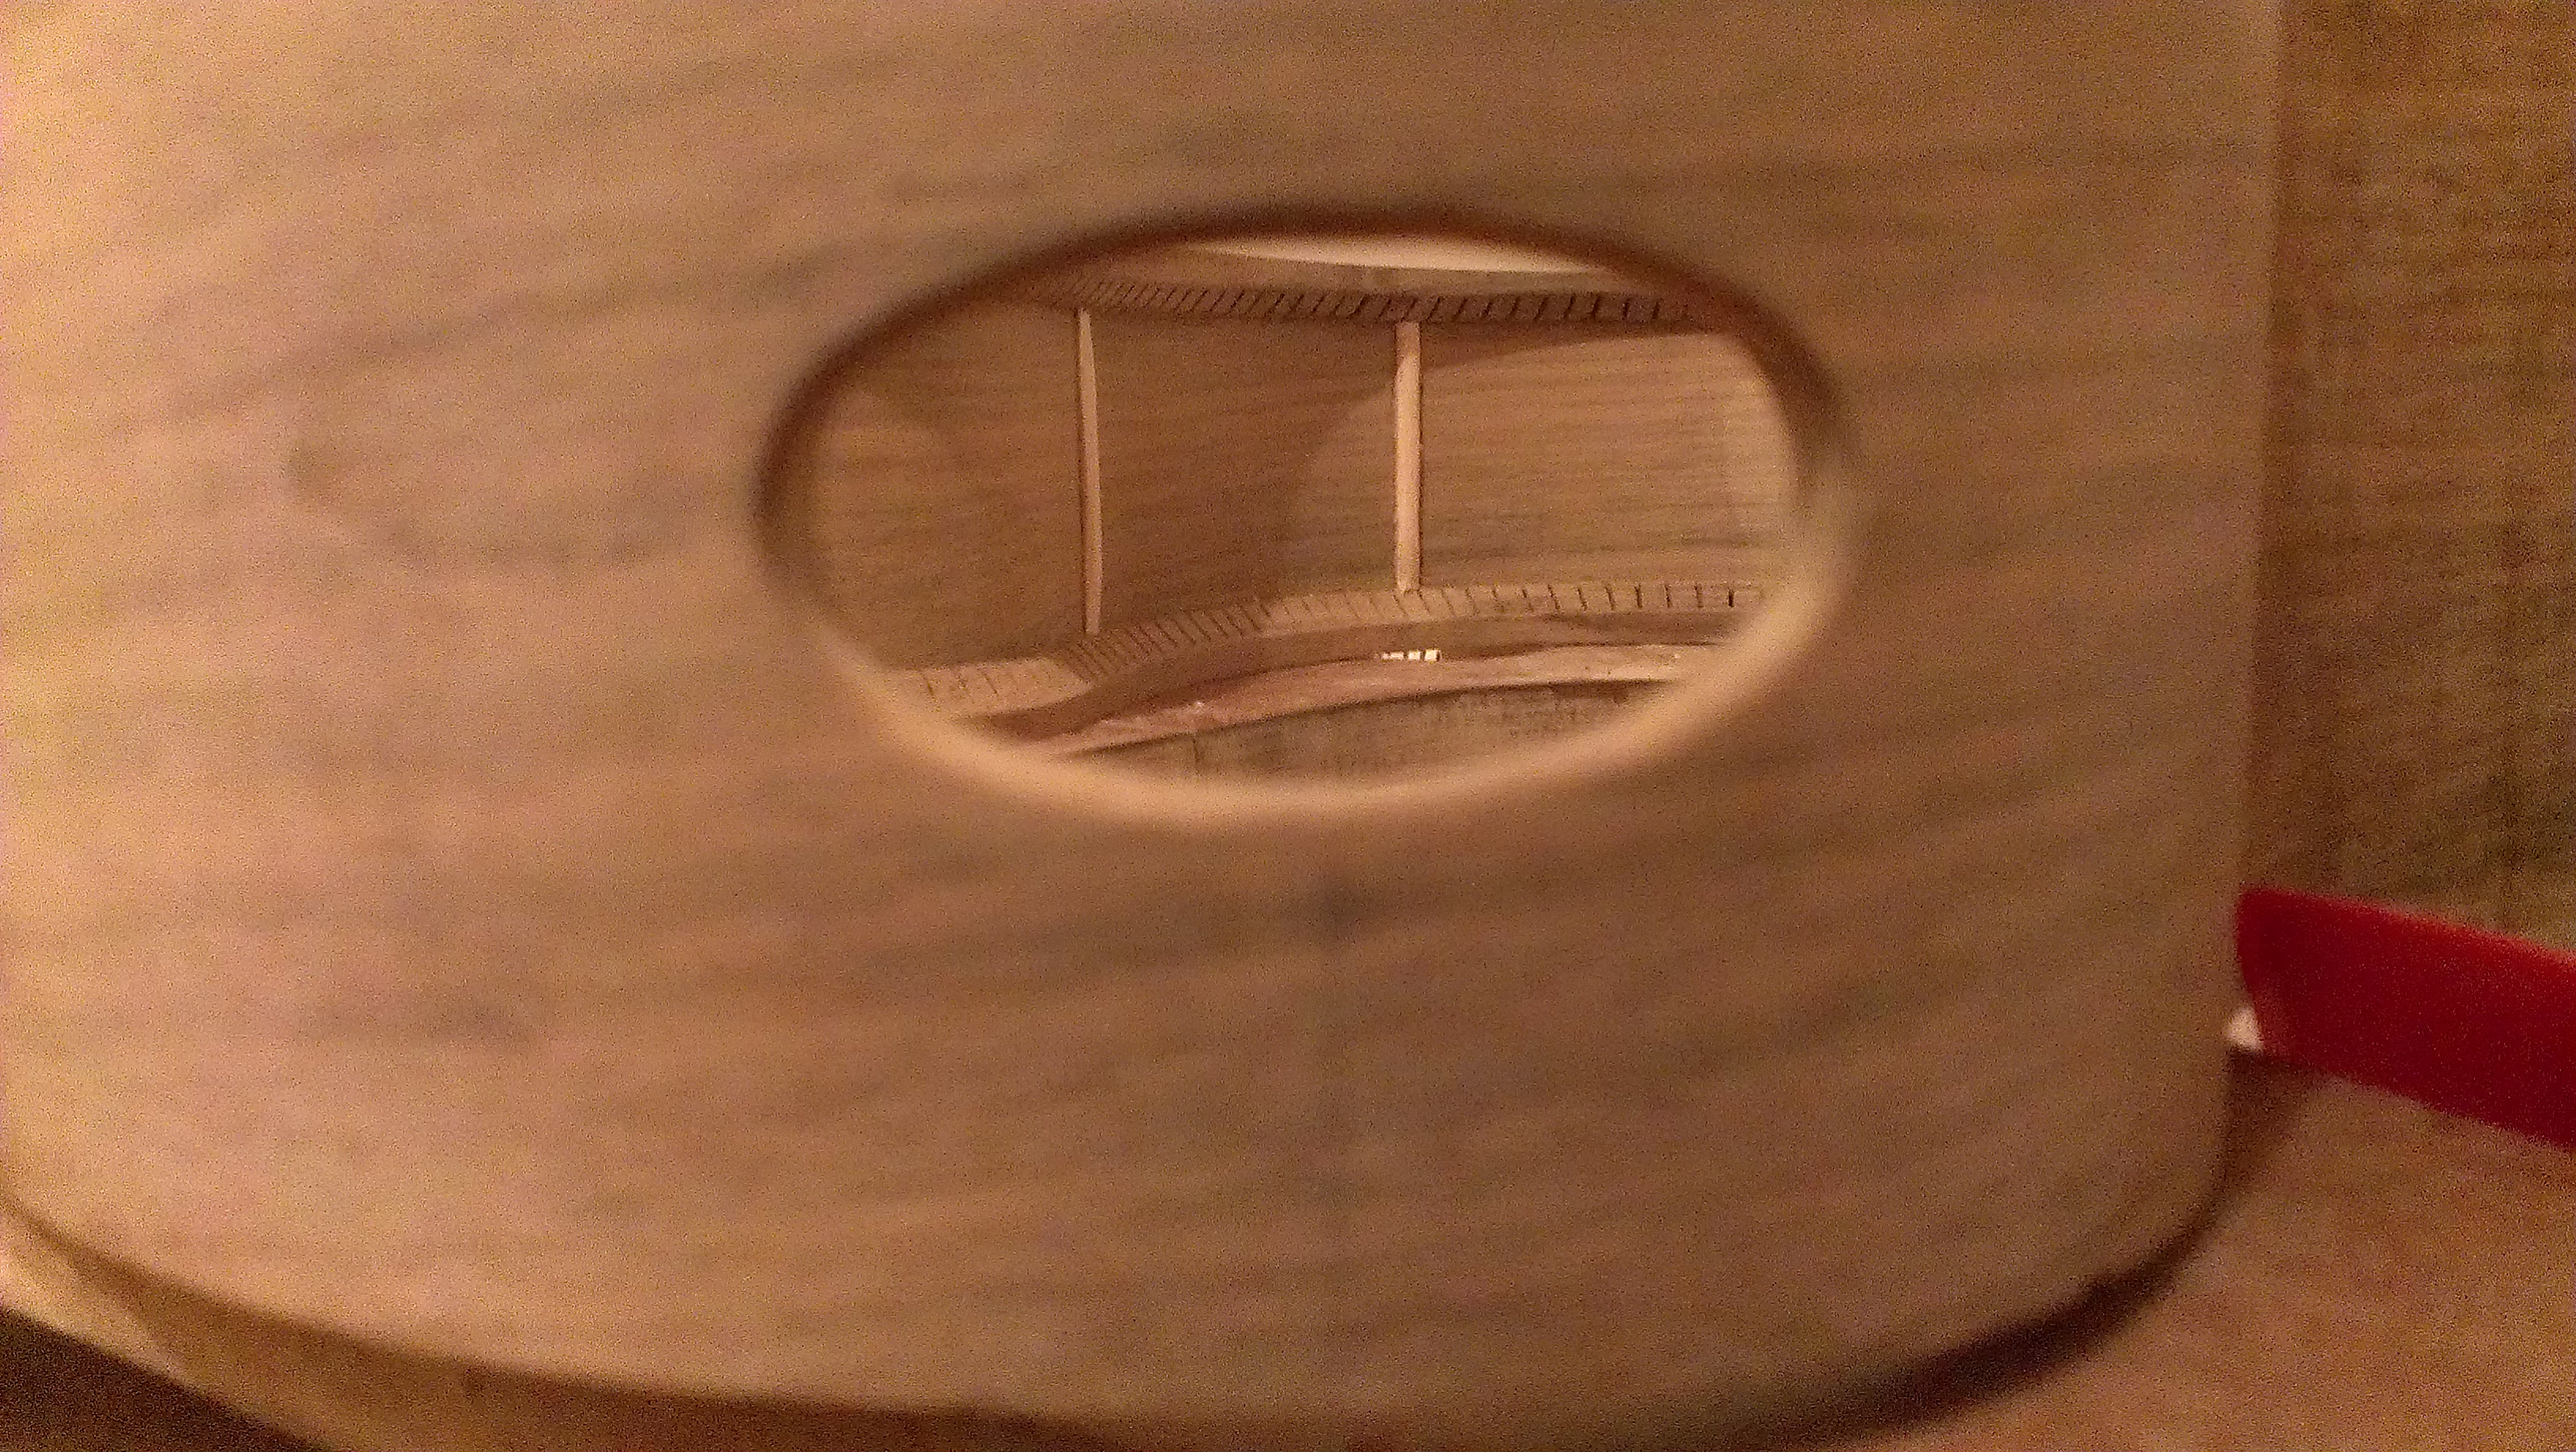
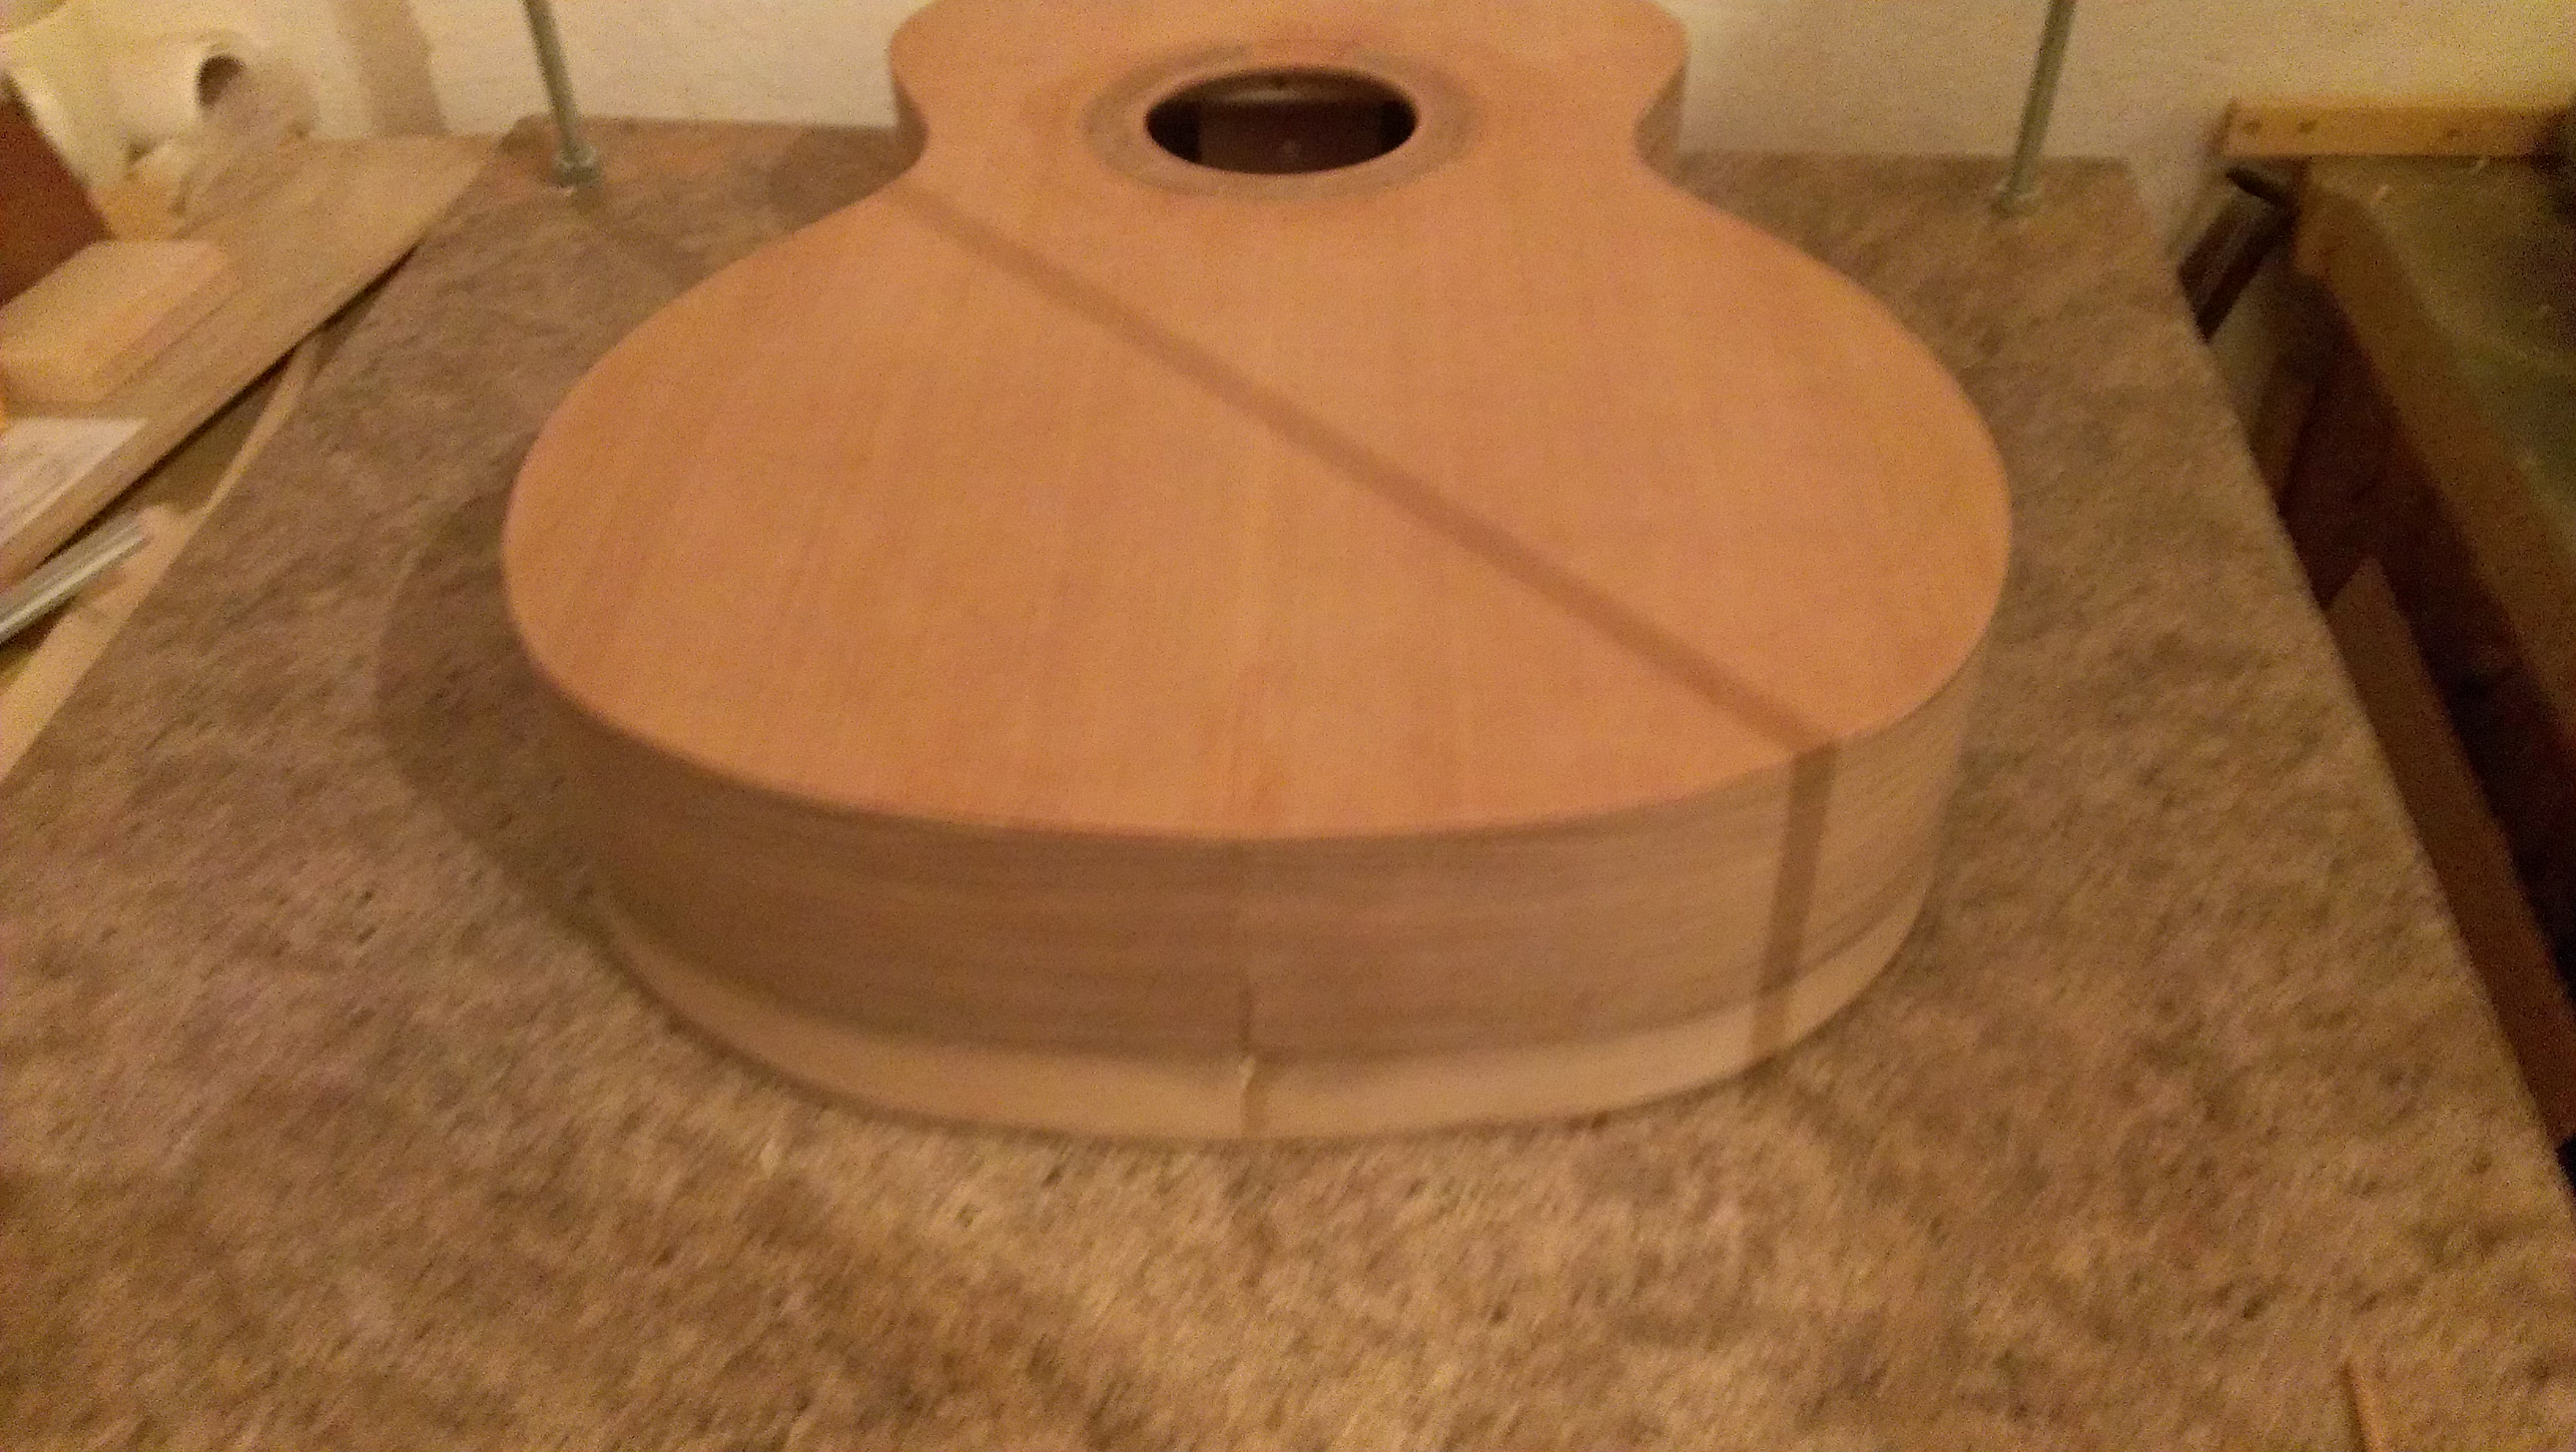
The first task was to get the back and soundboard jointed.
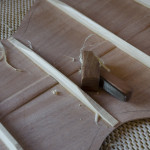
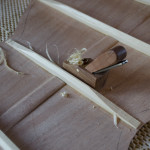
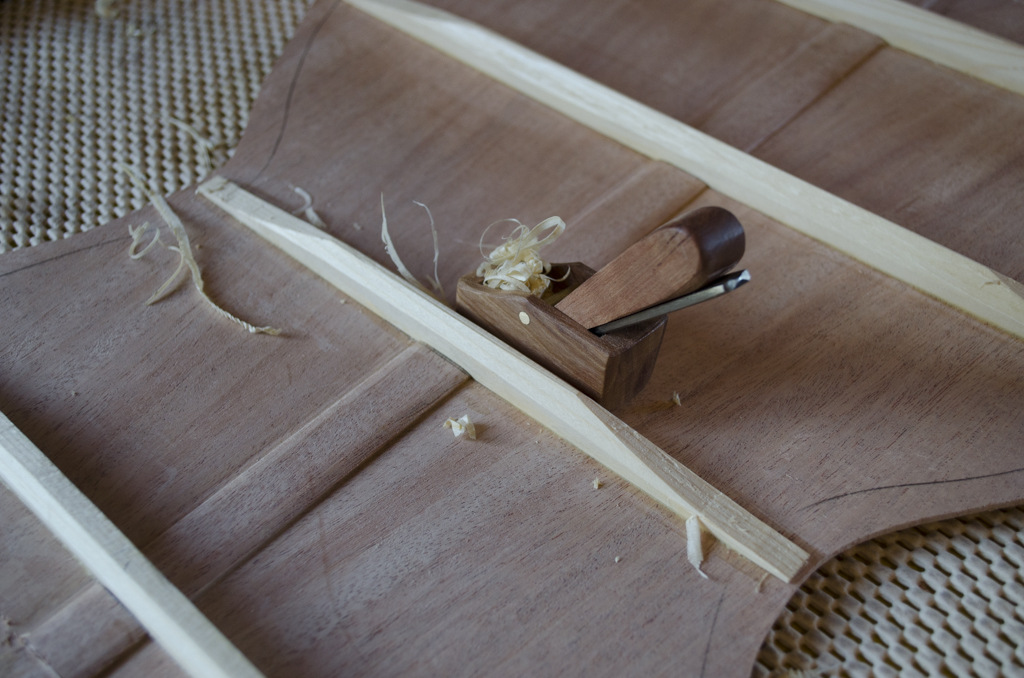
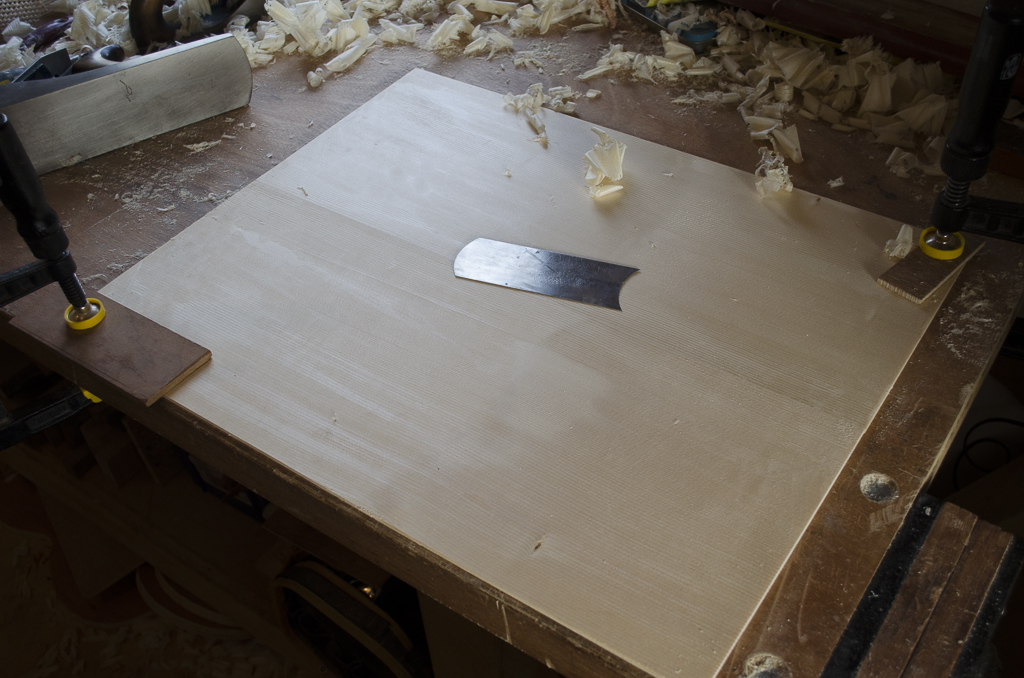
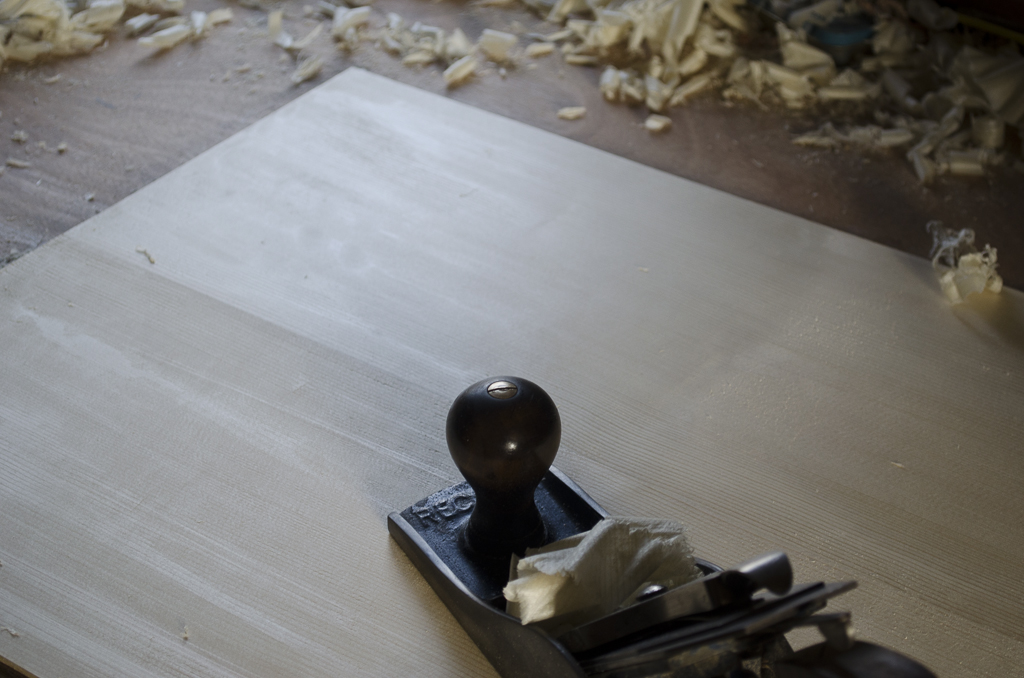
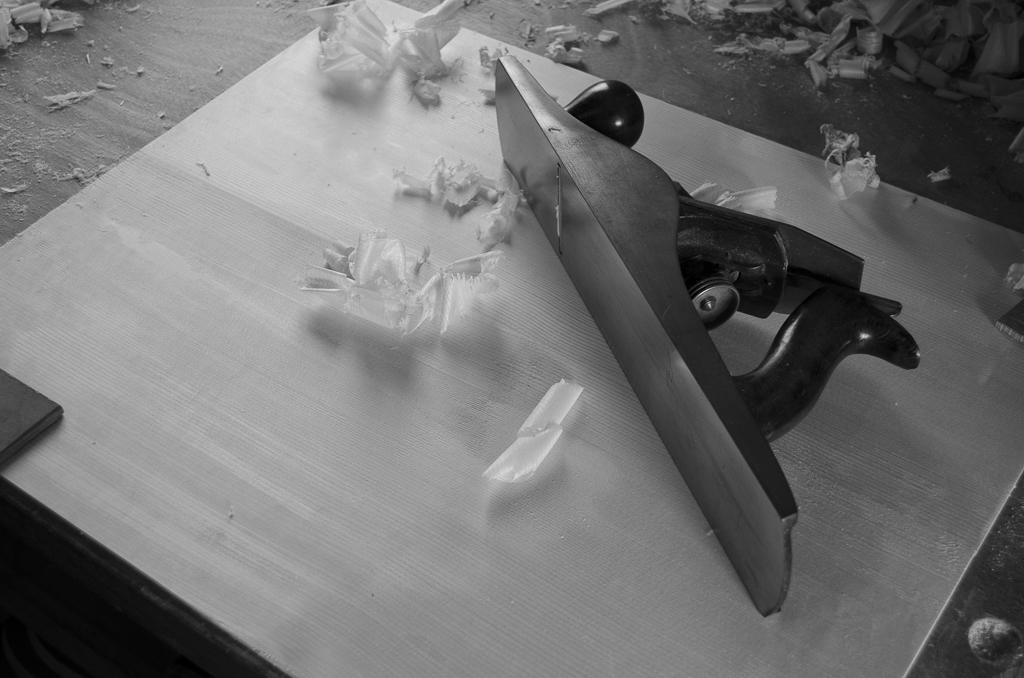
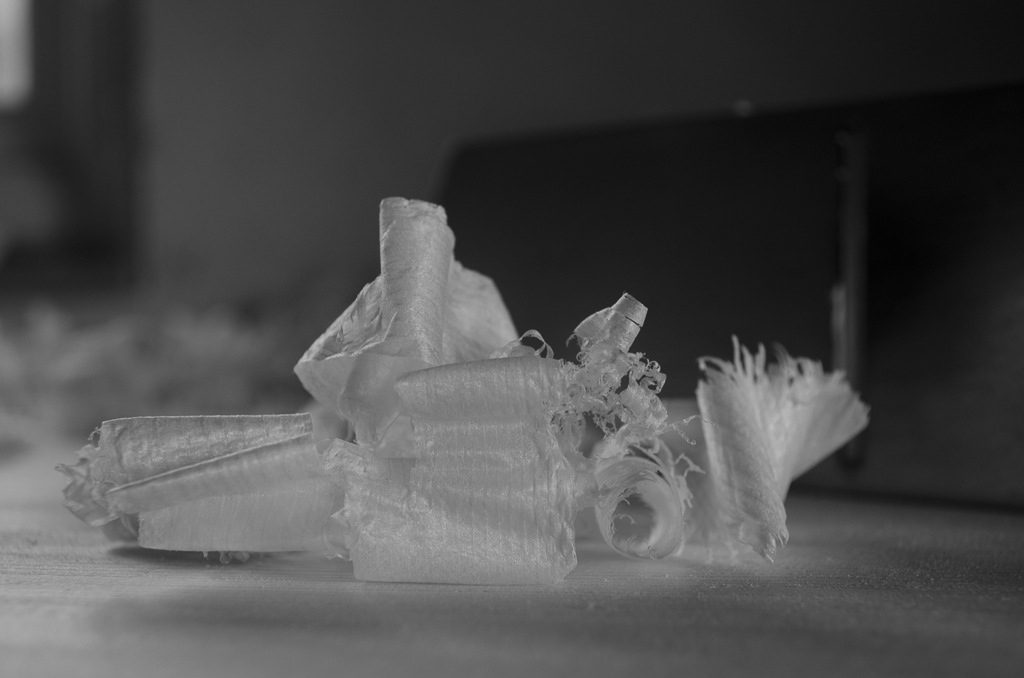
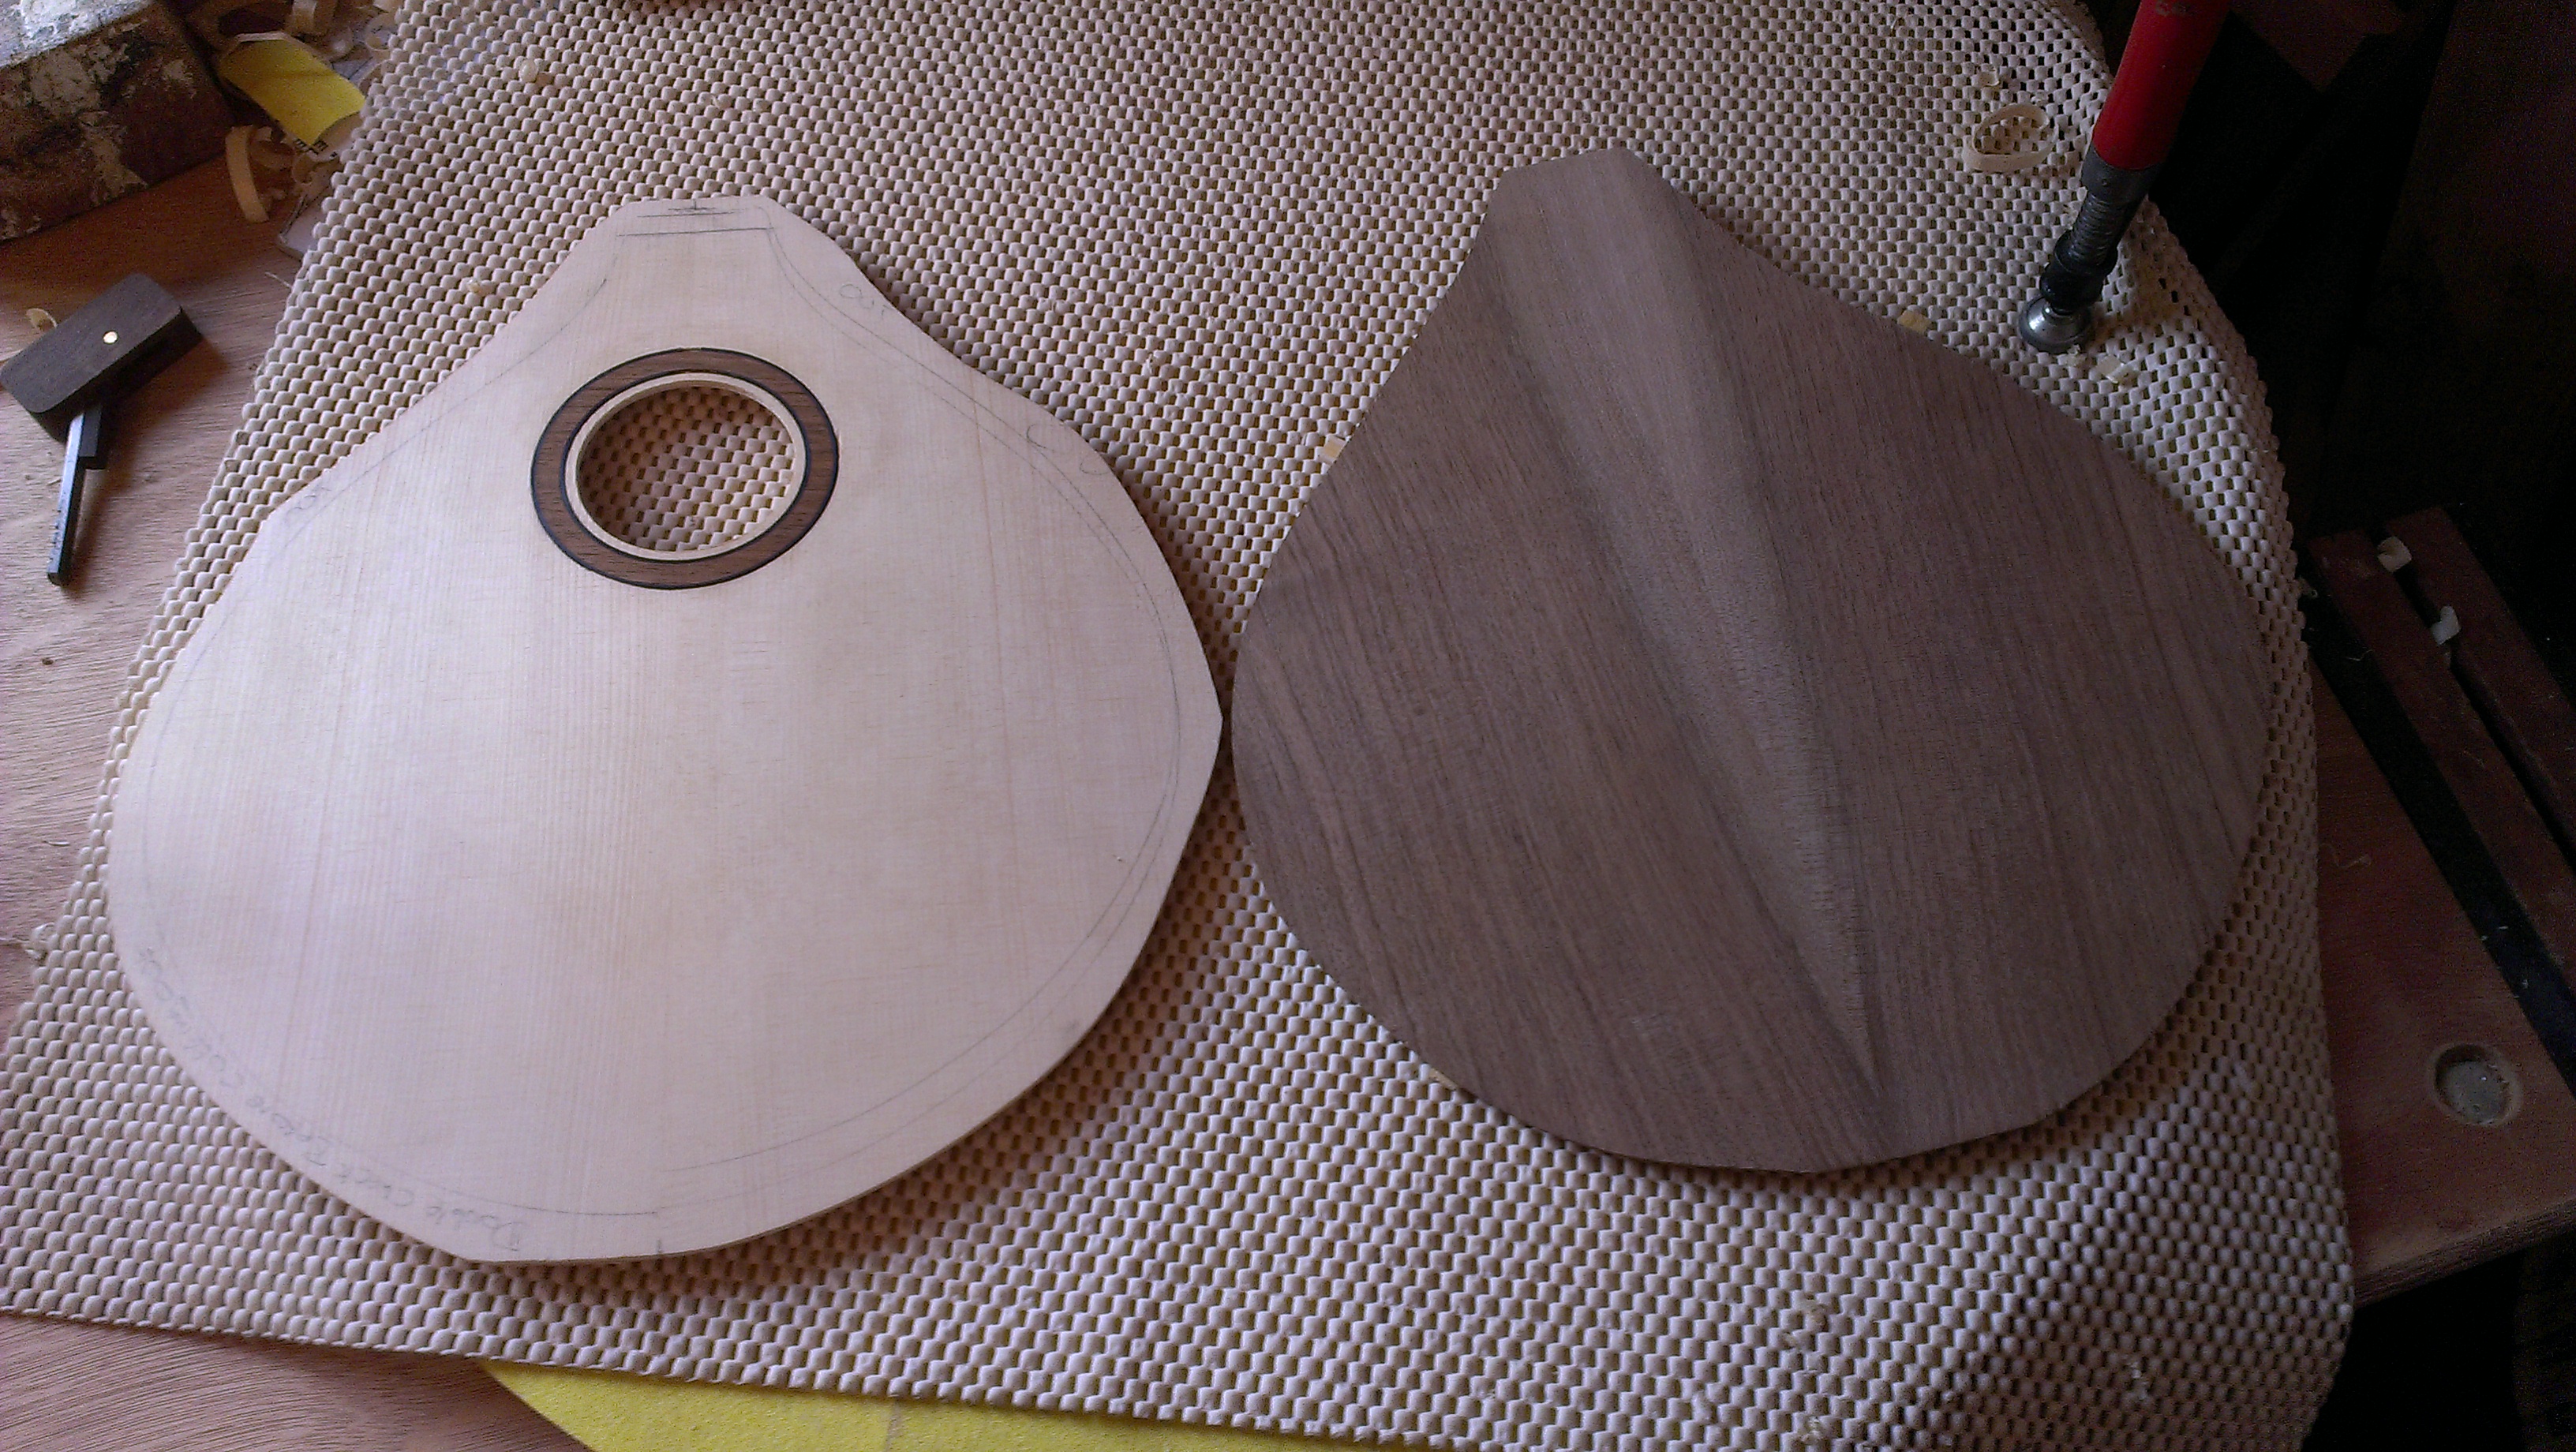
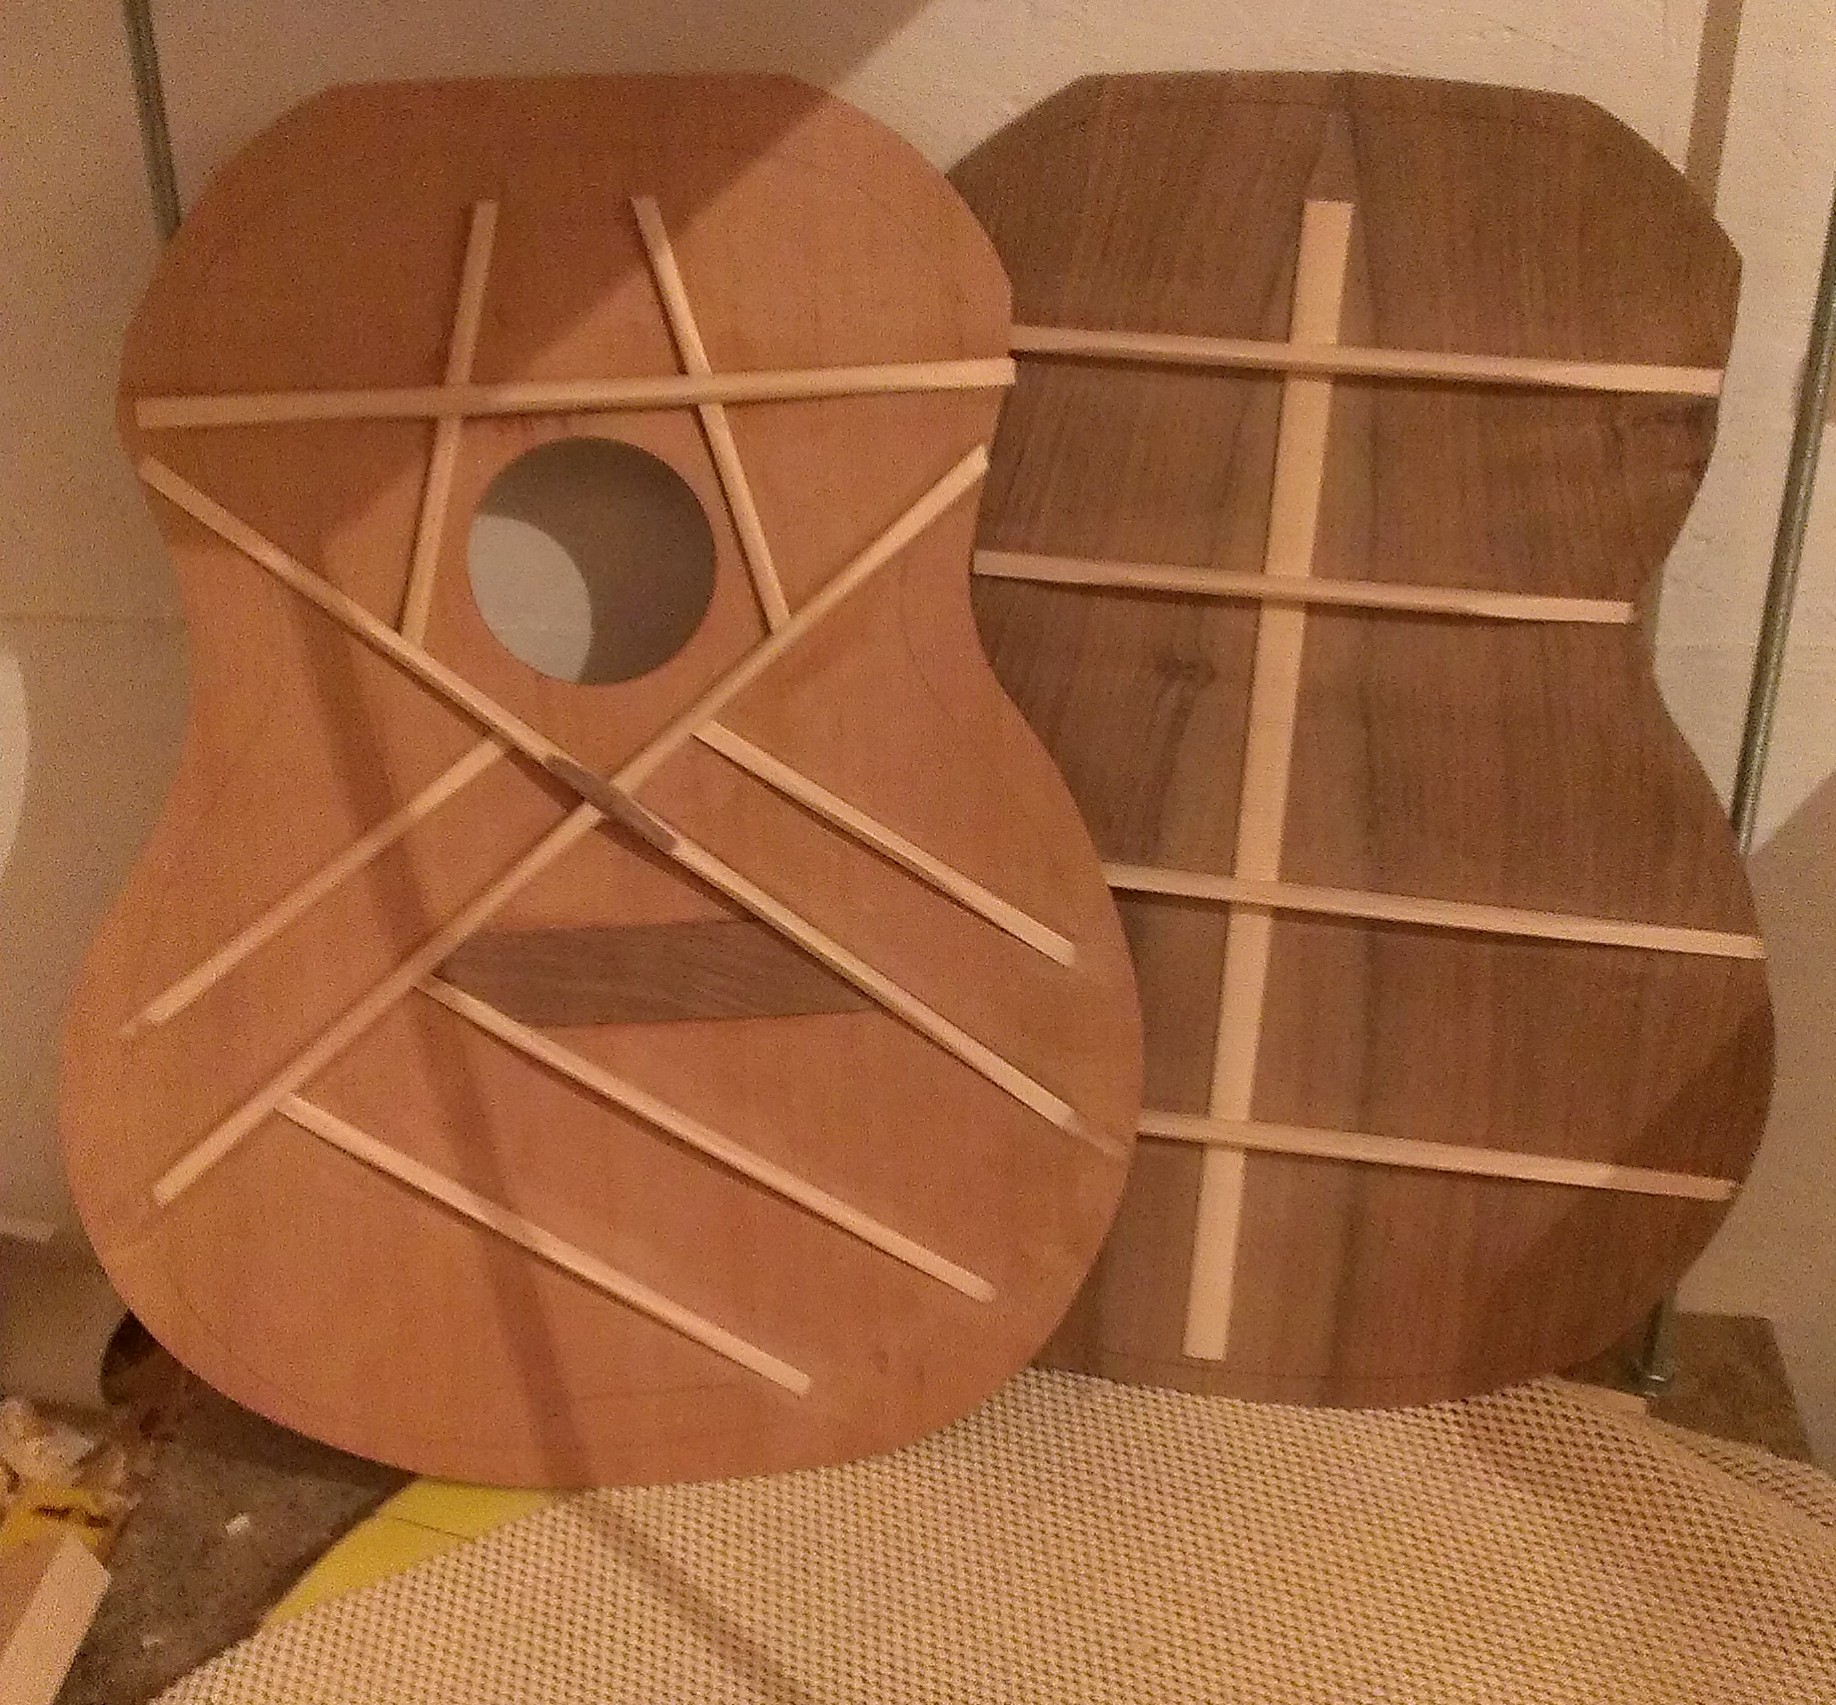
Next I sharpened up my trusty No. 5 1/2 plane and a cabinet scraper and got under way thicknessing the plates. There is something really satisfying seeing fine shavings appear through the plane. The back was taken down to just over 2.5mm but will be reduced a little bit further, and the soundboard was just flattened so that I can get the rosette installed.
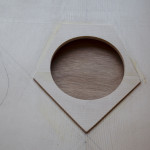
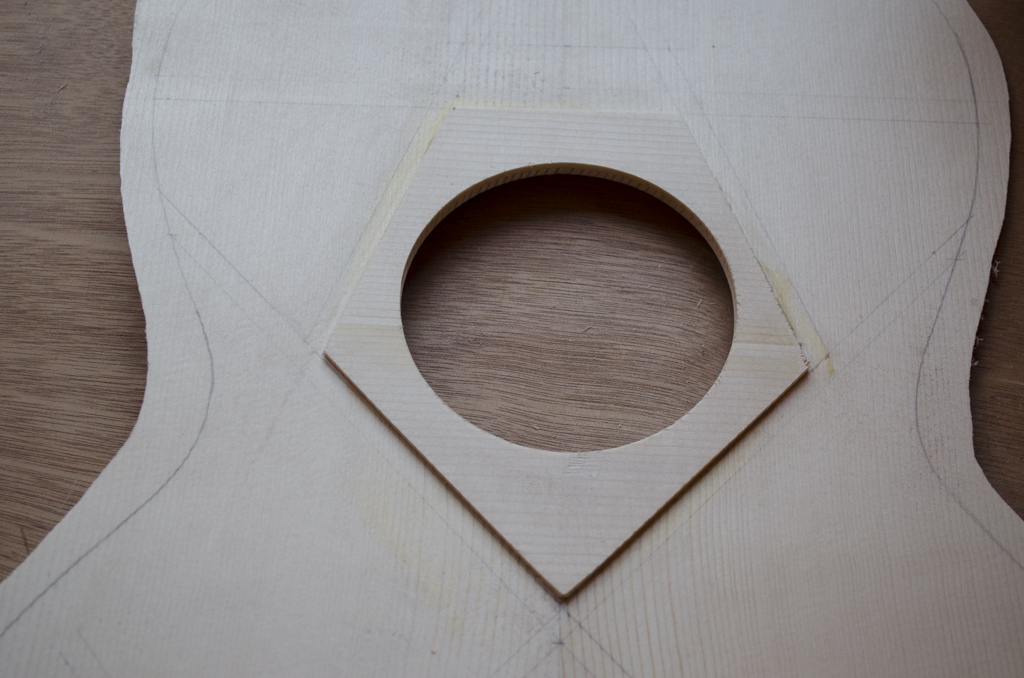
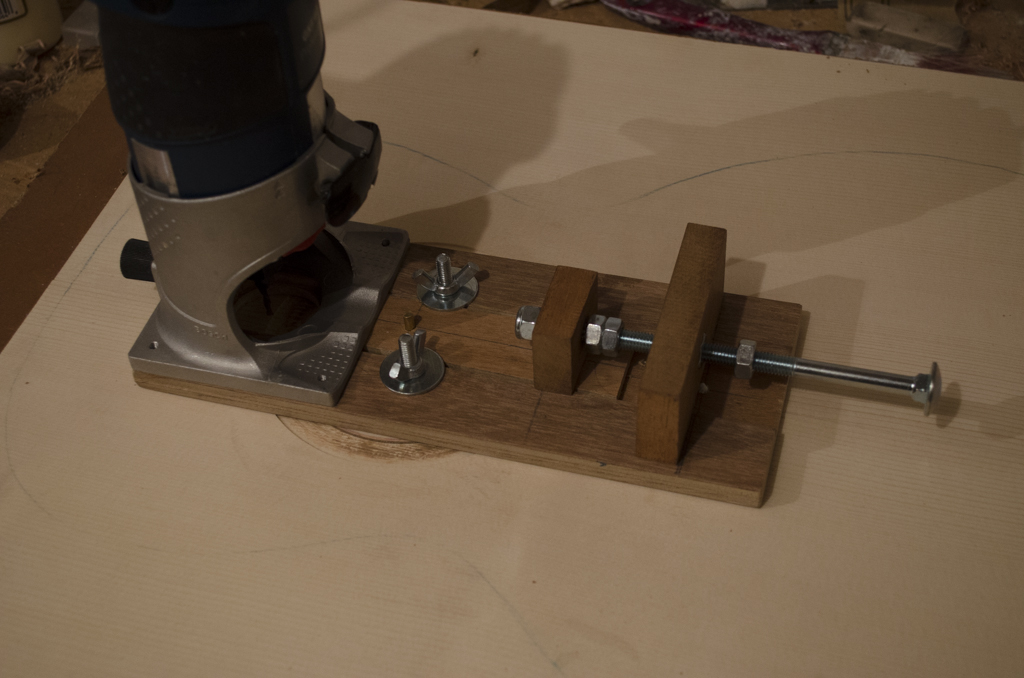
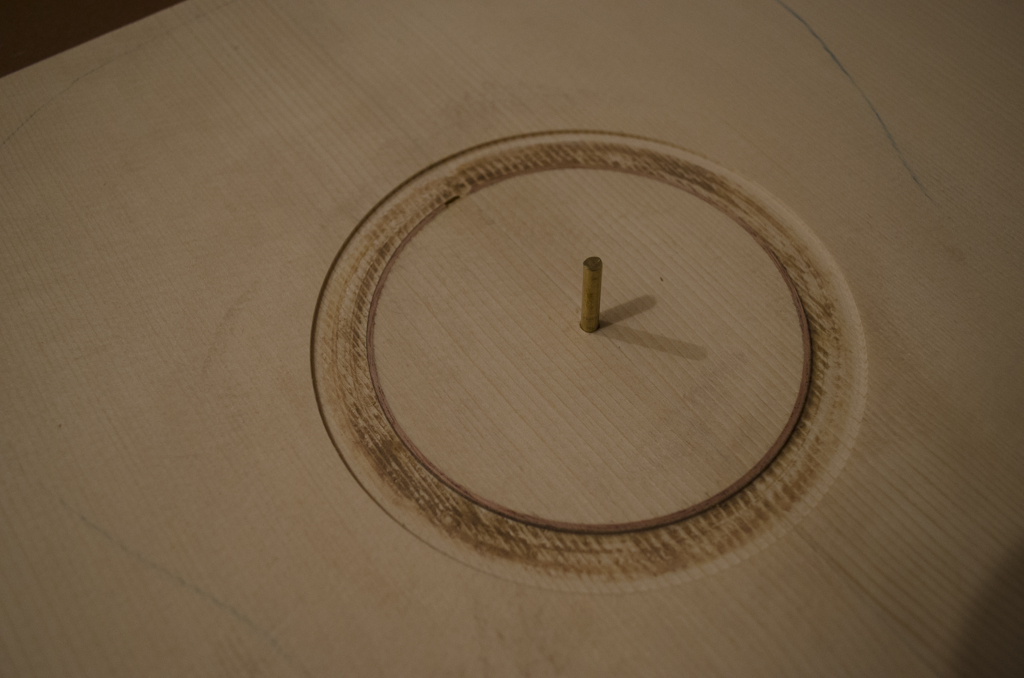
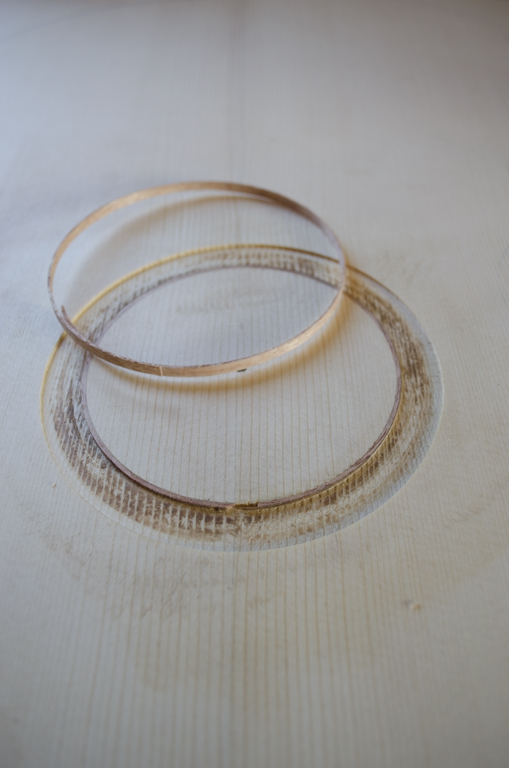
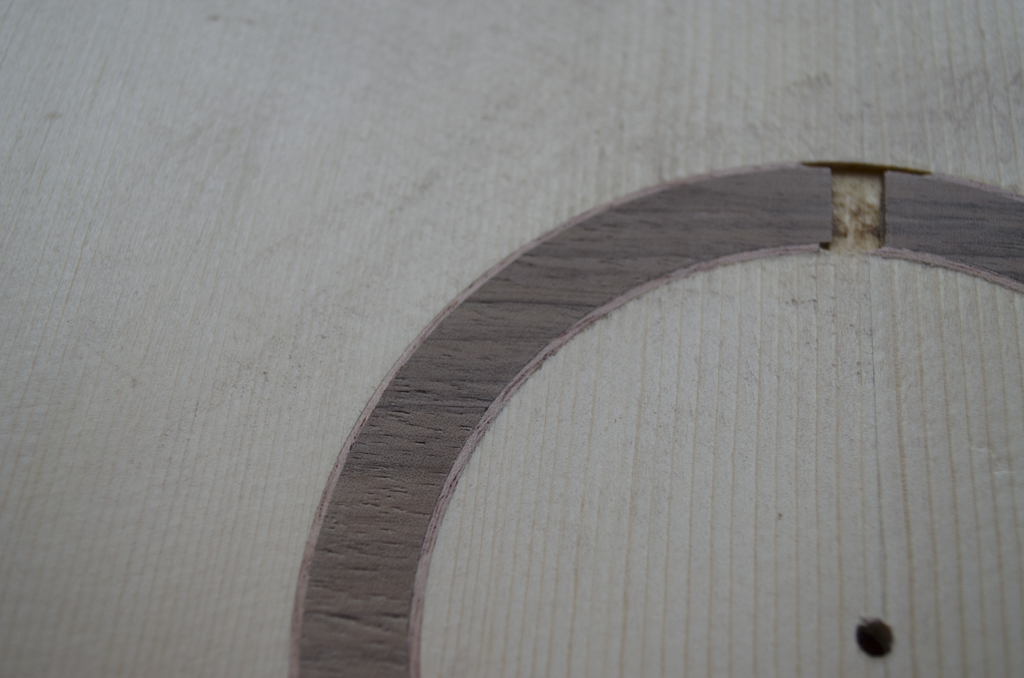
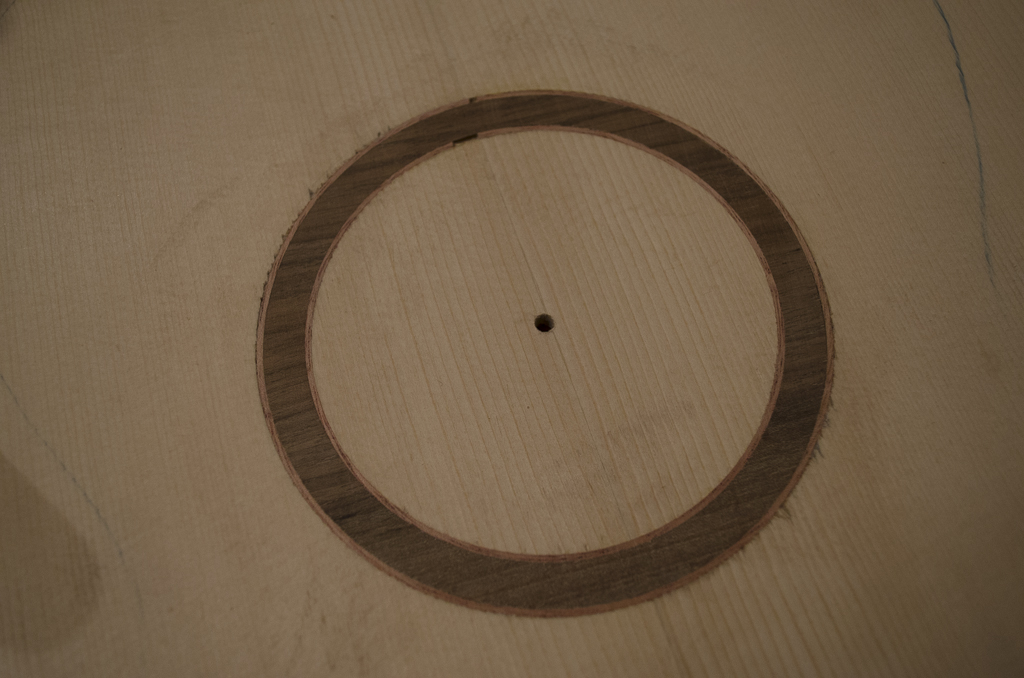
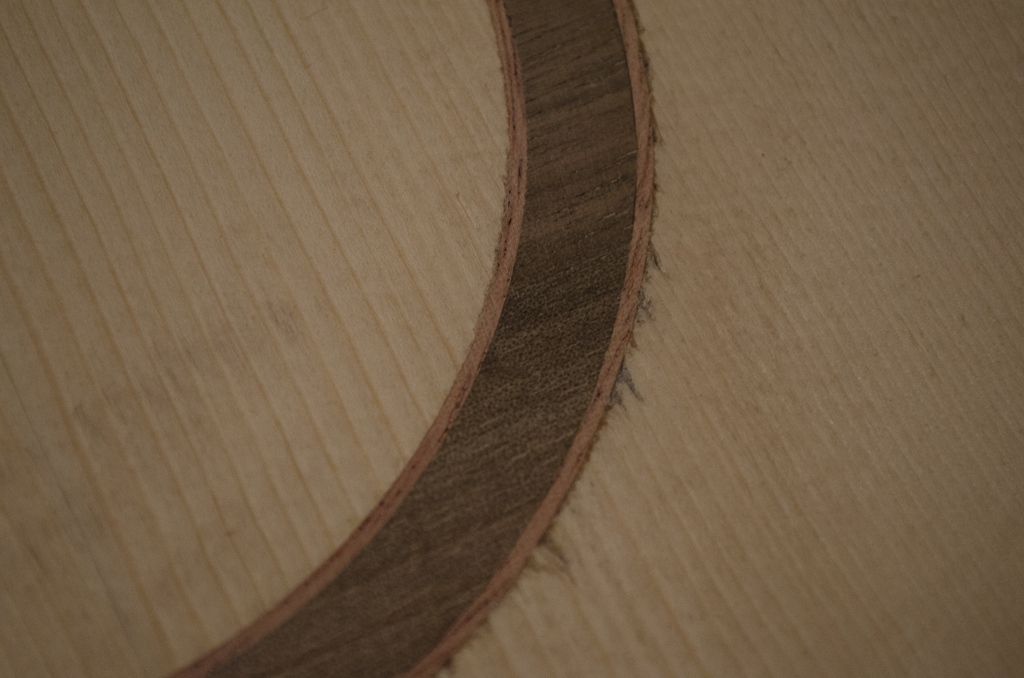
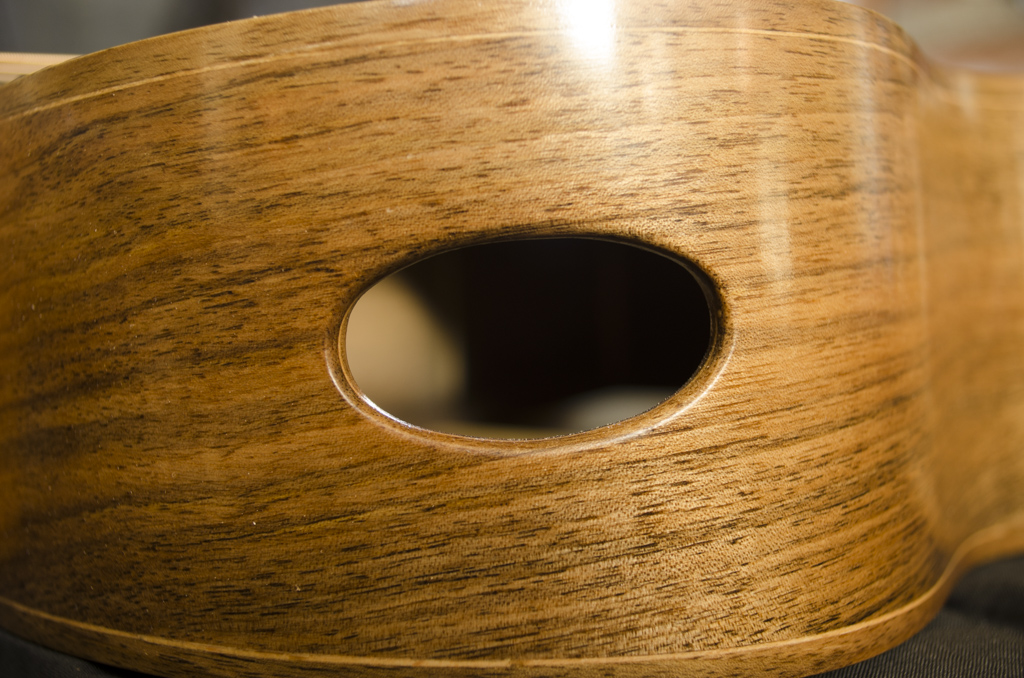
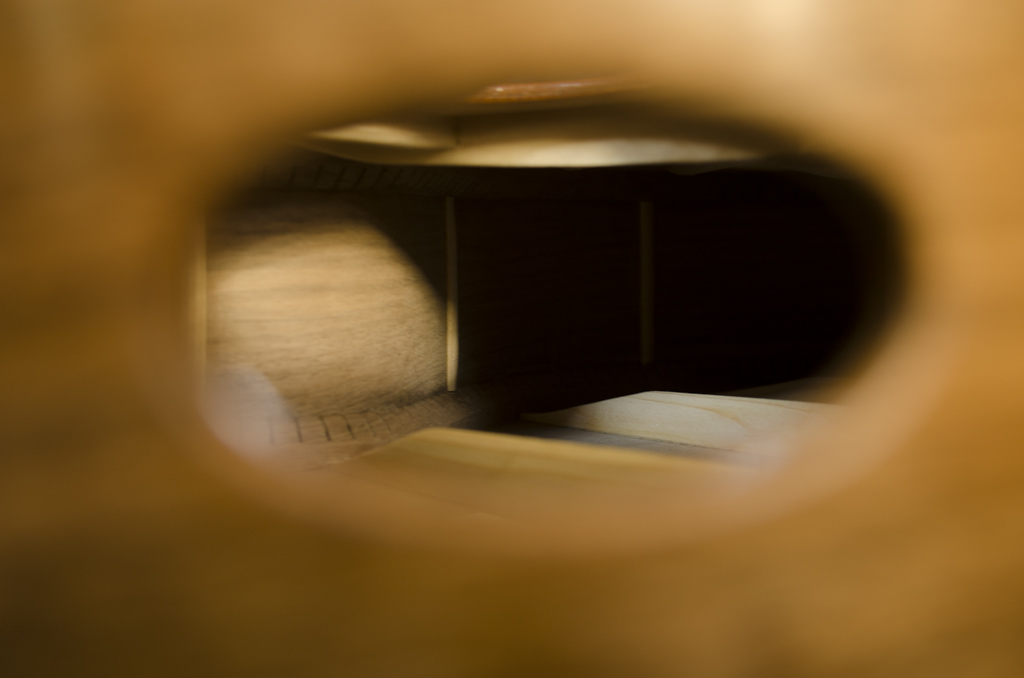
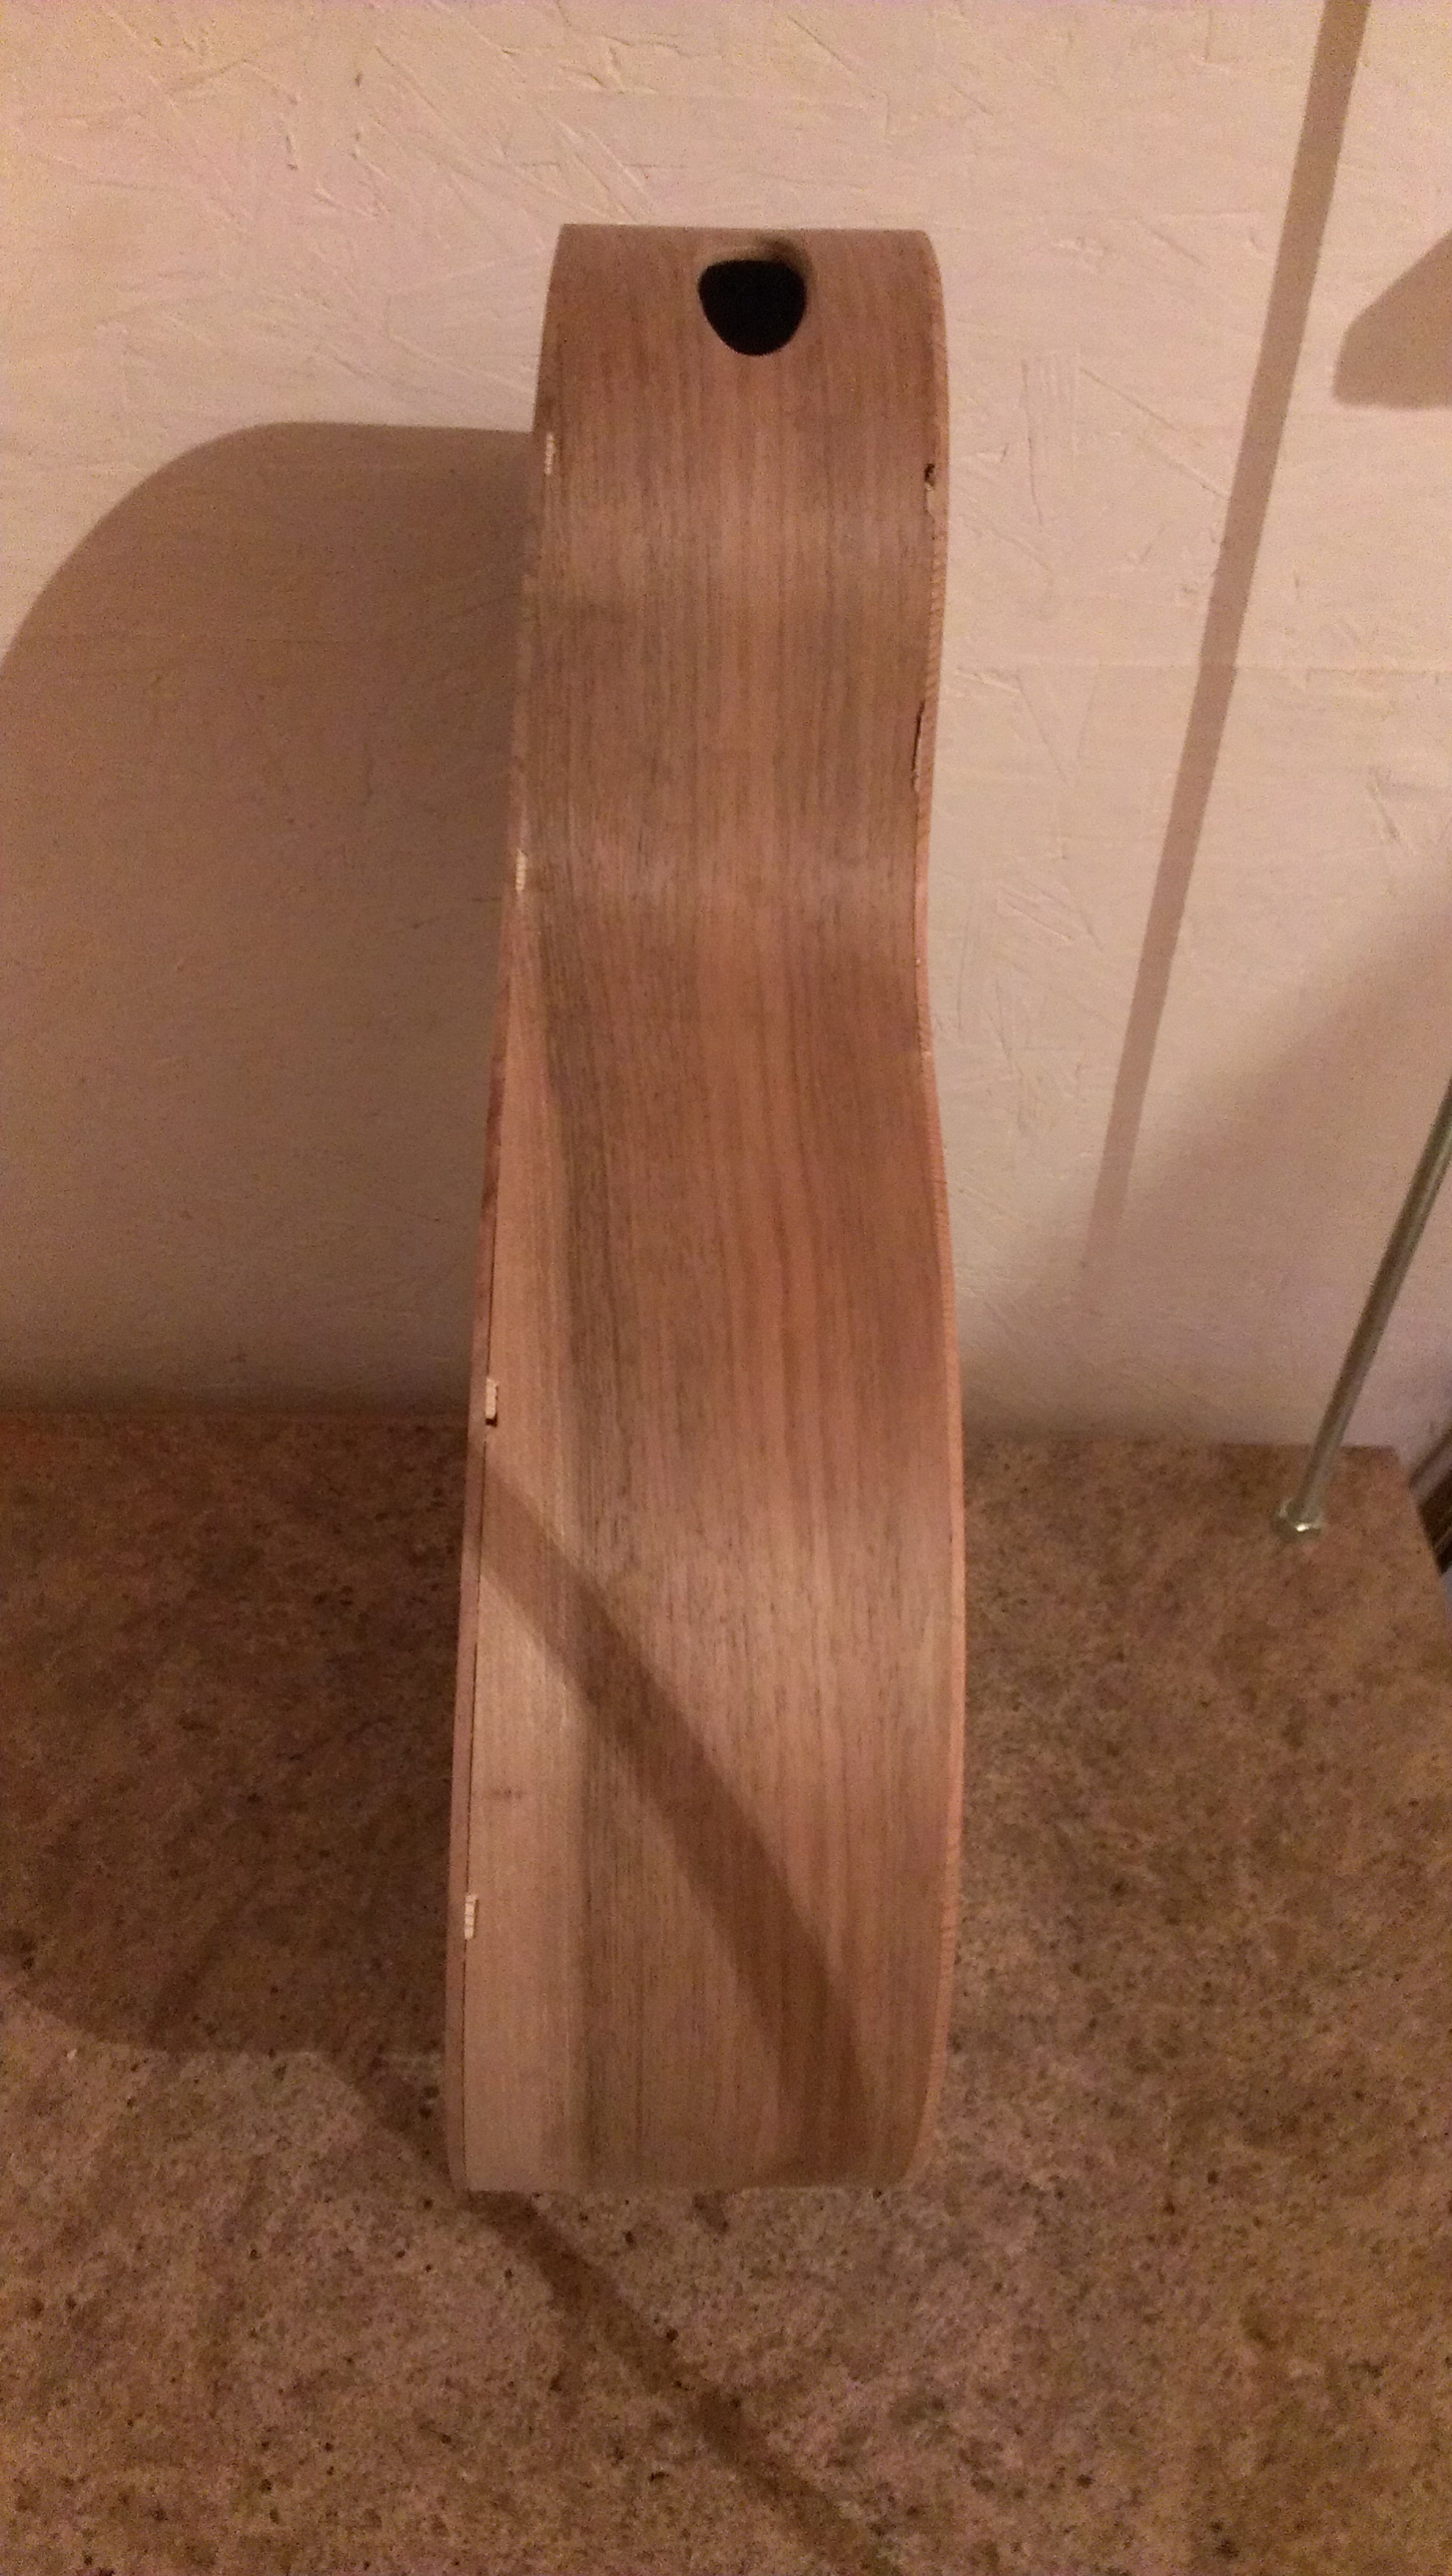
Unfortunately, I had a few issues with the rosette, and experienced quite a lot of tear-out on the outer edge of the rosette channel. I did install the rosette that I had prepared to see how bad it looks, and judge it for yourselves, it has to go.
I have put the tear out down to a poor quality router bit, so I have ordered a new down cut spiral bit and am planning to route out the rosette and start again with a slightly wider one. Its extremely frustrating having to scrap the original rosette but If I don’t it will annoy me every time I pick the guitar up.
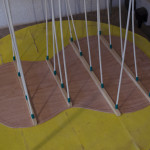
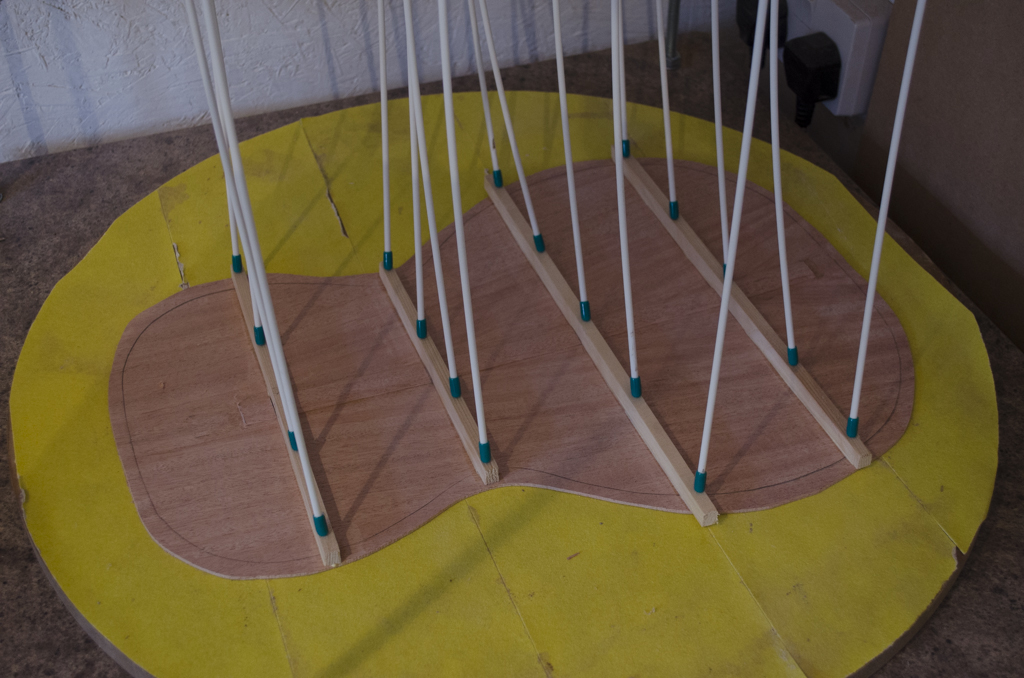
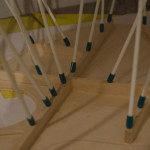
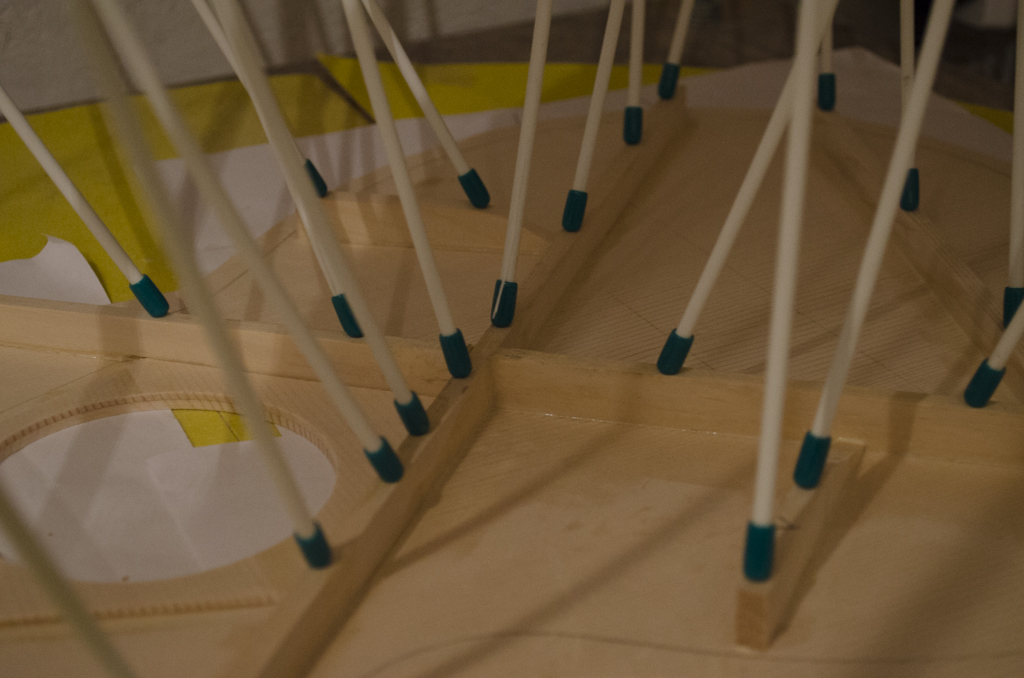
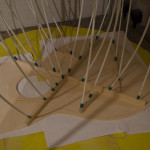
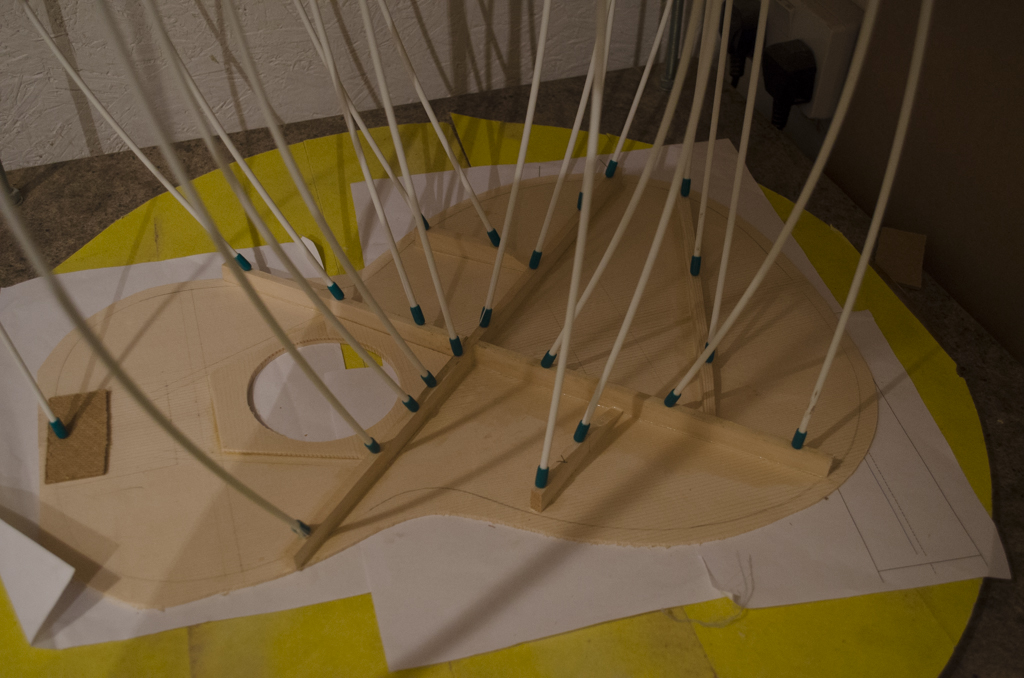
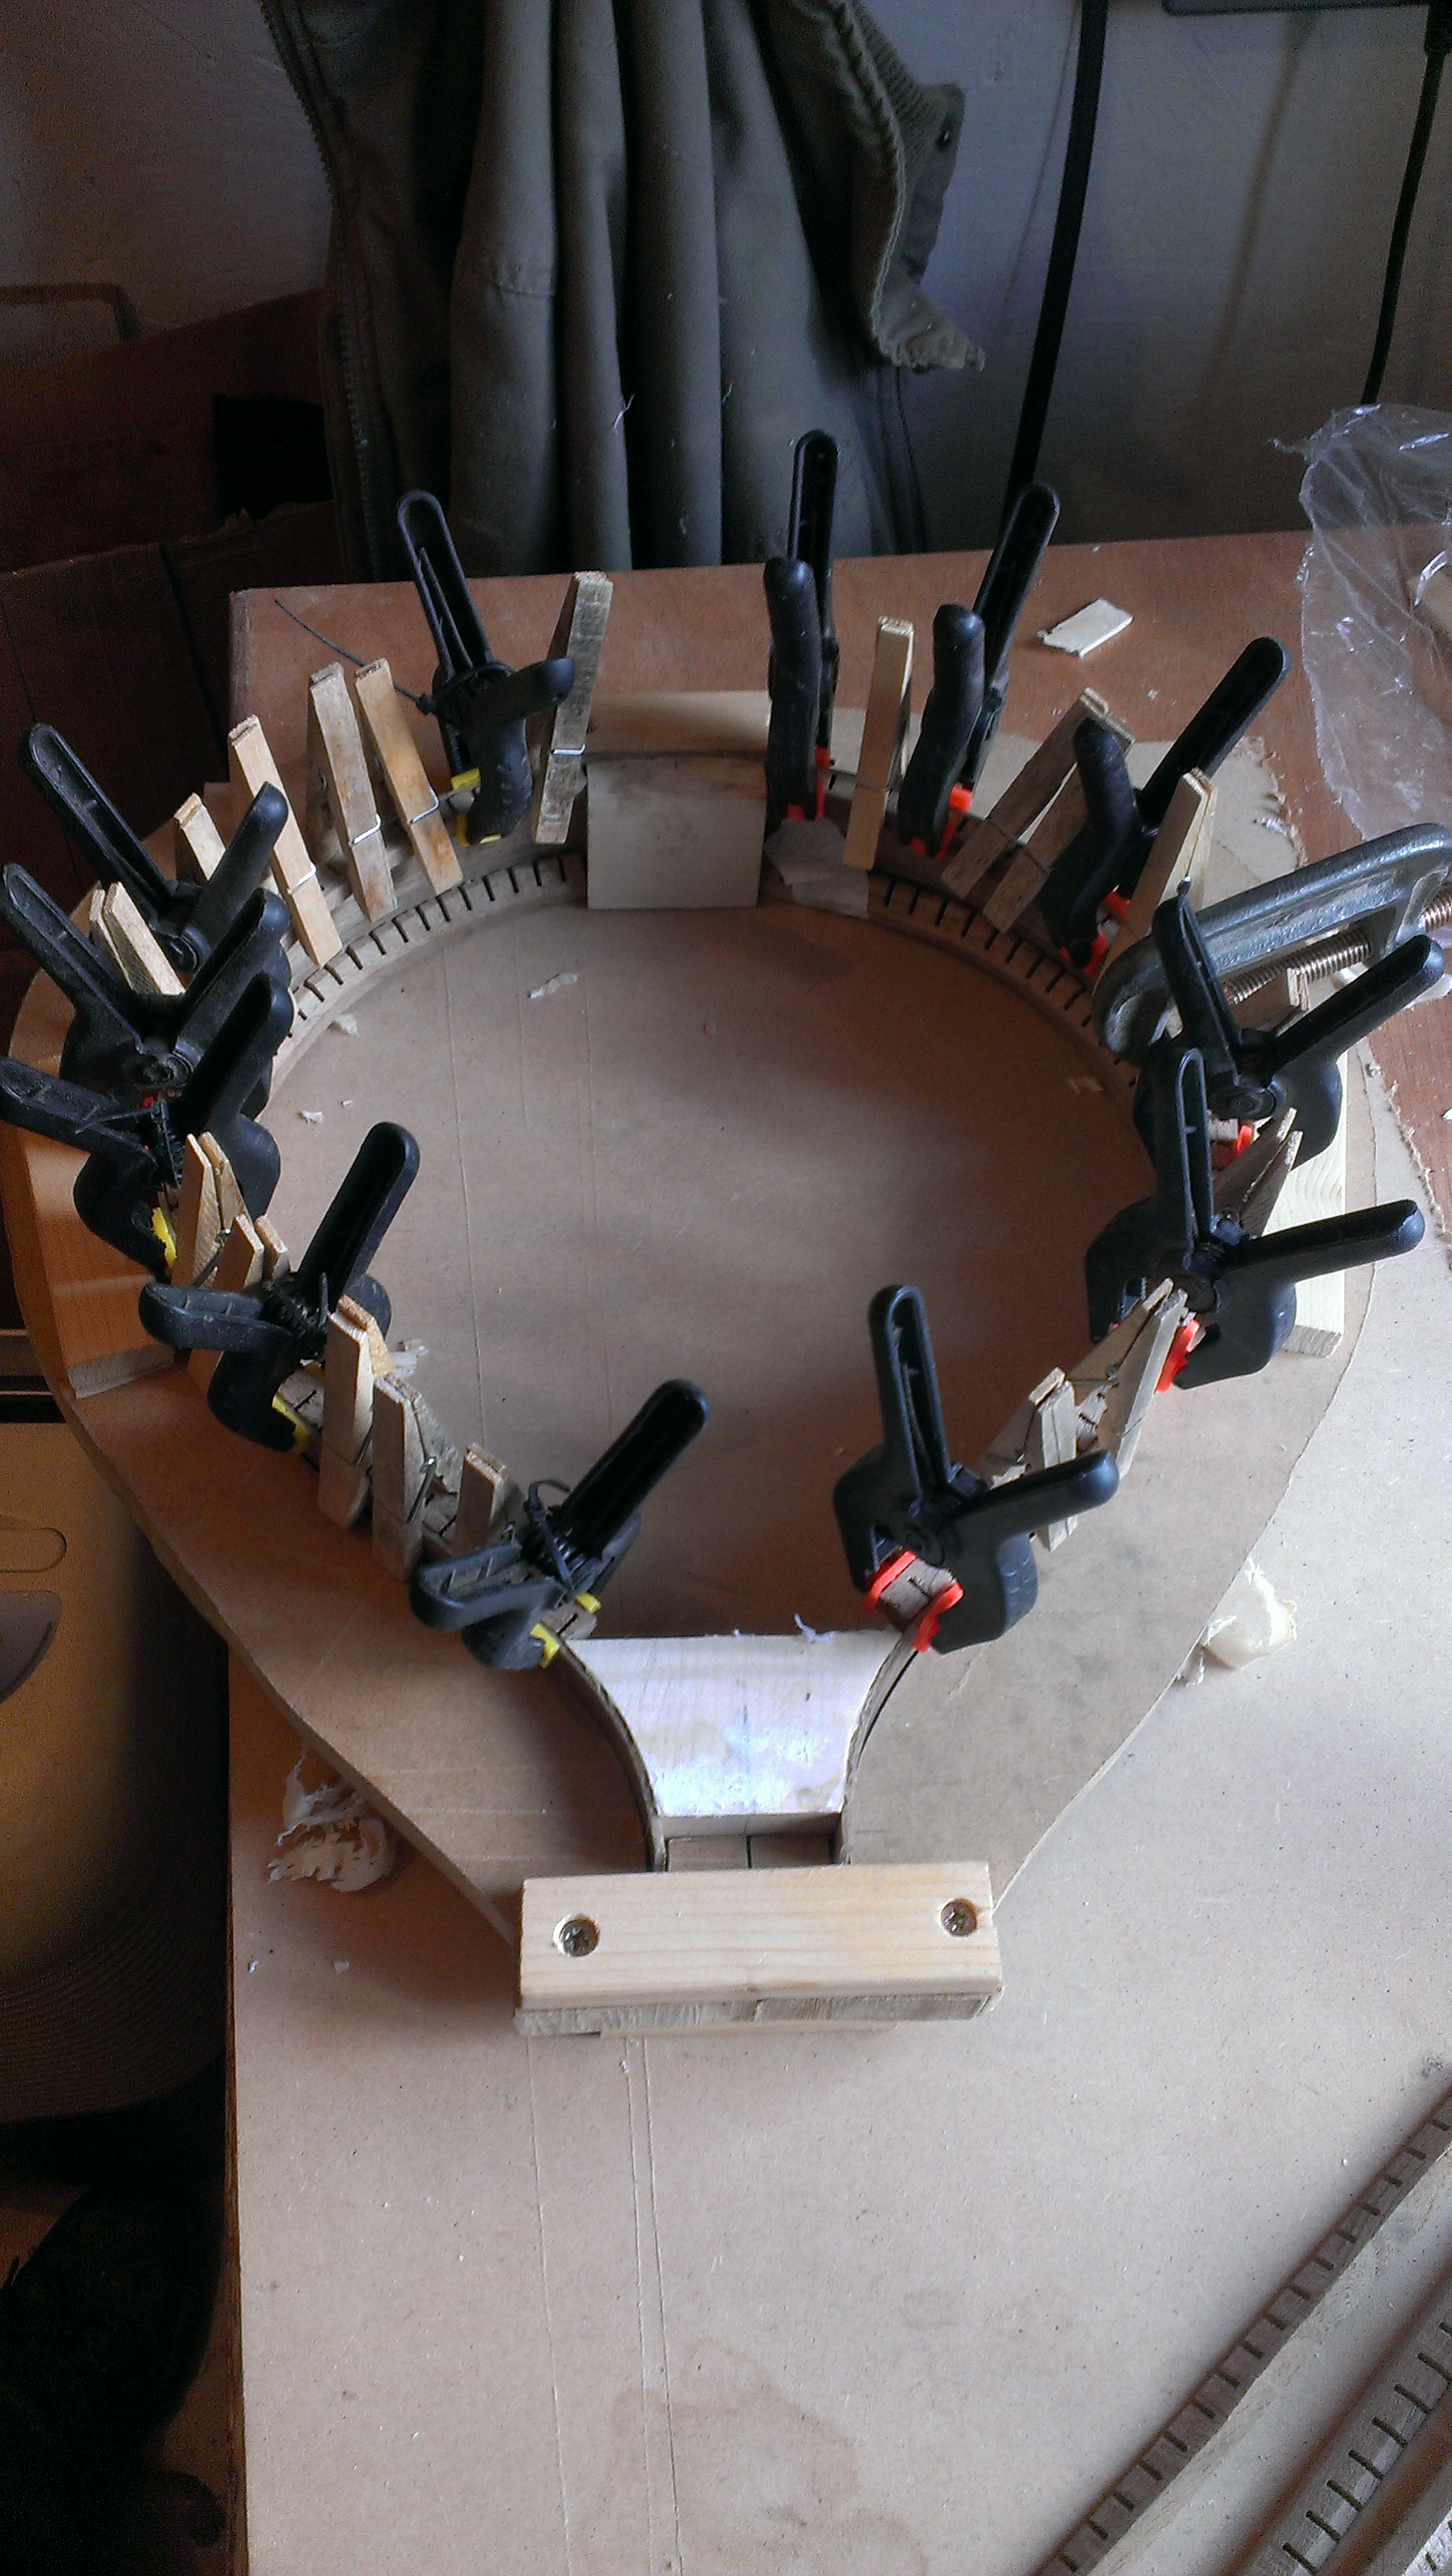
Hopefully I will get some time over the weekend to install the new rosette and get started on the bracing.


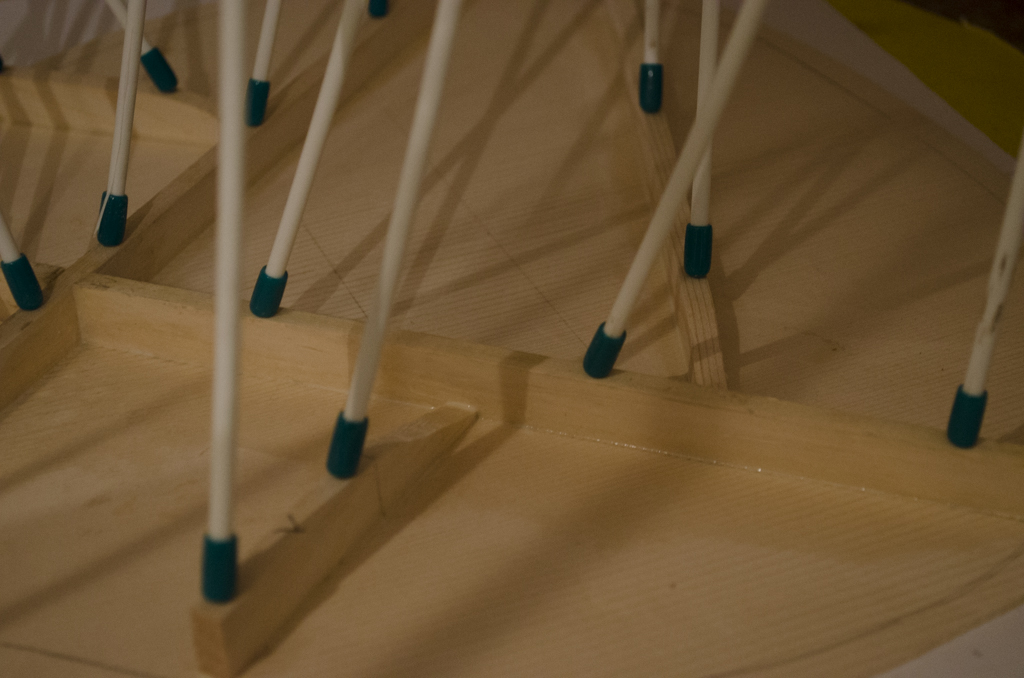


![IMAG0871[1]](http://www.tredwellinstruments.co.uk/wp-content/uploads/2013/11/IMAG087111-e1385036357815.jpg)
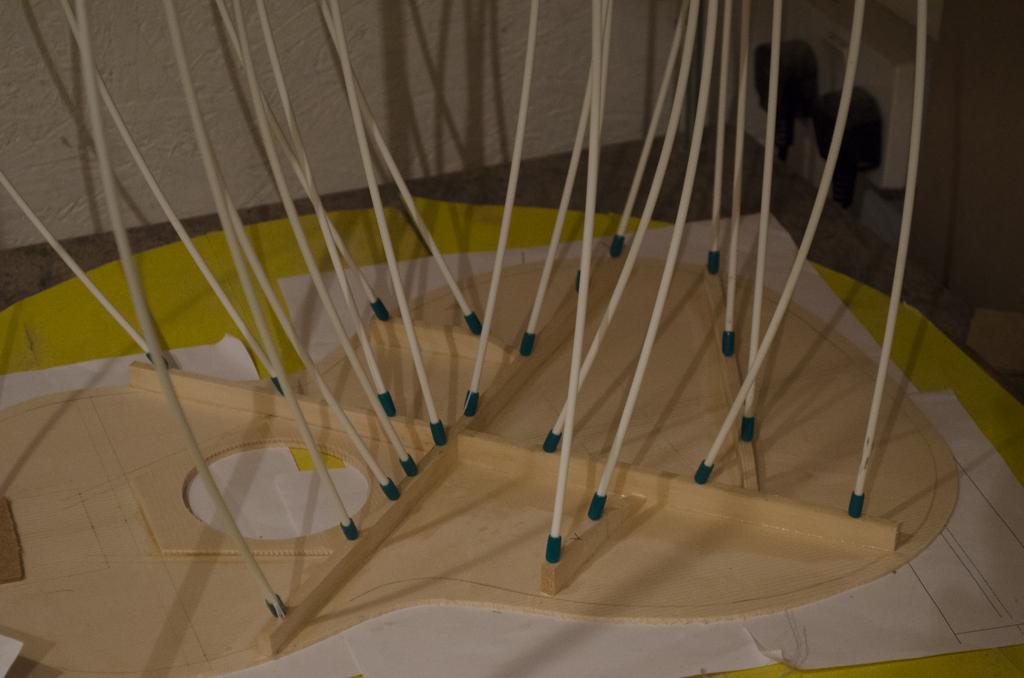
![IMAG0876[1]](http://www.tredwellinstruments.co.uk/wp-content/uploads/2013/11/IMAG08761-e1385036863589.jpg)