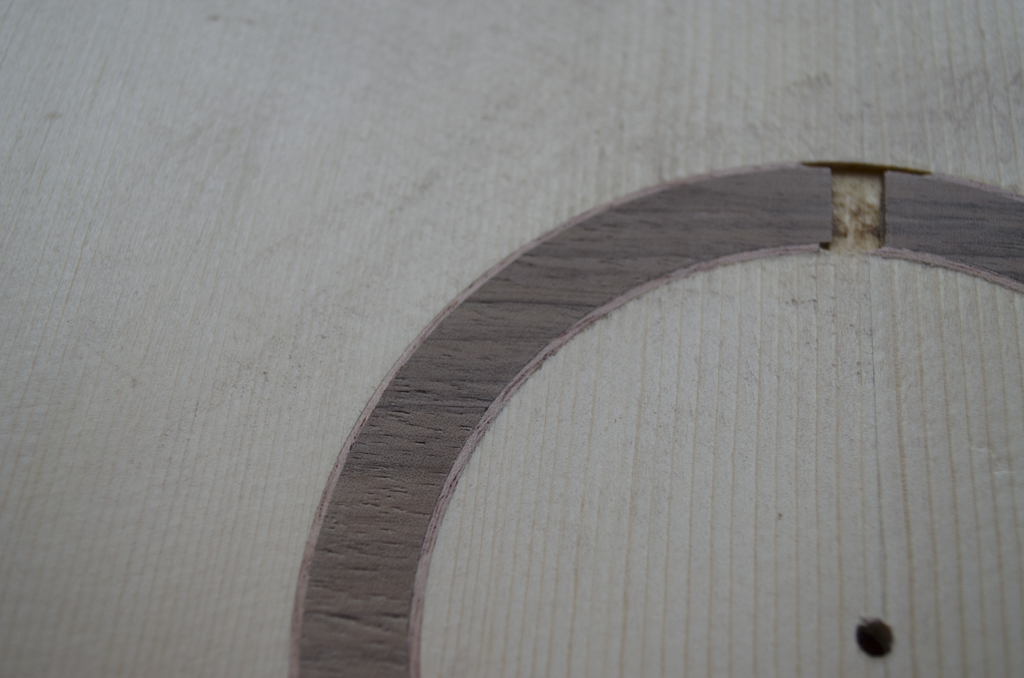
Well after the tribulations in my last post, I made sure to take things very slowly while fixing the rosette. I decided the easiest option would be to re route the channels and install a new slightly wider one. I routed out all but the inner purfling strip as this already had a perfect fit.
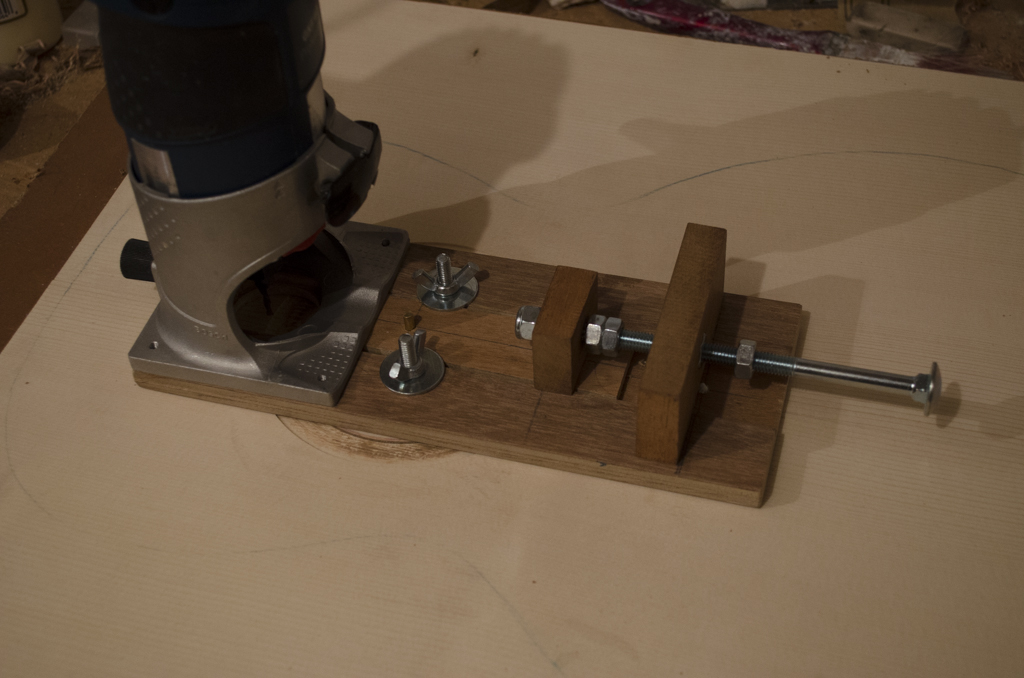
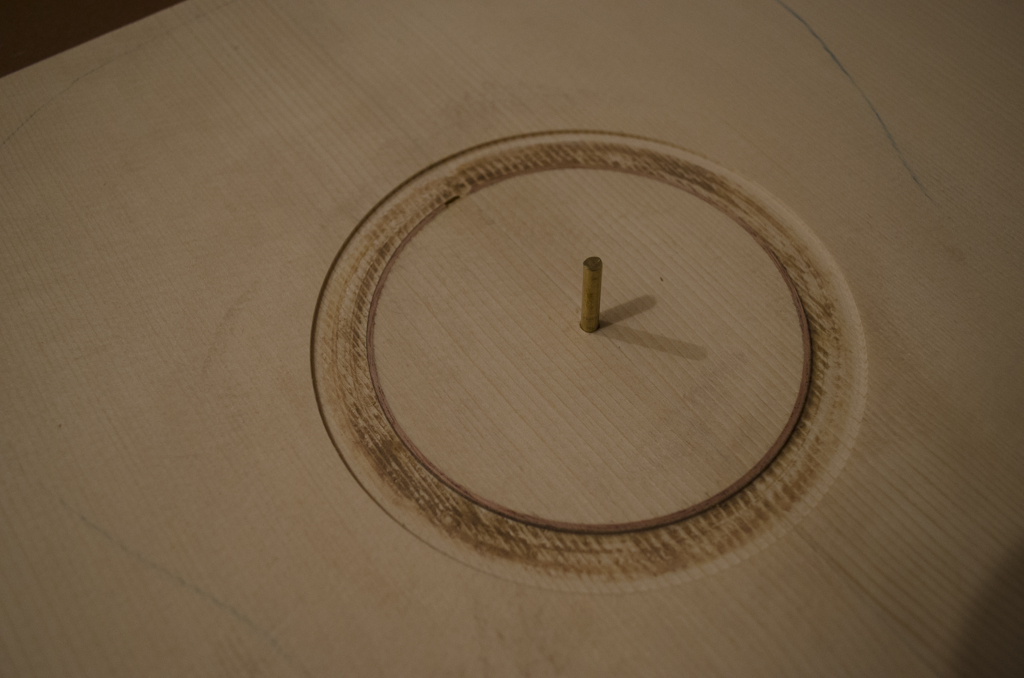
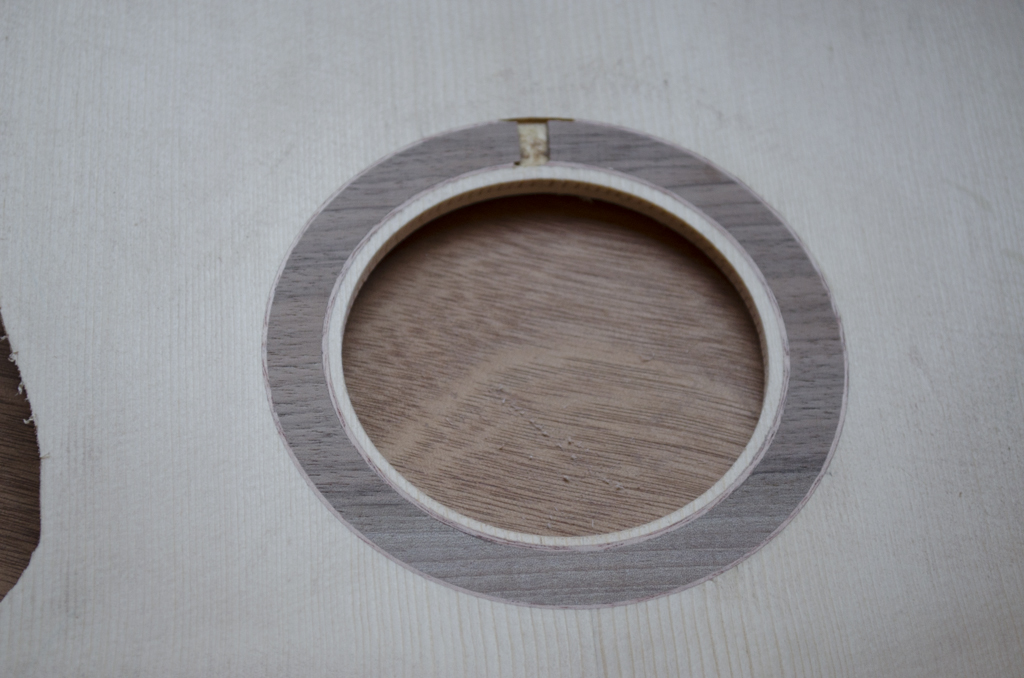
It was definitely well worth purchasing a 3mm down cut spiral bit for routing the rosette channels, and this time around things went very smoothly and after a small amount of tweaking of the rosette, it now resides snugly in the soundboard.
After gluing in the rosette and outer purfling strip, the excess height in the rosette needed to be planed back and finally sanded flush with the soundboard finally confirming that the fit is now flawless.