Category Archives: Uncategorized

Homemade tension hoop

If you have been following my all English banjo build, you may remember that I have been planning to make the majority of the metal hardware components required.

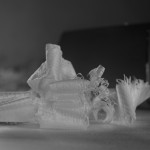
First of all I had to find a way to accurately bend the 1/8″ brass flat bar into a circular tension hoop. There are commercially available ring rollers available to do this but not having access to one, I decided to make my own form to bend the brass around.

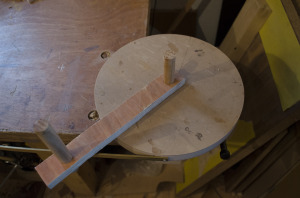
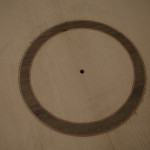
The jig consisted of a 11″ diameter piece of mdf which then had a dowel glued into its centre to act as a pivot point for an arm that would do the actual bending. The say a picture says a thousand words so here goes.

banjo-33

Banjo tension hoop bender

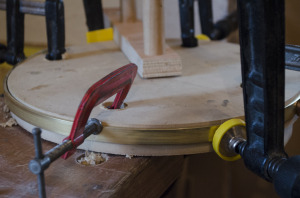
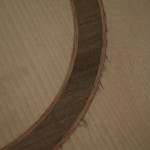
The brass flat bar is then attached to the form and by rotating the arm around the form the brass should then be bent to shape. I also used several clamps to hold the brass in place and reduce the risk of it springing back and causing an injury.

banjo-37

Clamped up tension hoop


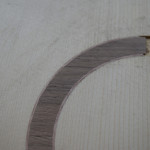
Unfortunately I had not considered how much spring back there would be and when I removed the brass from the former it was nowhere near the required circle.

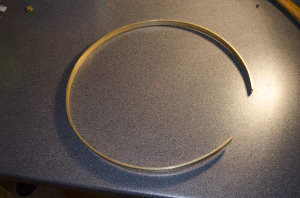
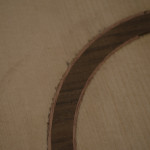
I therefore made another form this time with a diameter of 9″ and repeated the process. Now while things were starting to resemble more of a ring, there was still a way to go. So a third form was made, this time with a 7″ diameter. The brass almost looped the form twice but once it was released from the form it was much more promising with only a small amount of spring back remaining.

banjo-38

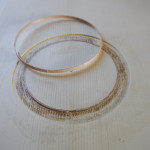
Tension hoop nearly circular

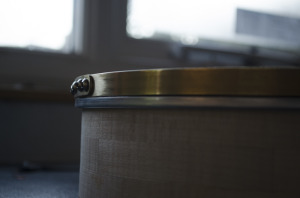
The two ends of the ring were secured with a bracket made from 1.5 mm brass with 4 drilled and taped holes through both the rim and the fixing plate and hold the lot together with machine screws.

banjo-42

Tension hoop fixing bracket

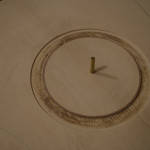
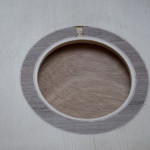
Next the hook notches needed to be cut into the ring, this was done with a hacksaw and finished of with files to create 14 inward sloping notches evenly spaced around the hoop.

banjo-62

Tone ring with notches


The All English Banjo

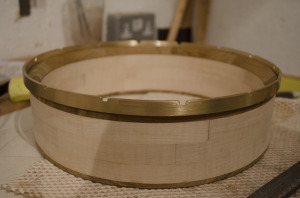
The All English banjo will be loosely based around the design of the ‘Bluestem Working persons 11″ Slot Head Open Back Banjo’ though with a few ideas of my own thrown in along the way. The key two differences being I am planning on using a wooden tone ring rather than the specified brass one and I am also going to increase the scale length to 25.5″.

Materials

  • Rim – Block construction English Sycamore
  • Tone ring – Laburnum
  • Neck – Two piece laminated Sycamore with black veneer central laminate
  • Fingerboard – Bog Oak
  • Head stock overlay – Laburnum
  • Tension hoop / shoes / tension hooks  – Raw Brass

Not having any previous experience of either playing or building a banjo, this will very much be an experimental build allowing me to play with ideas and perfect the design. As the All English Banjo is an experimental build, I will also be making most of the metal hardware in house, this will include tension ring, shoes, and tail piece.

Closing the box

I haven’t got round to an update for a few weeks, but things have been progressing nicely.

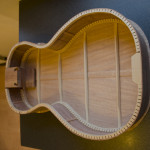
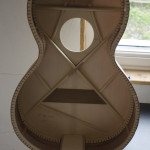
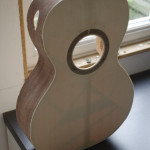
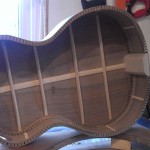
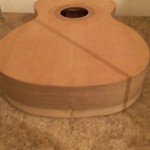
The box has now been closed, and the neck is well under way. Most importantly, here are a few pictures.

I seem to have forgotten to take any pictures of the back and the completed box, but will do so soon and get them posted.

Fixing the rosette

Well after the tribulations in my last post, I made sure to take things very slowly while fixing the rosette. I decided the easiest option would be to re route the channels and install a new slightly wider one. I routed out all but the inner purfling strip as this already had a perfect fit.

It was definitely well worth purchasing a 3mm down cut spiral bit for routing the rosette channels, and this time around things went very smoothly and after a small amount of tweaking of the rosette, it now resides snugly in the soundboard. 

After gluing in the rosette and outer purfling strip, the excess height in the rosette needed to be planed back and finally sanded flush with the soundboard finally confirming that the fit is now flawless.

A new design parlour guitar

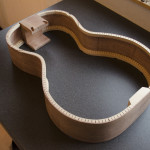
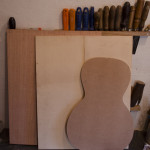
I have been wanting to build a mahogany parlour guitar for a while now and have been working on my own design for one on and off for a while. I plan to incorporate a new design feature for me which will be a completely removable neck utilising a continuation of the neck to support the underside of the fretboard as used by a number of other builders. This type of construction makes much more sense to my thinking rather than the traditional method of gluing the fretboard extension to the soundboard and will allow for the neck to be removed very easily at a future date if ever required.

I have been working on this build for the last week, so I will bring things up to date quickly.

Spec
Lower Bout – 324
Waist – 180
Upper Bout – 232
Body Legth – 466
Scale length – 615mm 12 fret

Back and sided – African Mahogany
Soundboard – European Spruce
Neck – African Mahogany with slot head
Binding – English Walnut
Fretboard / Bridge – Indian Rosewood
Rosette – English Walnut with Mahogany purflings

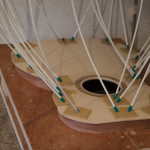
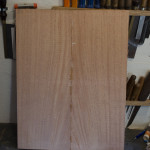
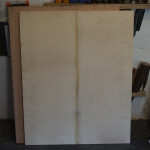
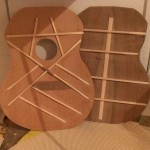
The first task was to get the back and soundboard jointed.

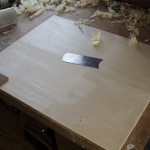
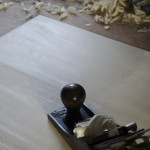
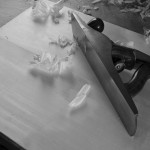
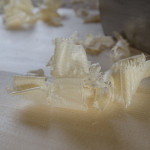
Next I sharpened up my trusty No. 5 1/2 plane and a cabinet scraper and got under way thicknessing the plates. There is something really satisfying seeing fine shavings appear through the plane. The back was taken down to just over 2.5mm but will be reduced a little bit further, and the soundboard was just flattened so that I can get the rosette installed.

Unfortunately, I had a few issues with the rosette, and experienced quite a lot of tear-out on the outer edge of the rosette channel. I did install the rosette that I had prepared to see how bad it looks, and judge it for yourselves, it has to go.

I have put the tear out down to a poor quality router bit, so I have ordered a new down cut spiral bit and am planning to route out the rosette and start again with a slightly wider one. Its extremely frustrating having to scrap the original rosette but If I don’t it will annoy me every time I pick the guitar up.
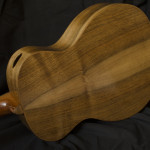
Hopefully I will get some time over the weekend to install the new rosette and get started on the bracing.
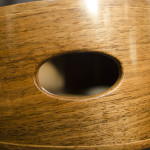
 

English Walnut and Cedar Final Photos

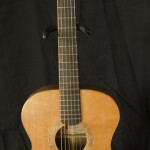
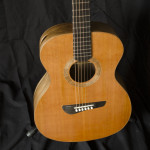
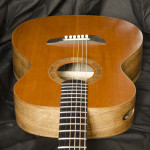
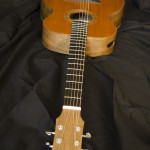
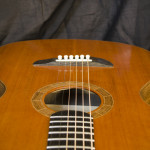
So here are the finished photos of my English Walnut and Cedar 00 sized guitar. I have been playing her for a few weeks now and I am definitely pleased with the sound and am really looking forward for the sound to develop in the coming months. 

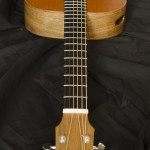
I have used a new headstock shape on this build, and I will be utilising this design on future builds.

So just as a recap here are the specs

  • 14 fret 633mm scale length
  • English Walnut back and sides
  • Western Red Cedar soundboard
  • English Walnut Headstock overlay
  • Mahogany 3 piece laminated neck
  • English Walnut binding with sycamore purfling
  • Bog Oak fretboard and bridge 

First sounds

I strung up the Walnut and cedar guitar for the first time last night, and I am very happy with the sound, I have only managed a quick play so far and she has not yet had the saddle cut and a set-up but it’s looking very promising.

Just waiting on some micro mesh sandpaper so that I can polish off the finish. Pictures coming soon.

English Walnut small bodied guitar – closing the box

I have been a bit behind recently with updating things, but the build is now progressing well, and over last weekend I managed to get on with closing the box. After gluing the top and back plates onto the rims, they were trimmed back using the router and a template bit.