Author Archives: ntredwell

Making the Banjo Shoes

The next components to make are the banjo shoes. These will be arranged around the rim and give anchor points for the tension hooks.

The shoes started life out a piece of solid brass stock and were then shaped using a combination of files and a sanding drum mounted in the drill press. Finally having a thread tapped in to the back side that will be used for bolting them to the sides of the rim.

Homemade tension hoop

If you have been following my all English banjo build, you may remember that I have been planning to make the majority of the metal hardware components required.

First of all I had to find a way to accurately bend the 1/8″ brass flat bar into a circular tension hoop. There are commercially available ring rollers available to do this but not having access to one, I decided to make my own form to bend the brass around.

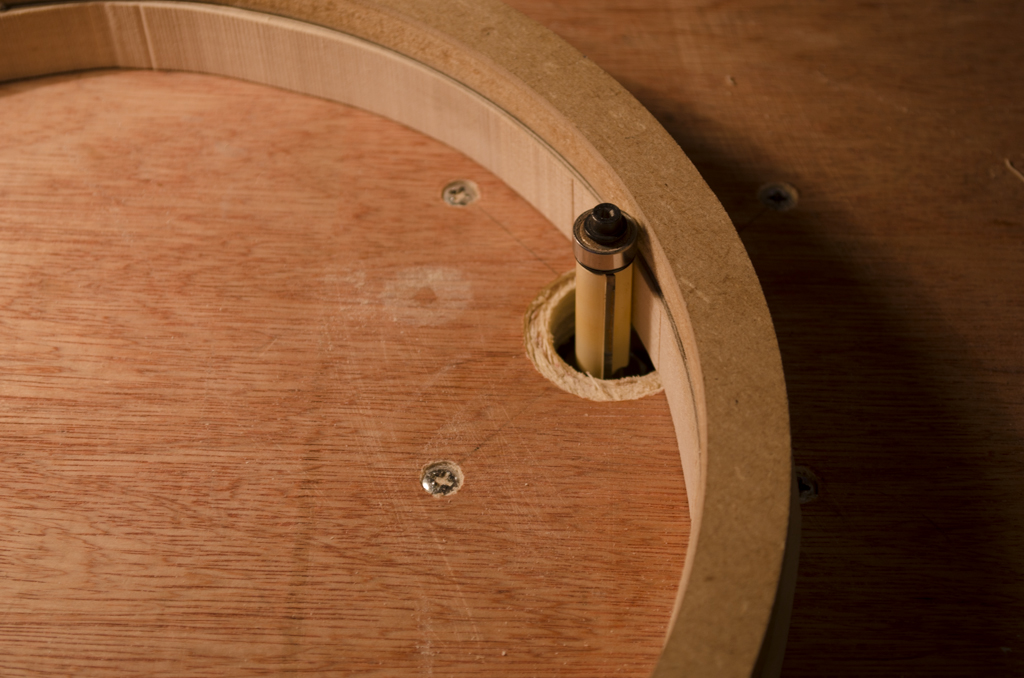
The jig consisted of a 11″ diameter piece of mdf which then had a dowel glued into its centre to act as a pivot point for an arm that would do the actual bending. The say a picture says a thousand words so here goes.

banjo-33

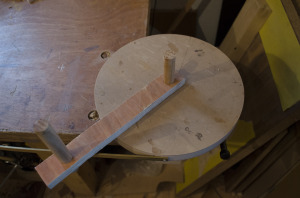
Banjo tension hoop bender

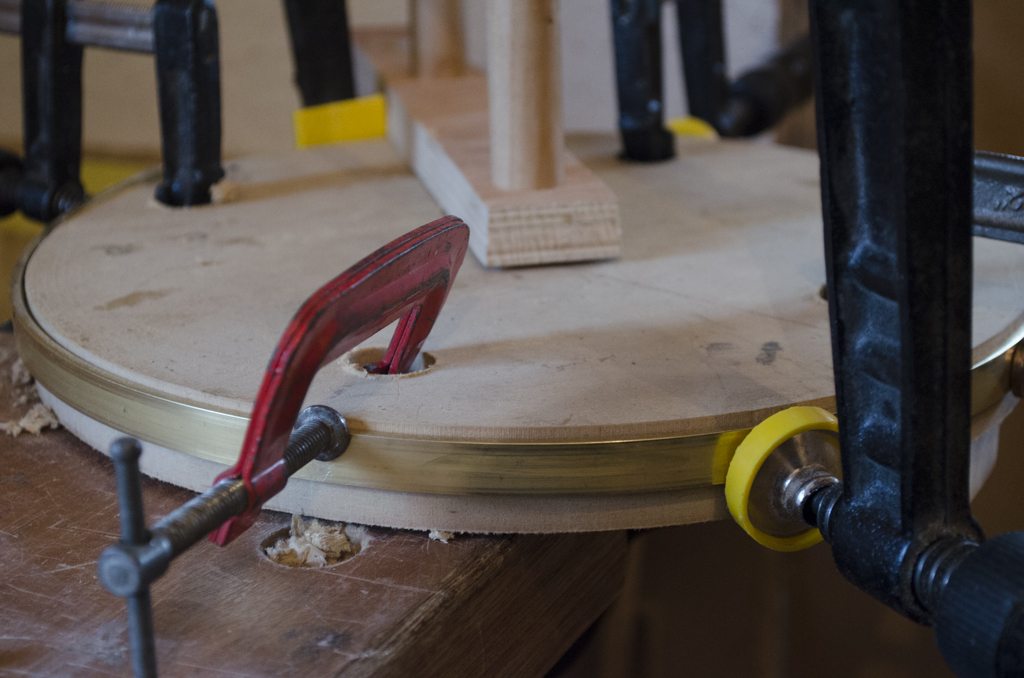
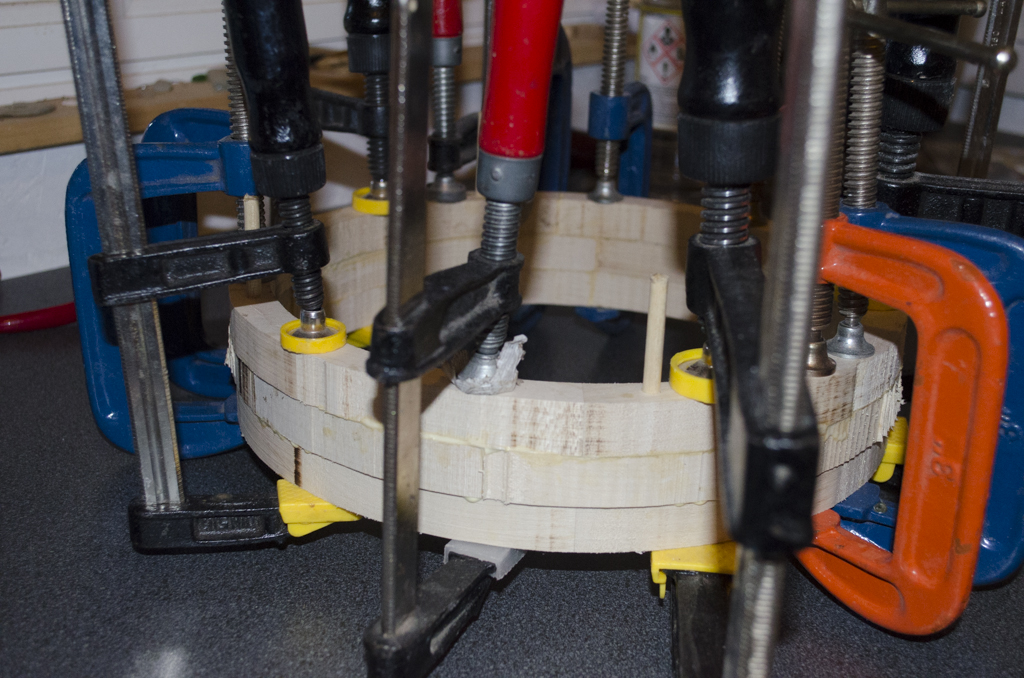
The brass flat bar is then attached to the form and by rotating the arm around the form the brass should then be bent to shape. I also used several clamps to hold the brass in place and reduce the risk of it springing back and causing an injury.

banjo-37

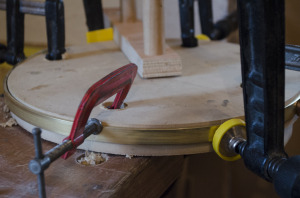
Clamped up tension hoop


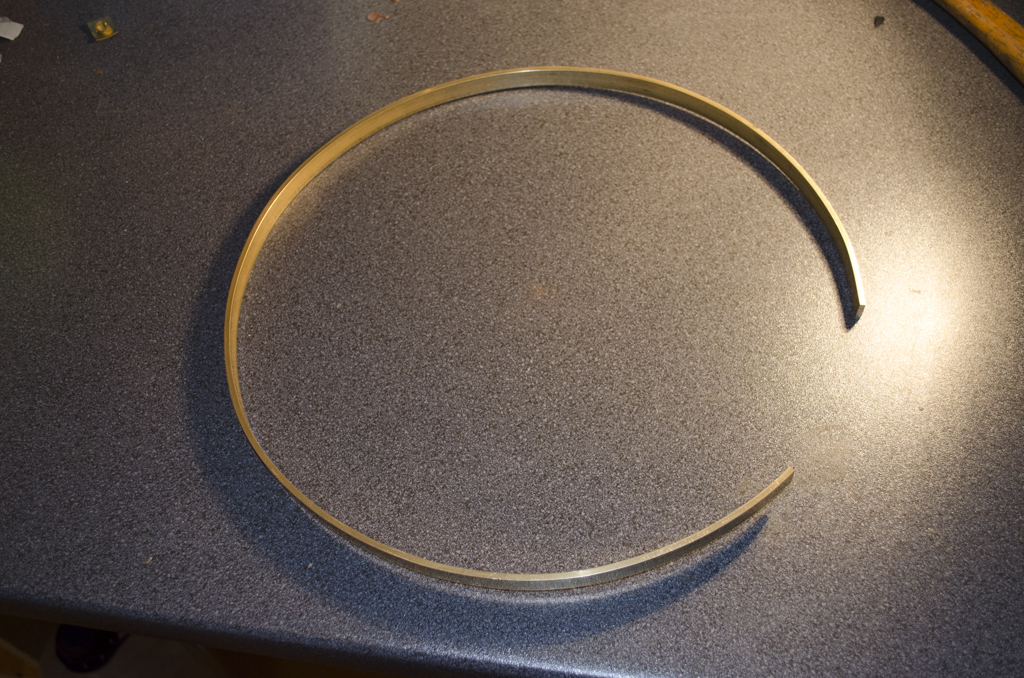
Unfortunately I had not considered how much spring back there would be and when I removed the brass from the former it was nowhere near the required circle.

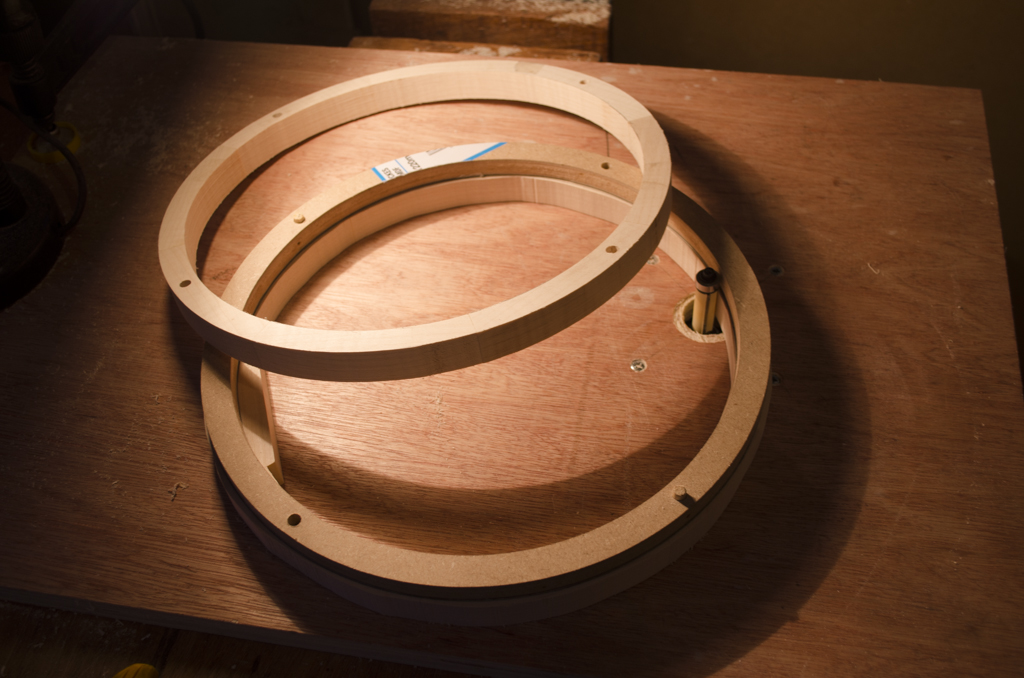
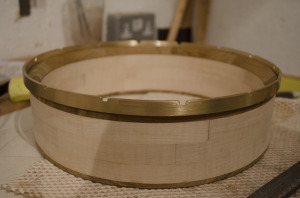
I therefore made another form this time with a diameter of 9″ and repeated the process. Now while things were starting to resemble more of a ring, there was still a way to go. So a third form was made, this time with a 7″ diameter. The brass almost looped the form twice but once it was released from the form it was much more promising with only a small amount of spring back remaining.

banjo-38

Tension hoop nearly circular

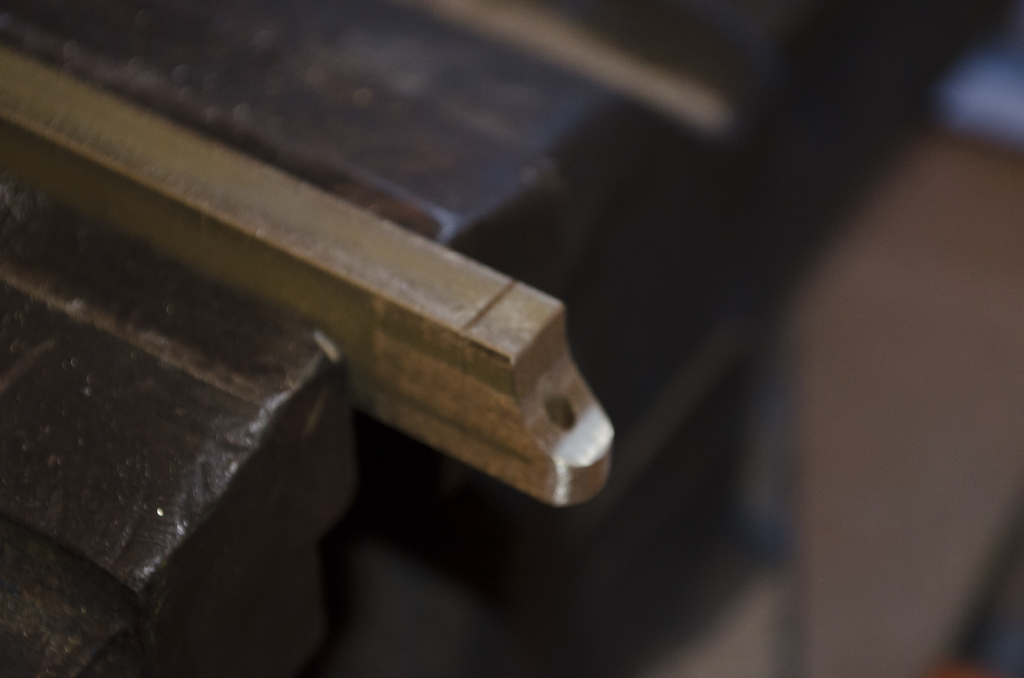
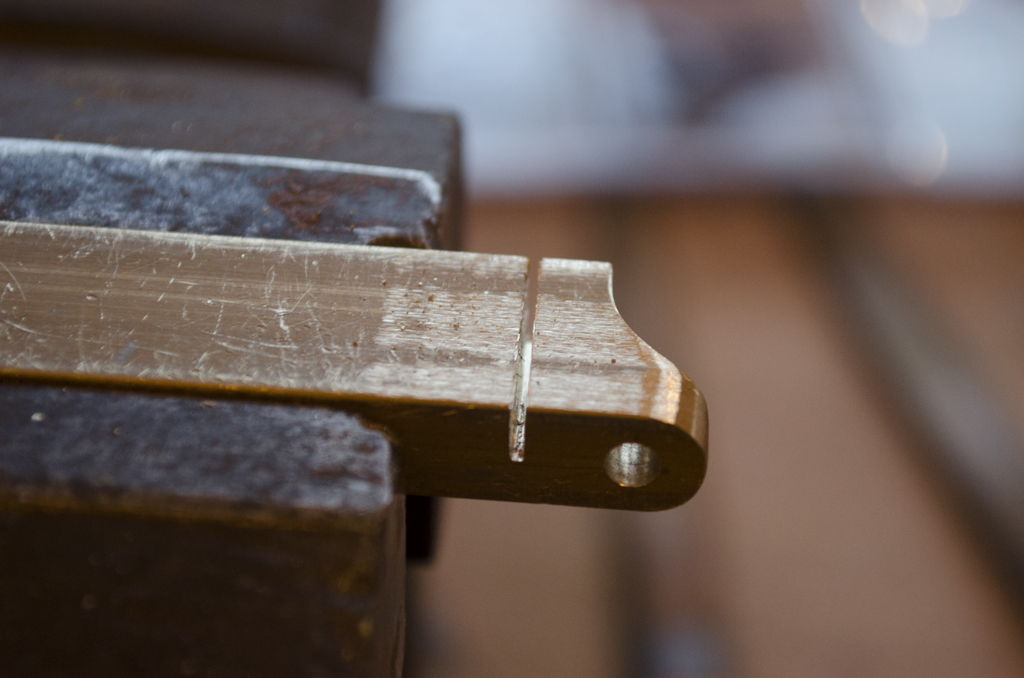
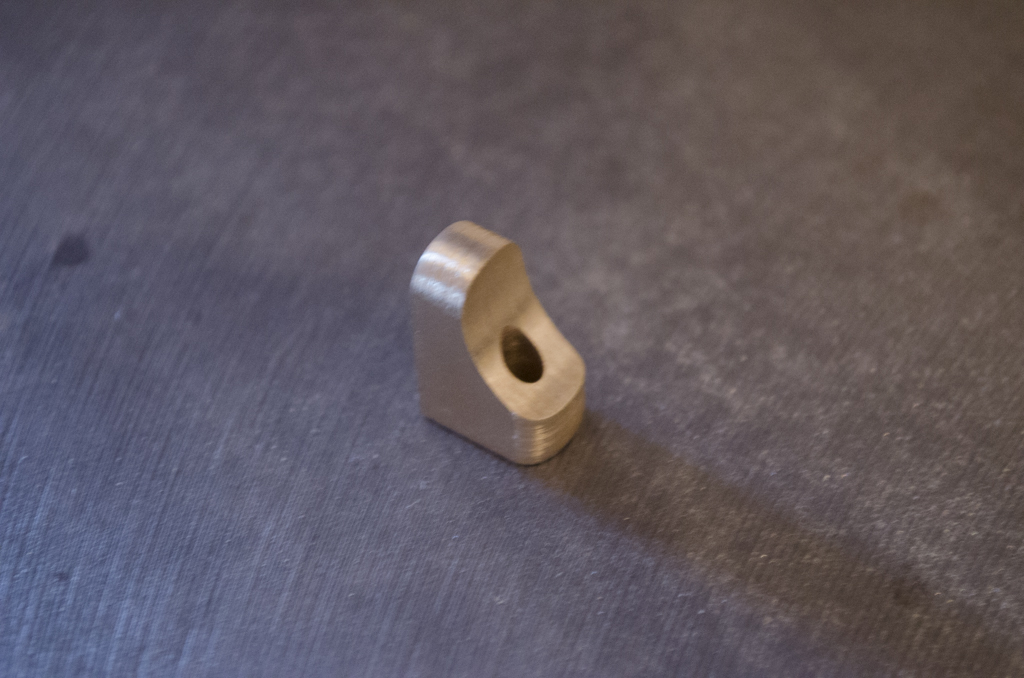
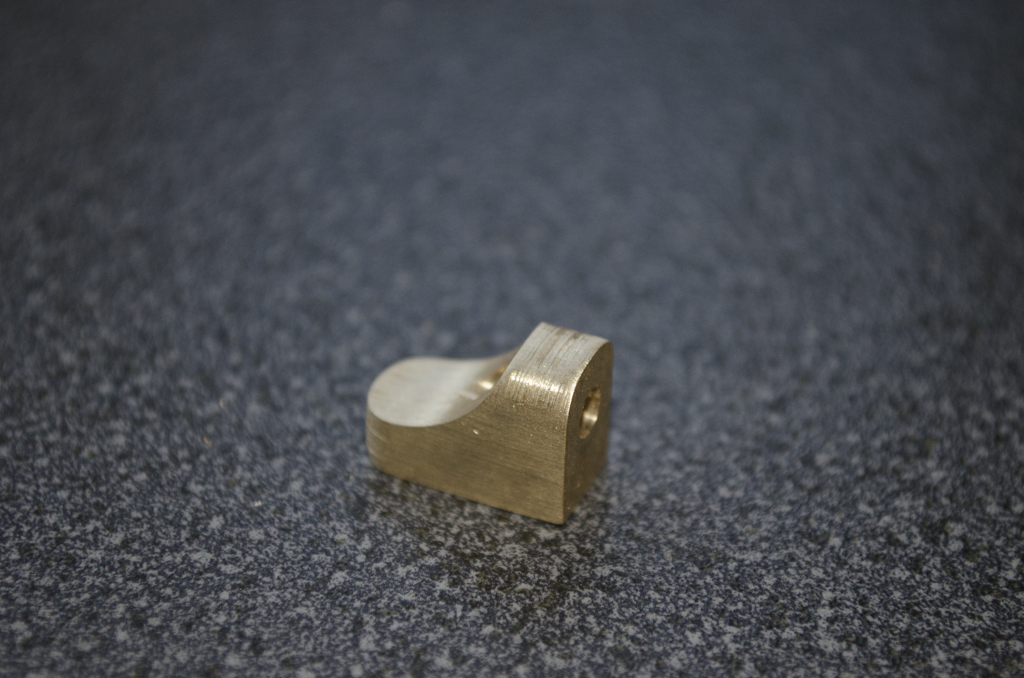
The two ends of the ring were secured with a bracket made from 1.5 mm brass with 4 drilled and taped holes through both the rim and the fixing plate and hold the lot together with machine screws.

banjo-42

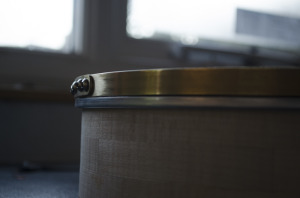
Tension hoop fixing bracket

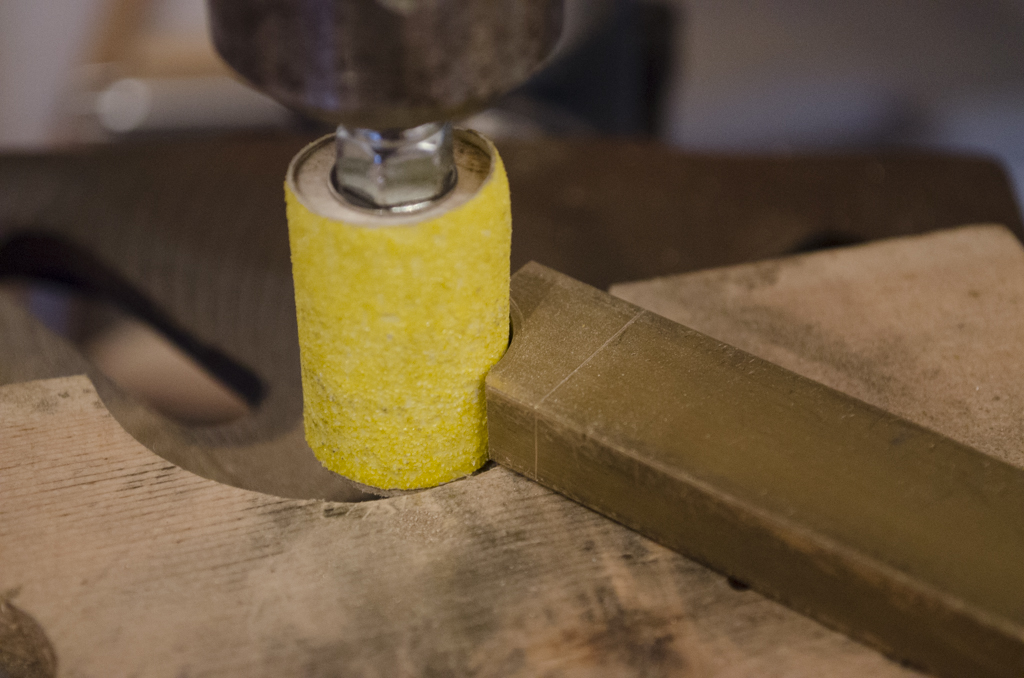
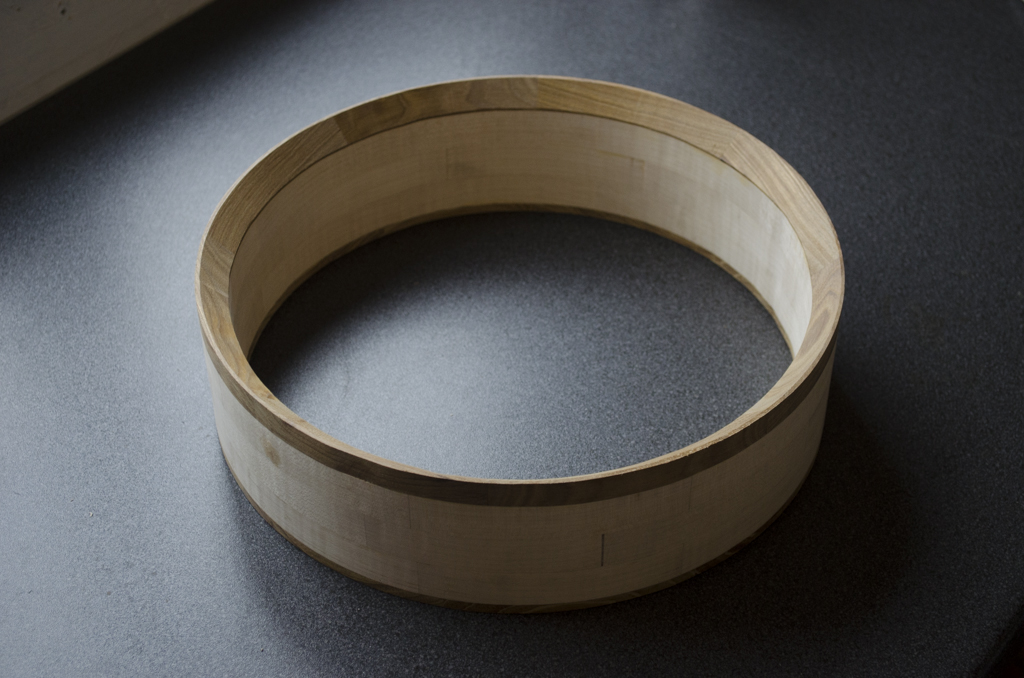
Next the hook notches needed to be cut into the ring, this was done with a hacksaw and finished of with files to create 14 inward sloping notches evenly spaced around the hoop.

banjo-62

Tone ring with notches


Laburnum Tone Ring

As I am trying to only utilise UK Grown timbers on this banjo build, what to use for the wooden tone ring presented a number difficulties. Normally varying rosewoods are used for a wooden tone ring, but unfortunately this was not an option. I therefore decided to use Laburnum being one of the UK’s densest woods and also providing a nice contrast to the sycamore.

As with the rest of the ring, 8 bocks with 22.5 degree sides were glued up and then roughly cut to shape on the band saw.

all_english_banjo-9The tone ring and the bottom cap were then glued up before being routed flush with the rest of the rim. Finally a 45 degree chamfer was routed around the tone ring.


Banjo Rim

Not having access to a lathe, I had to come up with an alternative method of shaping the banjo rim. There are a few different possibilities, but I decided on using a router table and sanding drums.

The English Sycamore rim was made using a block construction and then each later routed to approximate dimensions using a template bit.

The 3 layers where then glued up using dowels to align the rings.

all_english_banjo-6


Once the three rings were sanded flush using a sanding drum and a template to keep things even.


all_english_banjo-8

The All English Banjo

The All English banjo will be loosely based around the design of the ‘Bluestem Working persons 11″ Slot Head Open Back Banjo’ though with a few ideas of my own thrown in along the way. The key two differences being I am planning on using a wooden tone ring rather than the specified brass one and I am also going to increase the scale length to 25.5″.

Materials

  • Rim – Block construction English Sycamore
  • Tone ring – Laburnum
  • Neck – Two piece laminated Sycamore with black veneer central laminate
  • Fingerboard – Bog Oak
  • Head stock overlay – Laburnum
  • Tension hoop / shoes / tension hooks  – Raw Brass

Not having any previous experience of either playing or building a banjo, this will very much be an experimental build allowing me to play with ideas and perfect the design. As the All English Banjo is an experimental build, I will also be making most of the metal hardware in house, this will include tension ring, shoes, and tail piece.

Parlour Guitar finished

Well here she is. Just a few pictures to get you started, but I will take better shots once I can get the chance  to take them with better lighting.

I very pleased with the outcome, she is surprisingly loud and responds to a light touch. I am going to arrange for a few recordings to be made but unfortunately it wont be for a few weeks.

The finish line is now in site.

I am now about halfway through the coats of finish being applied to the parlour guitar. The finish i am using is the same as i have used on all of my instruments, namely two coats of shellac followed by up to 20 coats of Liberon finishing oil. The finish is now starting to build nicely and all of the coats should be finished within the next week.

Its now starting to look like a guitar

I haven’t posted an update for a while as I managed to ruin the first neck shown in a previous post so after contemplating trying to fix it I just decided to decided to start it again. The bulk of the build has now been completed and the new neck is now fretted, carved and fitted now its time to start sanding before applying the finish. Fingers crossed I should be stringing her up before by the end of the month.

Here are a few pictures of how she currently stands.


Quick update

Just a quick update with a few pictures, more to come soon.

Closing the box

I haven’t got round to an update for a few weeks, but things have been progressing nicely.

The box has now been closed, and the neck is well under way. Most importantly, here are a few pictures.

I seem to have forgotten to take any pictures of the back and the completed box, but will do so soon and get them posted.